
Vanilla Bean Crème Brûlée (Silky, Rich & Restaurant-Style)
Vanilla Bean Crème Brûlée has a reputation for being intimidating and reserved for fancy restaurants, but the truth is, it is one of the most approachable classic desserts you can make at home. With just a few ingredients and the right technique, you can create a silky custard topped with a crisp caramelized sugar shell that cracks perfectly with a spoon.
This vanilla bean crème brûlée is rich without being overly sweet, deeply flavored with real vanilla, and designed for beginners. If you have never made crème brûlée before, this recipe guide will walk you through each step so you can feel confident from start to finish.
What Is Crème Brûlée?
Crème brûlée is a classic French custard dessert made with cream, egg yolks, sugar, and vanilla. The name crème brûlée literally translates to “burnt cream” in French, referring to the thin layer of caramelized sugar on top, just crisp enough to crackle when you break it.
The custard itself is gently baked in a water bath until just set, then chilled to achieve its signature silky texture. Right before serving, sugar is sprinkled over the surface and caramelized, creating a crackly shell that contrasts beautifully with the cool, creamy custard underneath.
That contrast is what makes crème brûlée so special. When made correctly, the custard should be smooth and rich, never grainy or loose, with a crisp sugar topping that shatters cleanly with a spoon.
Ingredients You Need for Vanilla Bean Crème Brûlée

Crème brûlée uses just a handful of ingredients, most of which you may already have. Because the ingredient list is so simple, each one plays a very specific role. Understanding what they do will help you get the texture right every time.
As always, the full recipe and exact measurements are written in the recipe card below.
- Heavy Cream (also called heavy whipping cream) – Heavy cream is the base of crème brûlée and is responsible for its rich, silky texture. The high fat content creates a smooth custard and prevents the dessert from tasting thin or watery. Do not substitute with regular milk or half-and-half, as they do not contain enough fat to set properly.
- Egg Yolks – Egg yolks are the key to thickening the custard. When gently heated, the proteins in the yolks coagulate, transforming the liquid cream into a soft, spoonable custard. Using only yolks, rather than whole eggs, keeps the texture smooth and prevents a rubbery result.
- Granulated Sugar – Granulated sugar sweetens the custard and also affects how it sets. A moderate amount keeps the custard rich without being overly sweet. Sugar helps create a smoother texture by slowing protein coagulation, which is why it is mixed with the egg yolks before being added to the cream. You can use vanilla bean sugar here for an extra boost of flavor.
- Vanilla Bean Paste – Vanilla bean paste provides deep vanilla flavor and visible specks, giving crème brûlée its classic look and aroma. This recipe uses a full tablespoon, which is more than most recipes, but vanilla truly shines in crème brûlée. You can substitute whole vanilla beans or vanilla extract if needed, but vanilla bean paste delivers the best overall results.
- Try our Homemade Vanilla Bean Paste Recipe! Not only is the flavor stronger, but it’s so much cheaper.
- Salt – Salt may seem minor, but it is essential. A small amount balances the sweetness and sharpens the vanilla flavor. Without salt, crème brûlée can taste flat or overly sweet.
- Sugar for the Topping – The sugar topping is what gives crème brûlée its signature crack. Granulated sugar melts cleanly and caramelizes evenly, creating a crisp, glassy shell that contrasts perfectly with the creamy custard underneath.
How to Make Crème Brûlée (Step-by-Step Guide)
Step 1: Heat the Cream
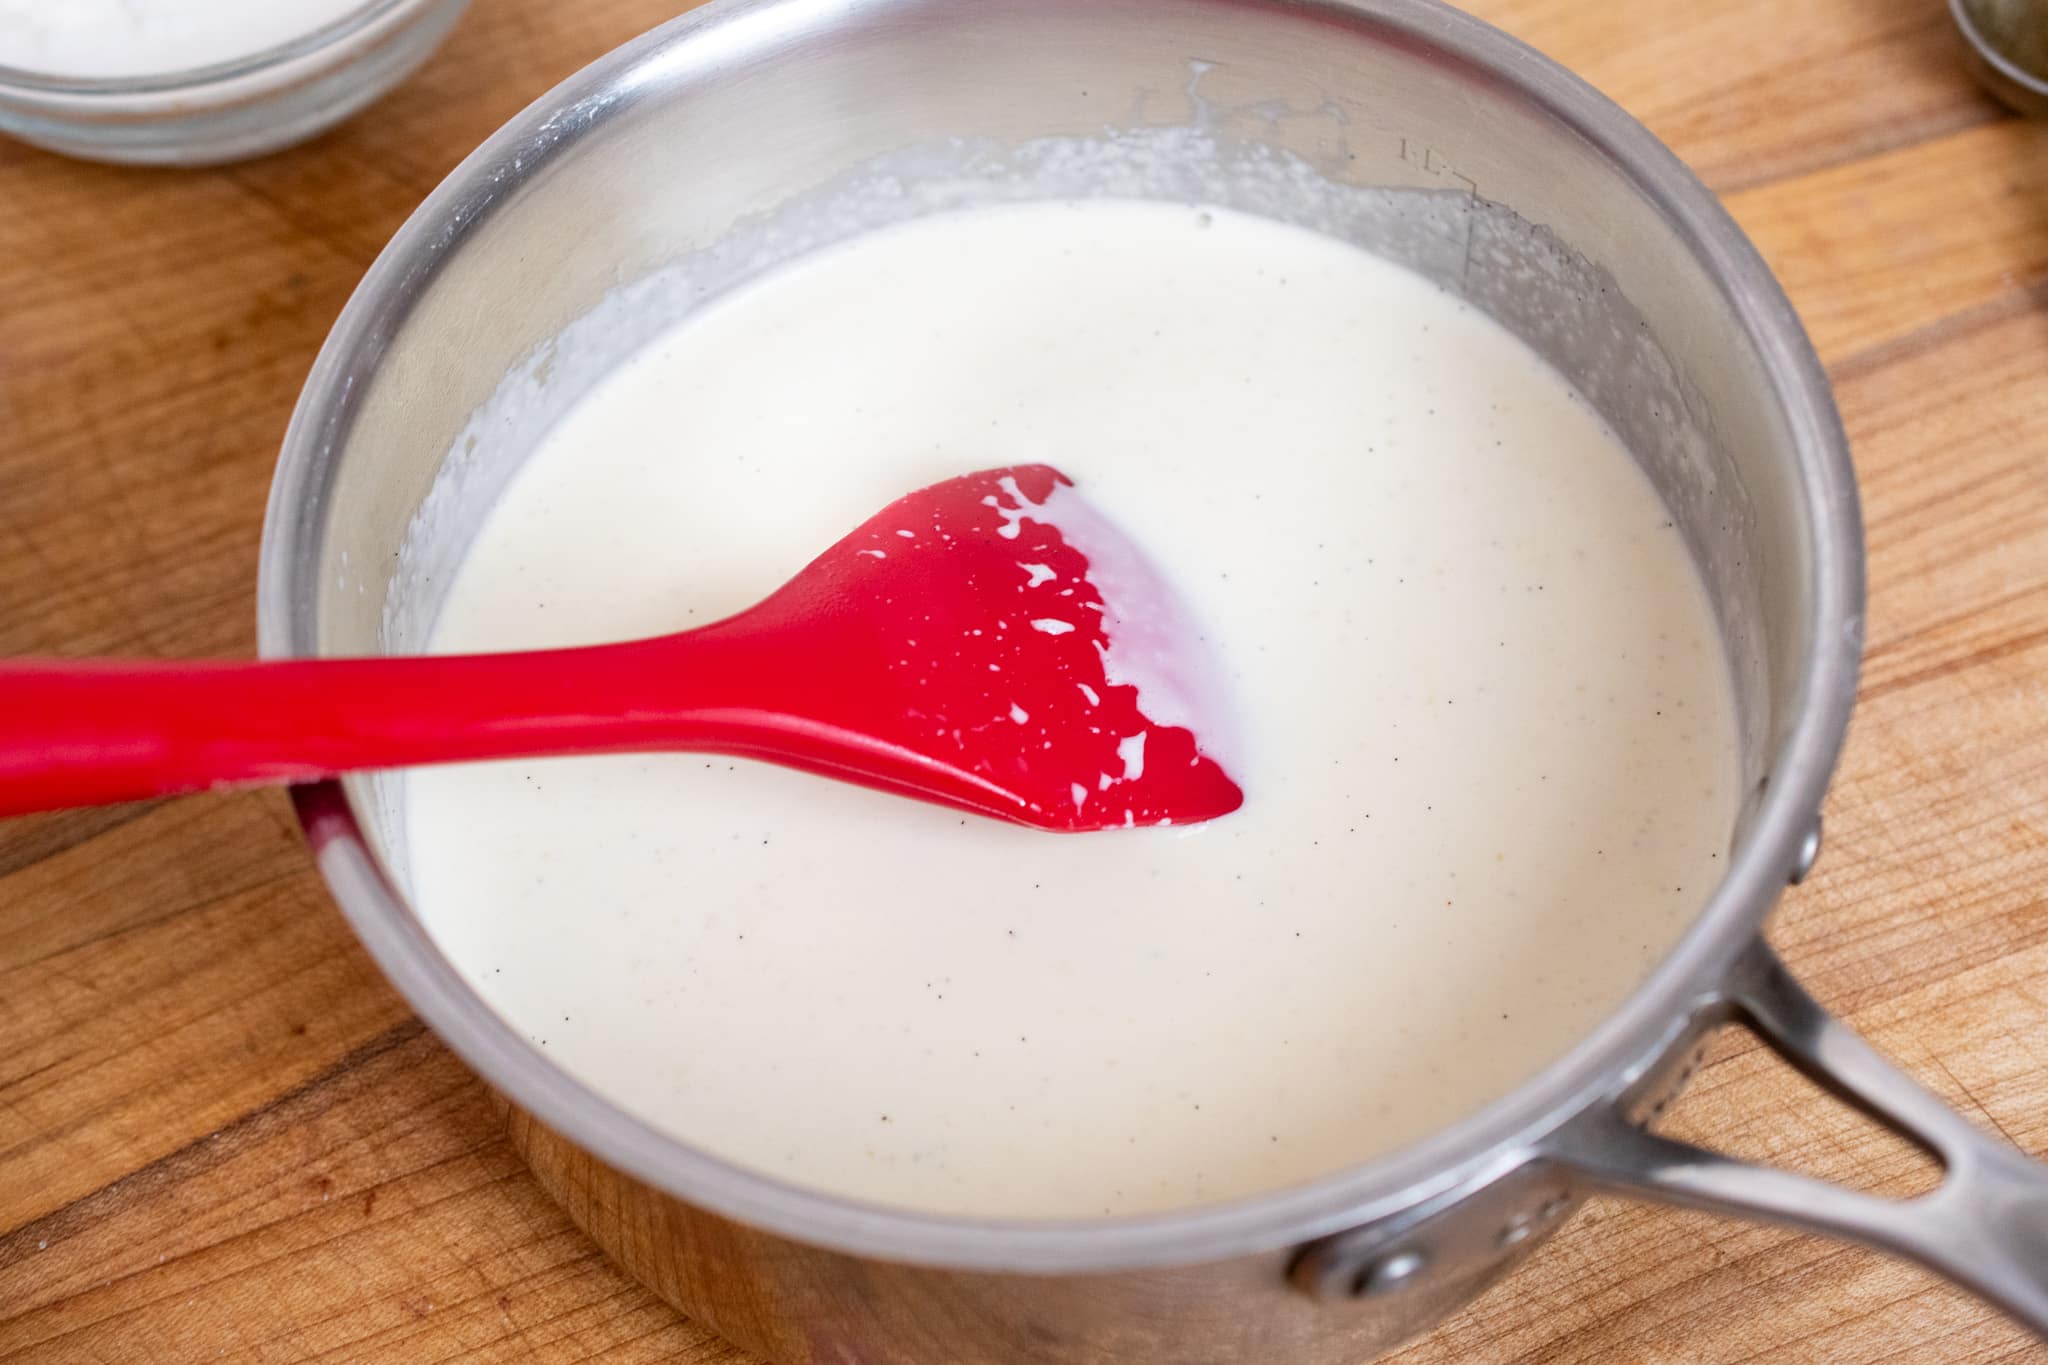
Gently heat the heavy cream with the vanilla bean paste and salt until it is hot and steaming, but not boiling. This helps the vanilla bloom and evenly distributes the flavor throughout the custard.
Step 2: Whisk the Yolks and Sugar
Whisk the egg yolks and sugar together until smooth and slightly lighter in color. You are not trying to whip air into the mixture, just combine everything evenly.


Step 3: Temper the Eggs
Slowly pour the warm cream into the egg yolk mixture while whisking constantly. This step gently raises the eggs’ temperature to prevent them from scrambling.

Step 4: Strain the Custard
Strain the custard through a fine-mesh sieve to remove bubbles and ensure an ultra-smooth texture. This step makes a noticeable difference in the final result.

Step 5: Fill the Ramekins and Create the Water Bath
Place the ramekins in a deep baking dish and divide the custard evenly between them. The number of ramekins will vary depending on size. Carefully pour hot water into the baking dish until it reaches about halfway up the sides of the ramekins. The water bath ensures gentle, even cooking.

Step 7: Bake Until Just Set and Chill
Bake until the edges are set, and the centers jiggle gently like set jello. The custard should not be fully firm when it comes out of the oven. Remove the ramekins from the water bath and refrigerate for at least four hours, preferably overnight.
Step 9: Caramelize the Sugar
Sprinkle a thin, even layer of sugar over the chilled custard. Torch until melted and deep amber, then let it harden before serving.

How to Know When Crème Brûlée Is Done Baking
Your crème brûlée is ready to come out of the oven when:
- The edges are set.
- The center jiggles gently like set jello.
- There is no liquid sloshing when you tilt the ramekin slightly.
- The internal temperature reaches 176°F (80°C).
If the center ripples like milk, it needs more time. If it is completely firm, it has gone too far.
Don’t Skip the Water Bath
Crème brûlée is baked in a water bath to control the heat.
The hot water:
- Prevents the custard from overheating.
- Helps it cook evenly.
- Protects it from curdling.
Skipping the water bath almost always leads to grainy or overcooked custard. Simply place the ramekins filled with custard in a large roasting pan. Then carefully pour hot water until it reaches halfway up the sides. Be careful not to get water into the custard.
How to Brûlée Vanilla Bean Crème Brûlée Without a Torch
While a kitchen torch gives the most control, you can still achieve a crisp caramelized sugar topping without one by using your oven’s broiler.
Using the Broiler Method
- Chill the custards completely. They must be very cold before broiling to prevent the custard from overheating.
- Sprinkle a thin, even layer of sugar over each custard. Tap the ramekin to evenly distribute the sugar, then shake off any excess.
- Place the ramekins on a baking sheet and position them on the highest oven rack.
- Turn the broiler on high and watch closely. The sugar will begin to melt and caramelize within 1–3 minutes.
- Remove immediately once the sugar turns deep amber.
Let the sugar harden for a minute before serving.
Tip: Broilers vary widely. Never walk away, as the sugar can go from perfectly caramelized to burnt very quickly.
Make-Ahead and Storage Tips for Vanilla Bean Crème Brûlée
Crème brûlée is an excellent make-ahead dessert, making it perfect for dinner parties and special occasions.
Bake the custards as directed, let them cool to room temperature, then refrigerate uncovered for up to 2 days. For best results, caramelize the sugar topping just before serving, as brûléeing the sugar ahead of time will cause it to soften in the refrigerator.
Store un-brûléed custards uncovered in the refrigerator. Once brûléed, crème brûlée is best enjoyed immediately. If needed, leftovers with the sugar topping can be refrigerated for a few hours, though the caramelized crust will soften over time.
Freezing vanilla bean crème brûlée is not recommended. Freezing and thawing can cause the custard to become grainy and lose its smooth, silky texture.

FAQs on Vanilla Bean Crème Brûlée
Crème brûlée sets in two stages. It partially sets in the oven and finishes setting in the refrigerator. If the custard is still loose after chilling for at least four hours, it was underbaked. The edges should be set when it comes out of the oven, with a gentle jiggle in the center.
The custard is ready when the edges are fully set and the center jiggles like set gelatin. It should not slosh or ripple like liquid. If it looks fully firm in the oven, it is likely overbaked.
Yes. Vanilla extract works well if that is what you have. Vanilla bean paste provides a deeper flavor and visible specks, but the extract will still produce a delicious crème brûlée. Use a high-quality extract for best results.
Yes. Crème brûlée is an excellent make-ahead dessert. The custards can be baked and chilled up to two days in advance. Add the sugar topping and caramelize it just before serving for the best texture.
Freezing is not recommended. The custard can become grainy after thawing, and the sugar topping will not caramelize properly.
Get To Baking!
Vanilla bean crème brûlée is a dessert built on technique, not complexity. When you slow down, follow the visual cues, and trust the process, the result is a smooth, elegant dessert that feels far more impressive than the effort required.
If this is your first time making crème brûlée, take your time and enjoy the process. Once you master it, you will find yourself coming back to it again and again.
And don’t forget to leave a review and tag me on social media @everythingjustbaked! I love seeing what you create!

Ingredients
- 2 cups (480g) heavy cream
- 1 tablespoon vanilla bean paste
- 5 large egg yolks
- ⅓ cup + 1 tbsp (80g) granulated white sugar
- Pinch of fine salt
- Granulated White Sugar for brûlée topping
Instructions
- Preheat oven to 325°F (165°C).
- In a saucepan, combine the heavy cream, vanilla bean paste, and salt. Heat over medium until the cream is hot and steaming but not boiling. Remove from heat.
- In a bowl, whisk the egg yolks and sugar until smooth and slightly pale.
- Slowly pour the warm cream into the yolks while whisking constantly to temper the eggs.
- Strain the custard through a fine-mesh sieve to remove bubbles and ensure a silky smooth texture.
- Place the ramekins in a deep baking dish and divide the custard evenly between them. The number of ramekins needed will vary depending on size. I used 6 small (4-ounce) ramekins but any will work.
- Pour hot water into the baking dish until it reaches halfway up the sides of the ramekins. Do not get hot water into the custard.
- Bake for 30–40 minutes, until the edges are set and the centers jiggle gently like set jello.
- Remove from the water bath and immediately transfer the ramekins to the fridge, and cool overnight (or at least for 4 hours).
- Just before serving, sprinkle a thin, even layer of sugar over each custard.
- Using a kitchen torch, melt the sugar until caramelized and deep amber. Let sit for 1–2 minutes to harden before serving.
Video
Notes
- Vanilla bean sugar: For extra flavor and aroma, use vanilla bean sugar in the custard and/or on the topping in place of regular granulated white sugar.
- Ramekin size: This recipe yields about 2½ cups of custard and will fill 6 (4-ounce) ramekins or 4–5 larger ramekins, depending on size and depth.
- Make ahead: The custards can be baked and chilled up to 2 days in advance. Brûlée the sugar topping just before serving.
- No torch? The sugar topping can be caramelized under a broiler, but watch closely, as it can burn quickly.


Crème brûlée has always been my favorite dessert, and I’ve wanted to try making it forever. This recipe was super easy to follow and turned out absolutely delicious! The texture was perfectly creamy and the caramelized sugar on top was just right. My whole family loved it, and I’ll definitely be making it again. Highly recommend!