
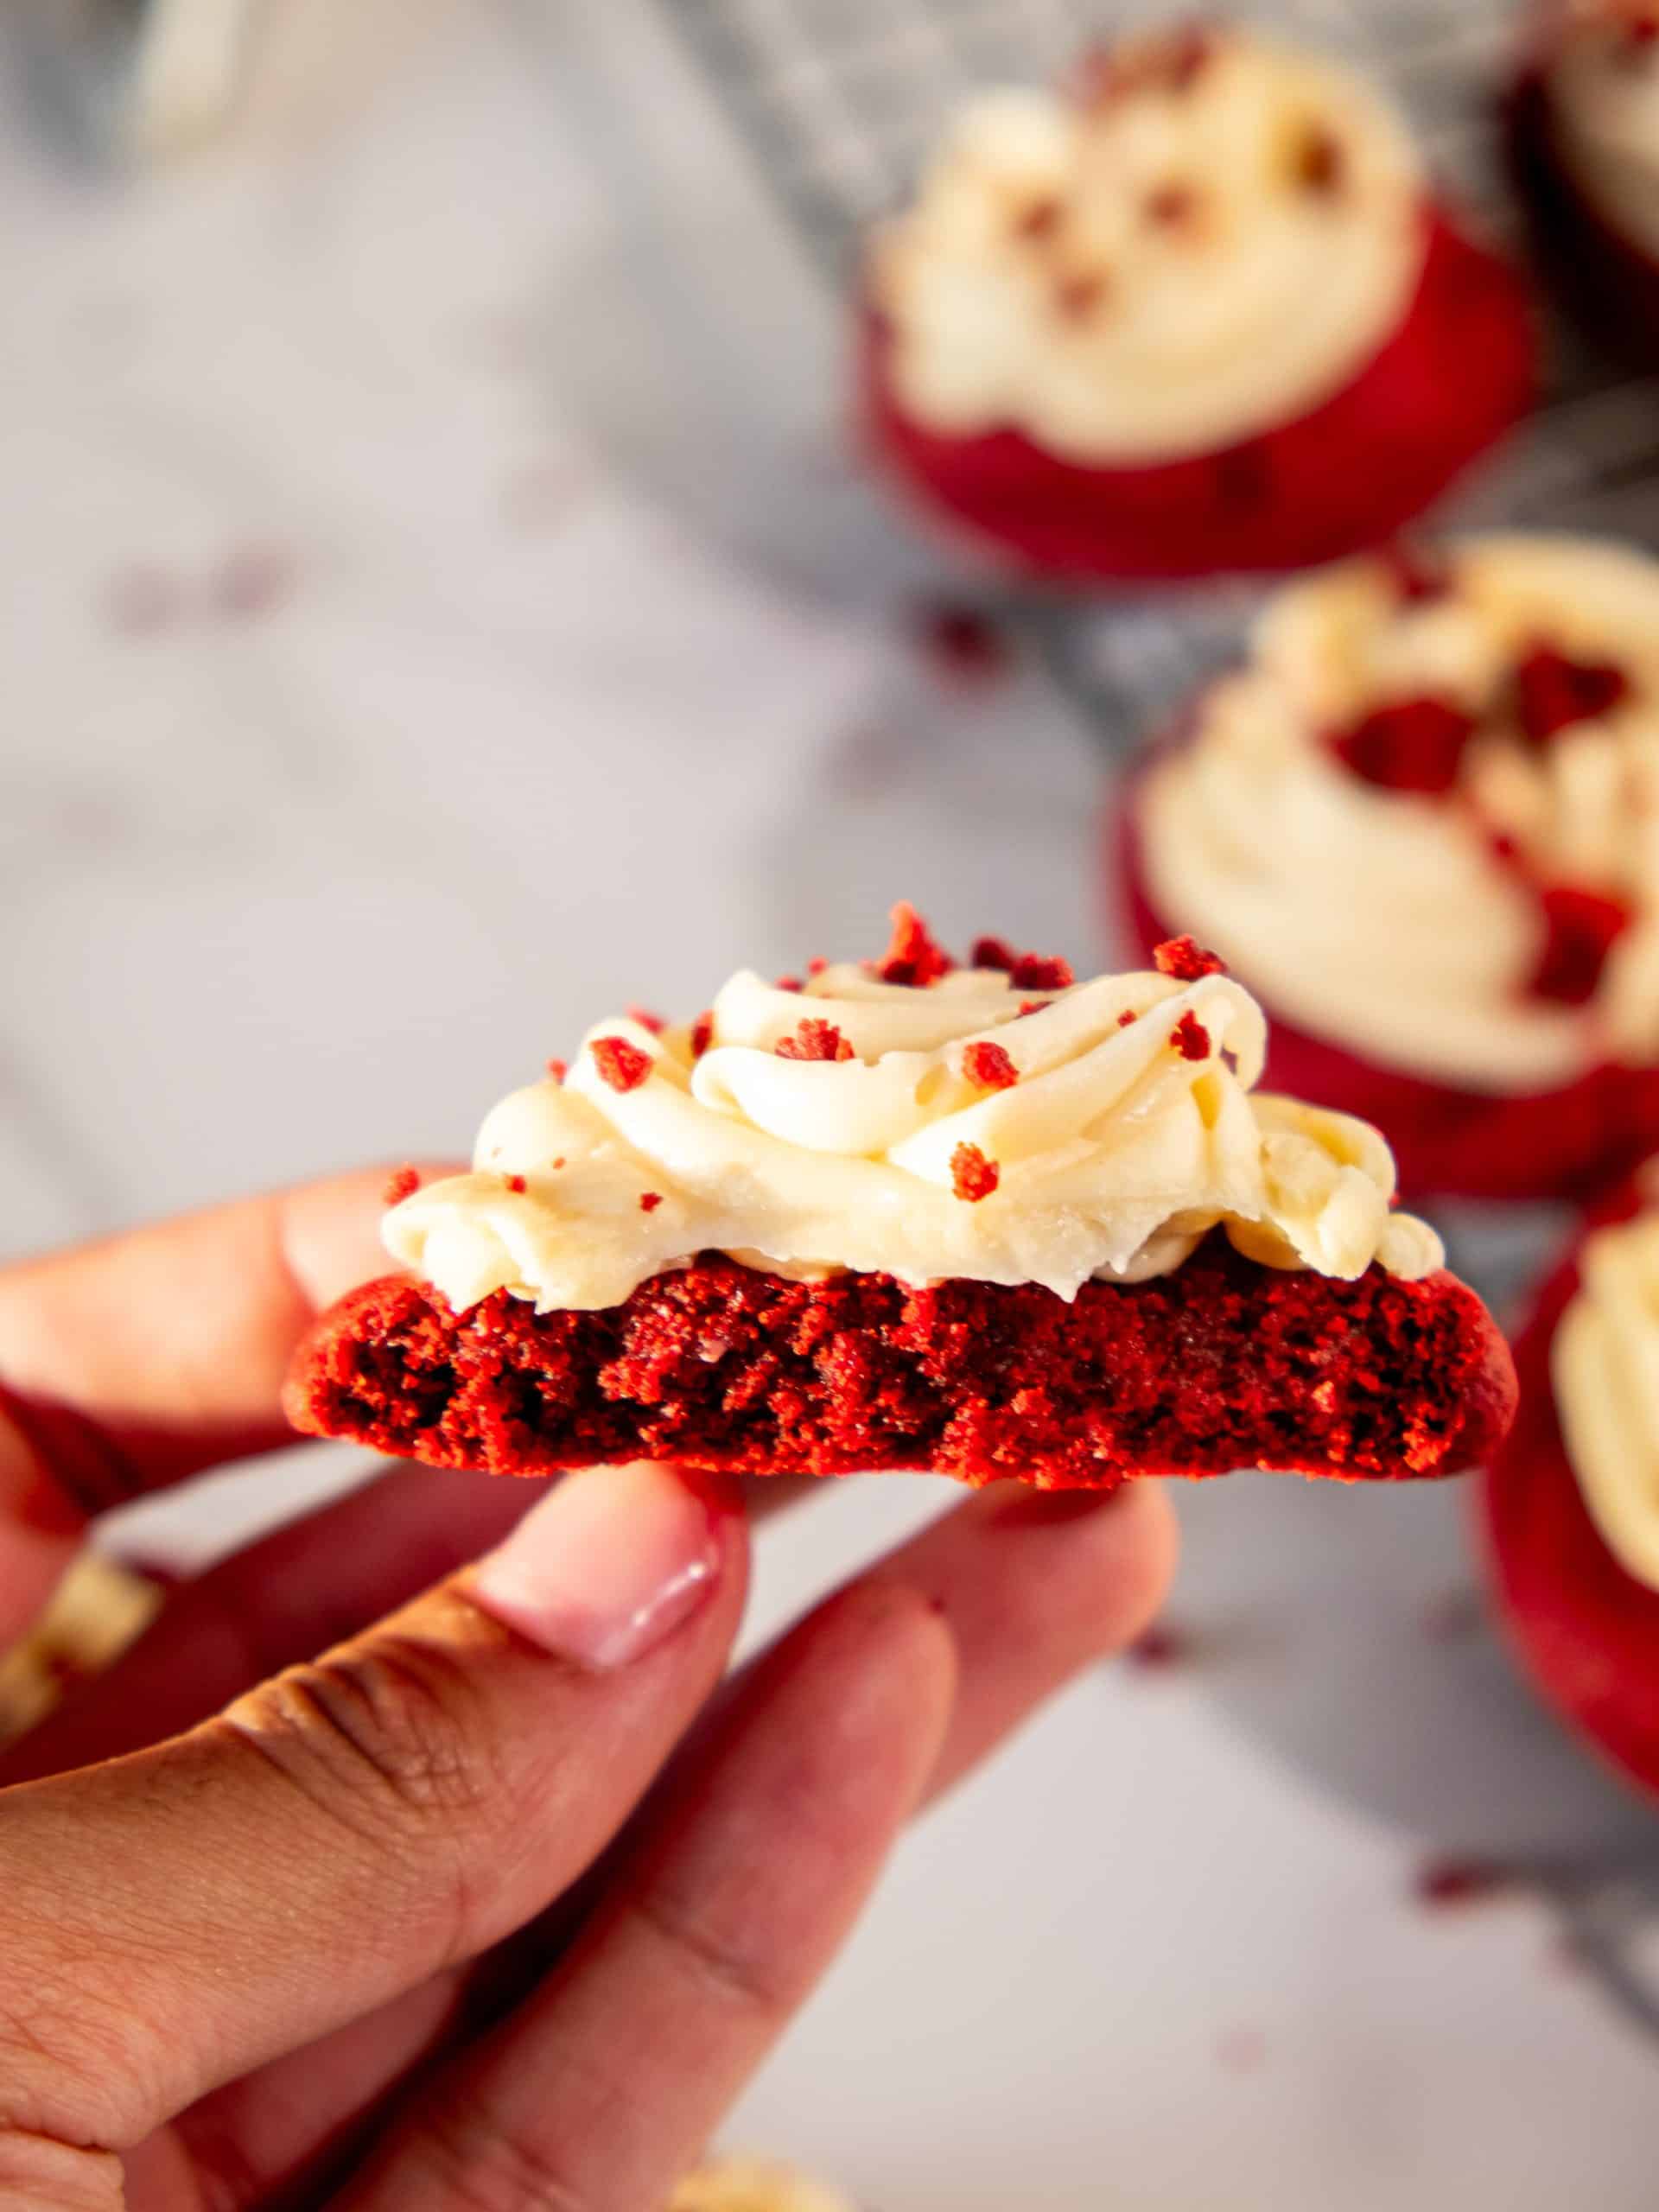
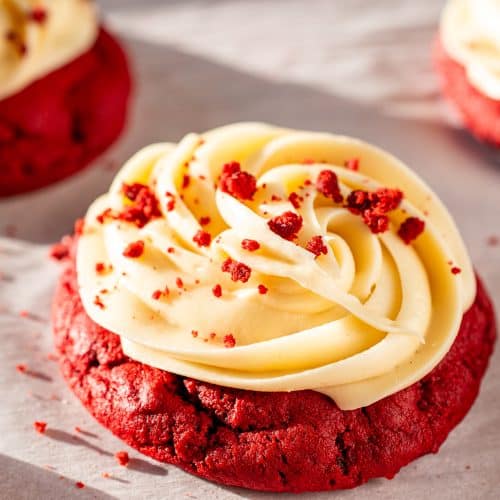
Red Velvet Cookies with Cream Cheese Frosting
If you’re a red velvet cake fan, you’re going to fall head over heels for these Red Velvet Cookies with Cream Cheese Frosting! They’re soft, chewy, and packed with the rich cocoa flavor and vibrant red color that make red velvet so iconic. Paired with a tangy, luscious cream cheese frosting, these cookies are perfect for holidays, Valentine’s Day, or just because you deserve a treat. In this post, I’ll walk you through the highlights of why these cookies are a must-try, along with tips to ensure they come out perfect every time. Let’s dive in!
What Makes Red Velvet Special?
Red velvet isn’t just about the color—it’s a unique combination of mild cocoa flavor, tangy buttermilk, and a touch of acidity from vinegar. This creates a beautifully balanced flavor profile that’s rich but not overwhelming. Adding cream cheese frosting brings a creamy, slightly tangy sweetness that complements the cookies perfectly.
Try our Red Velvet Cake, Red Velvet Cupcakes, or Red Velvet Pound Cake!
Fun Fact: Red Velvet dates back to the Victorian Times. Bakers would add cocoa powder to their cakes to create a softer and lighter texture. This resulted in the name “velvet cake”.
Why Buttermilk and Vinegar Are Essential in Red Velvet
Many cookie recipes leave out buttermilk and vinegar, but these two ingredients are key to achieving the classic red velvet flavor and texture. Buttermilk adds a creamy tang and helps keep the cookies soft and tender, while vinegar reacts with the baking soda to create a light, airy texture. Together, they enhance the cocoa flavor and give the cookies their signature velvety finish. Skipping these would mean missing out on what truly makes red velvet unique. That is what makes this recipe truly the BEST Red Velvet Cookies.
Why You’ll Love This Red Velvet Cookie Recipe
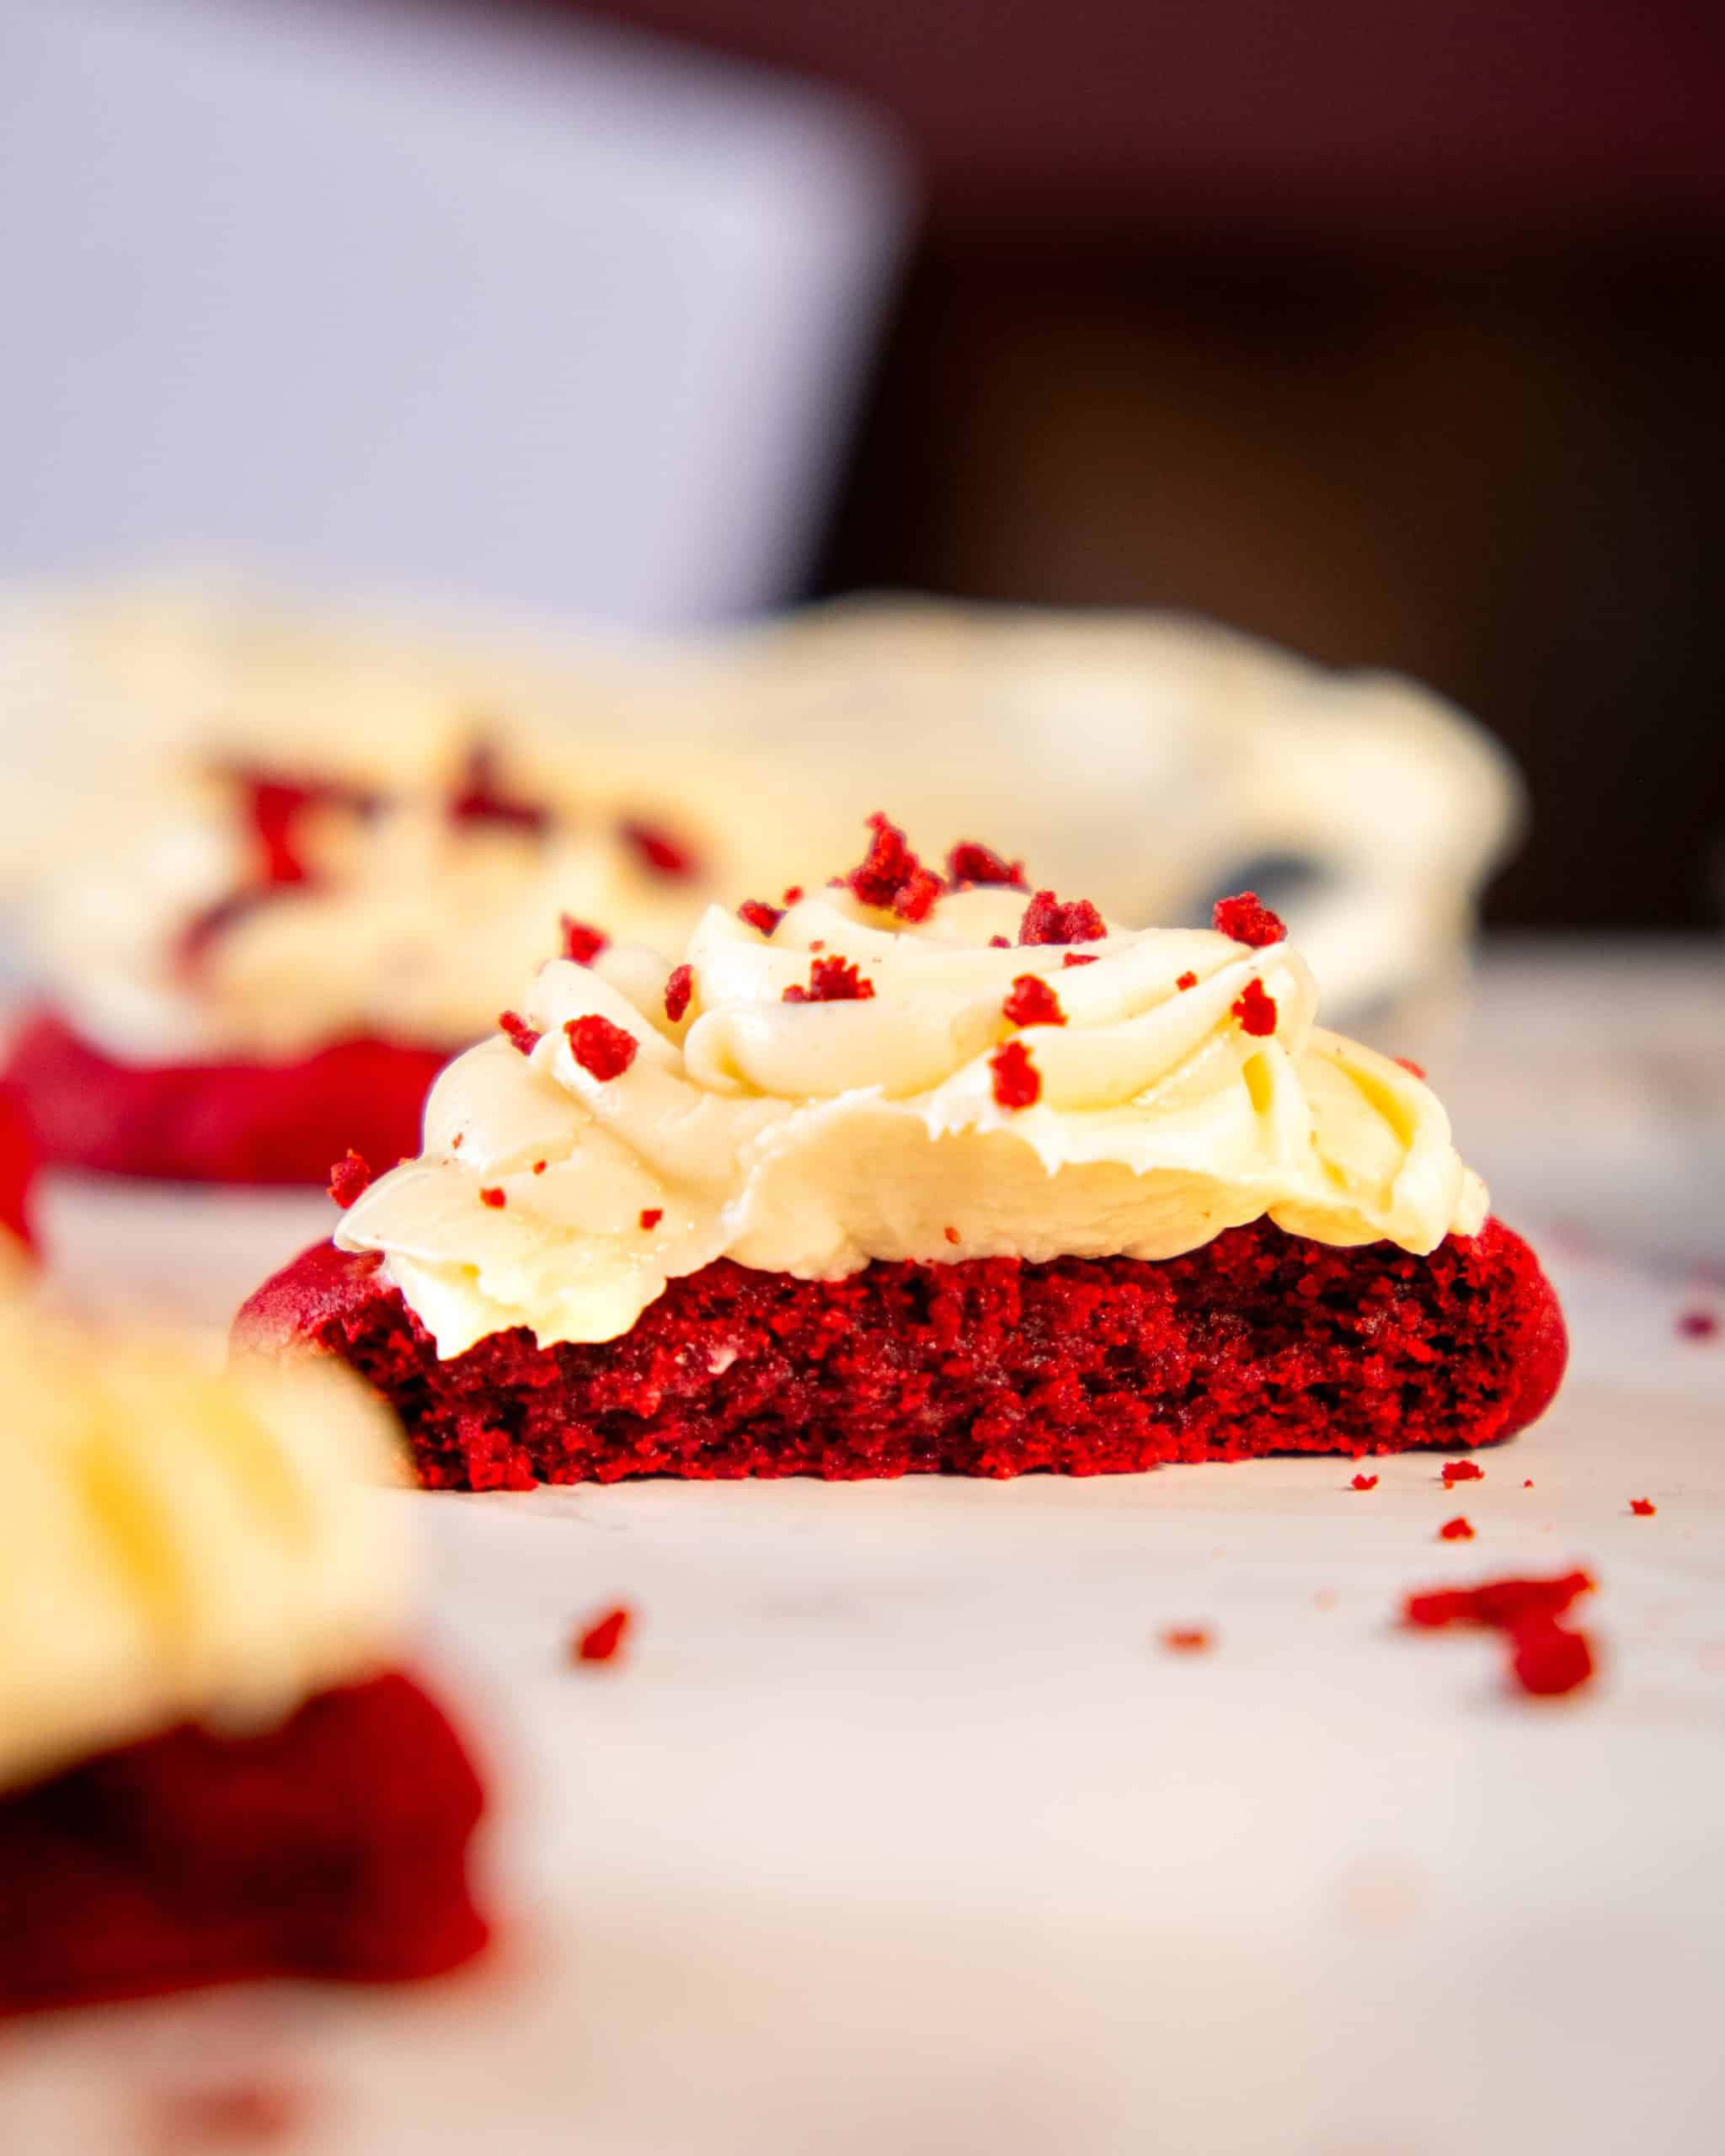
- Soft and Chewy Texture: These cookies have a tender crumb that’s slightly crisp on the edges and soft in the center.
- No Chill Time: This recipe is quick and convenient—no need to wait for the dough to chill! That means you get to eat cookies sooner!
- Versatile: Perfect for holidays, gifting, or an everyday indulgence.
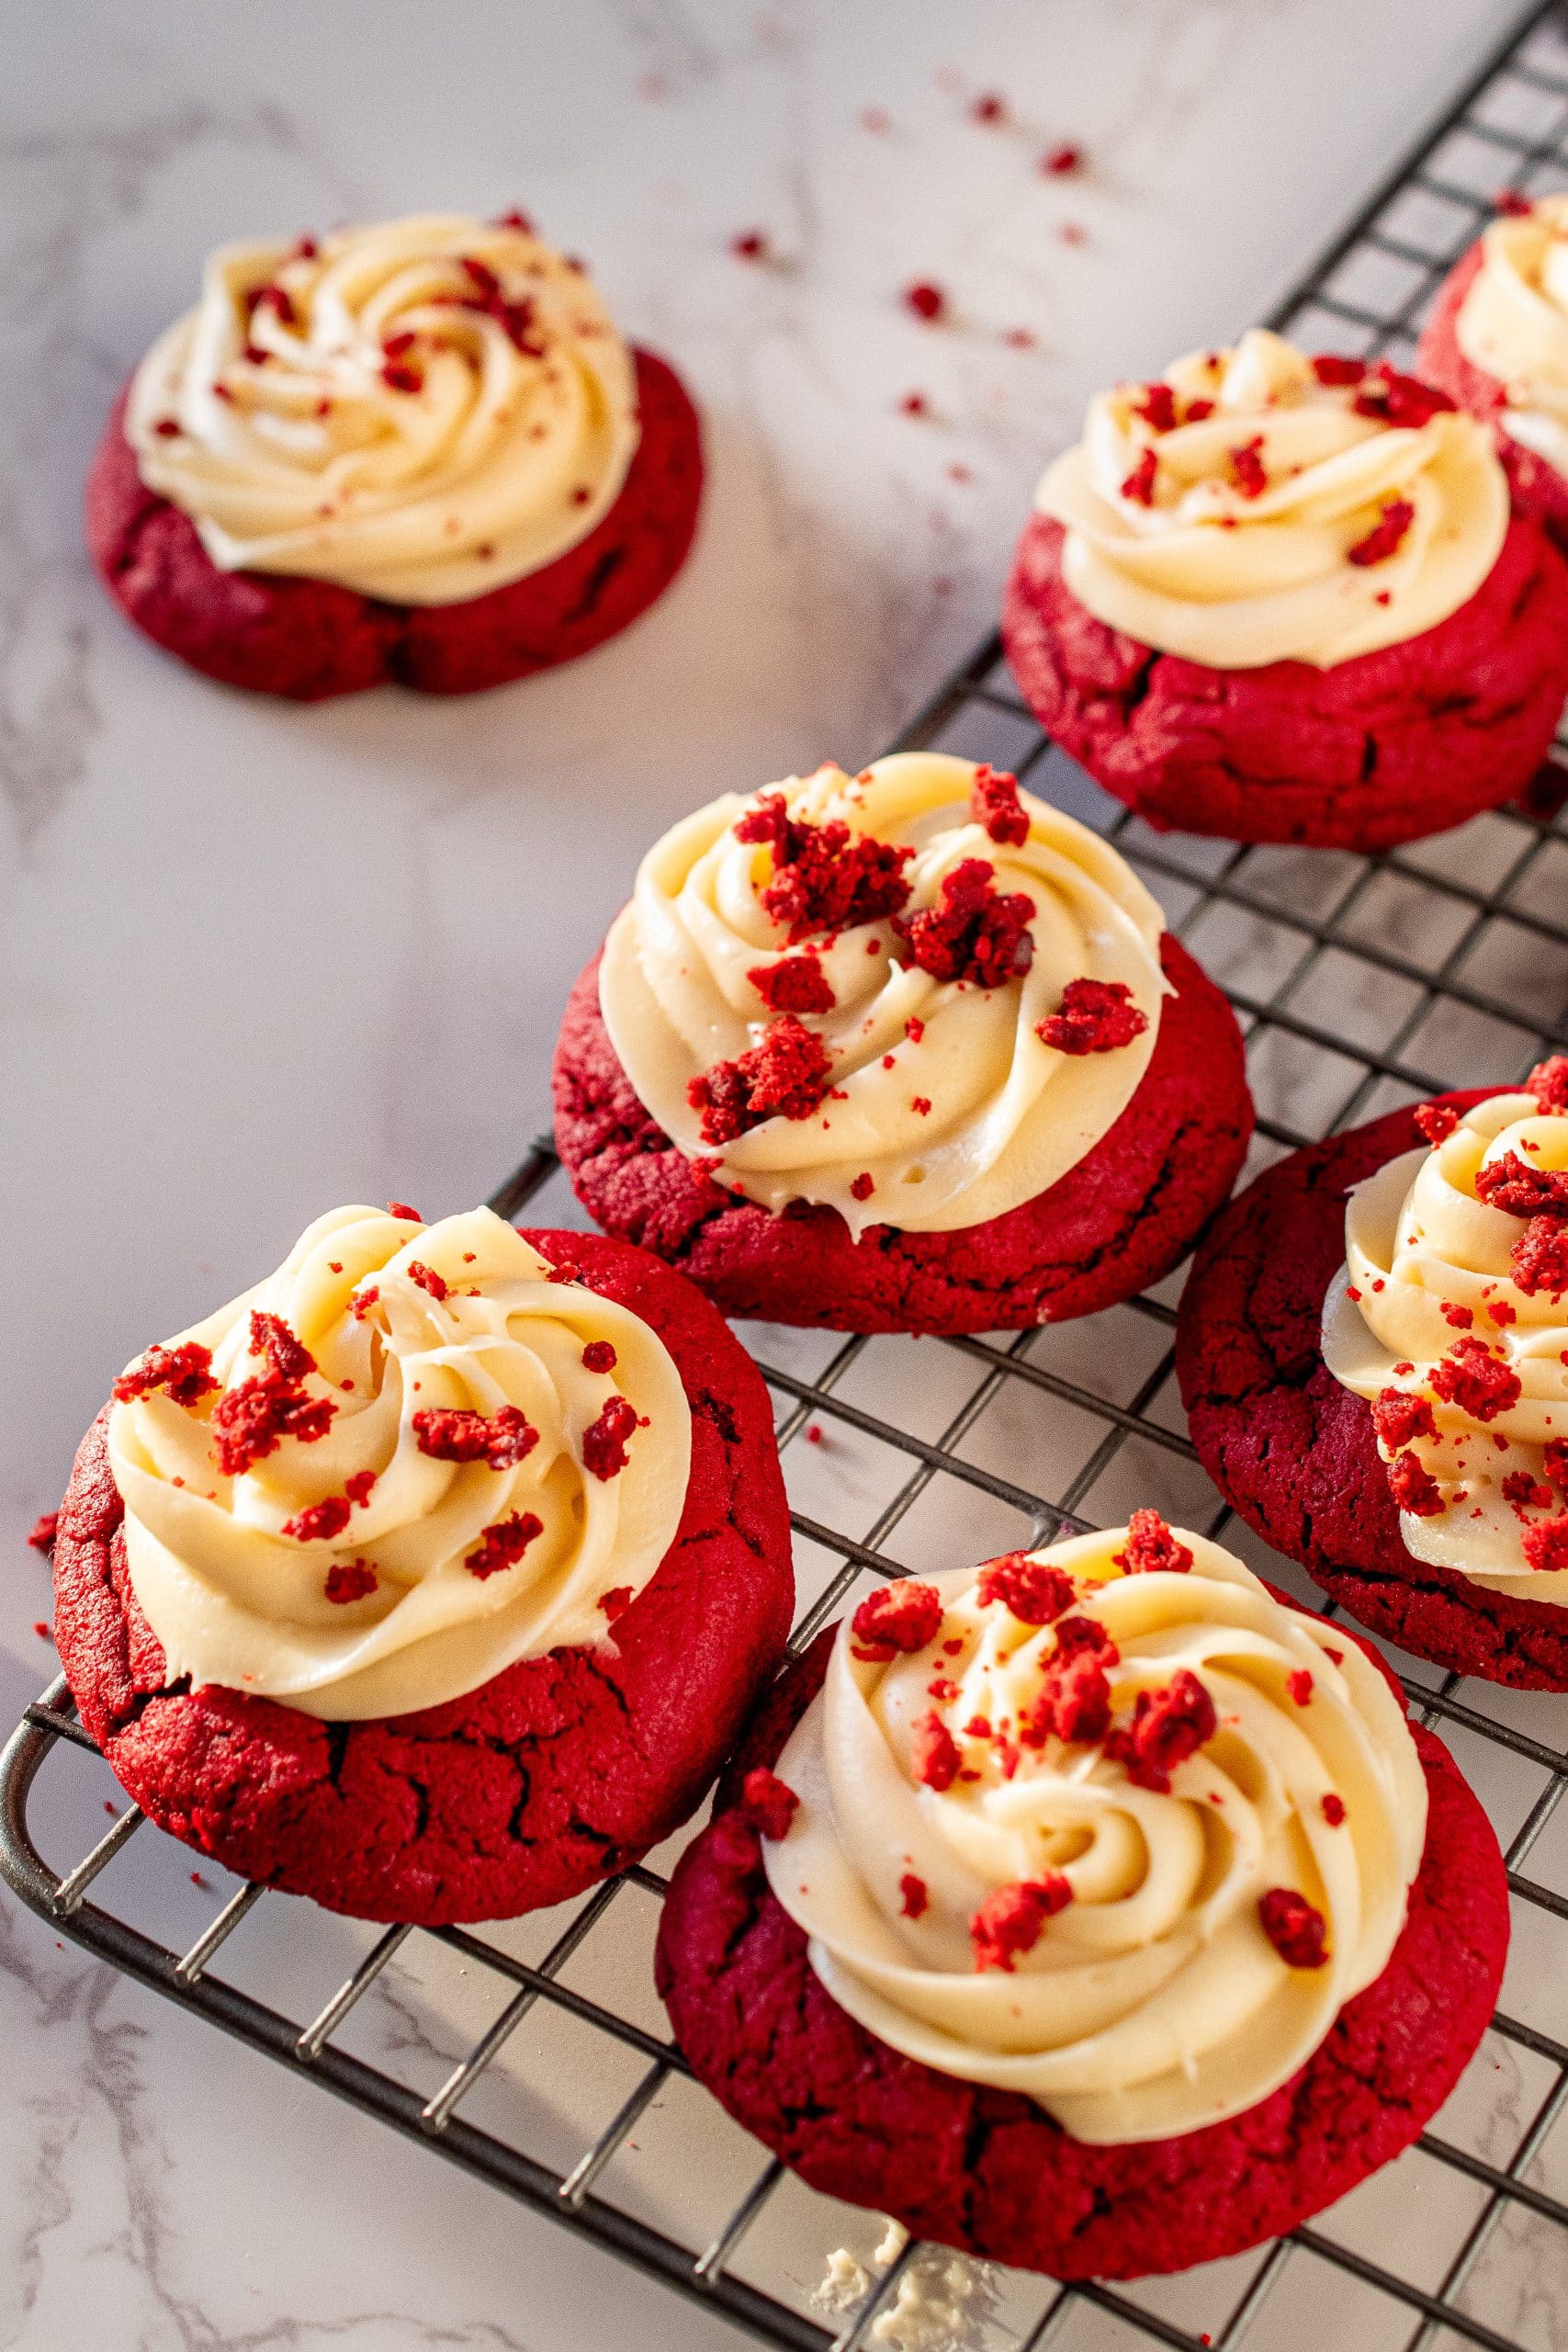
- Eye-Catching: The vibrant red color with creamy white frosting makes these cookies an impressive visual treat. Shhhhh, no one has to know this recipe is that simple.
How to Make the Best Red Velvet Cookies
1. Prepare the Dough
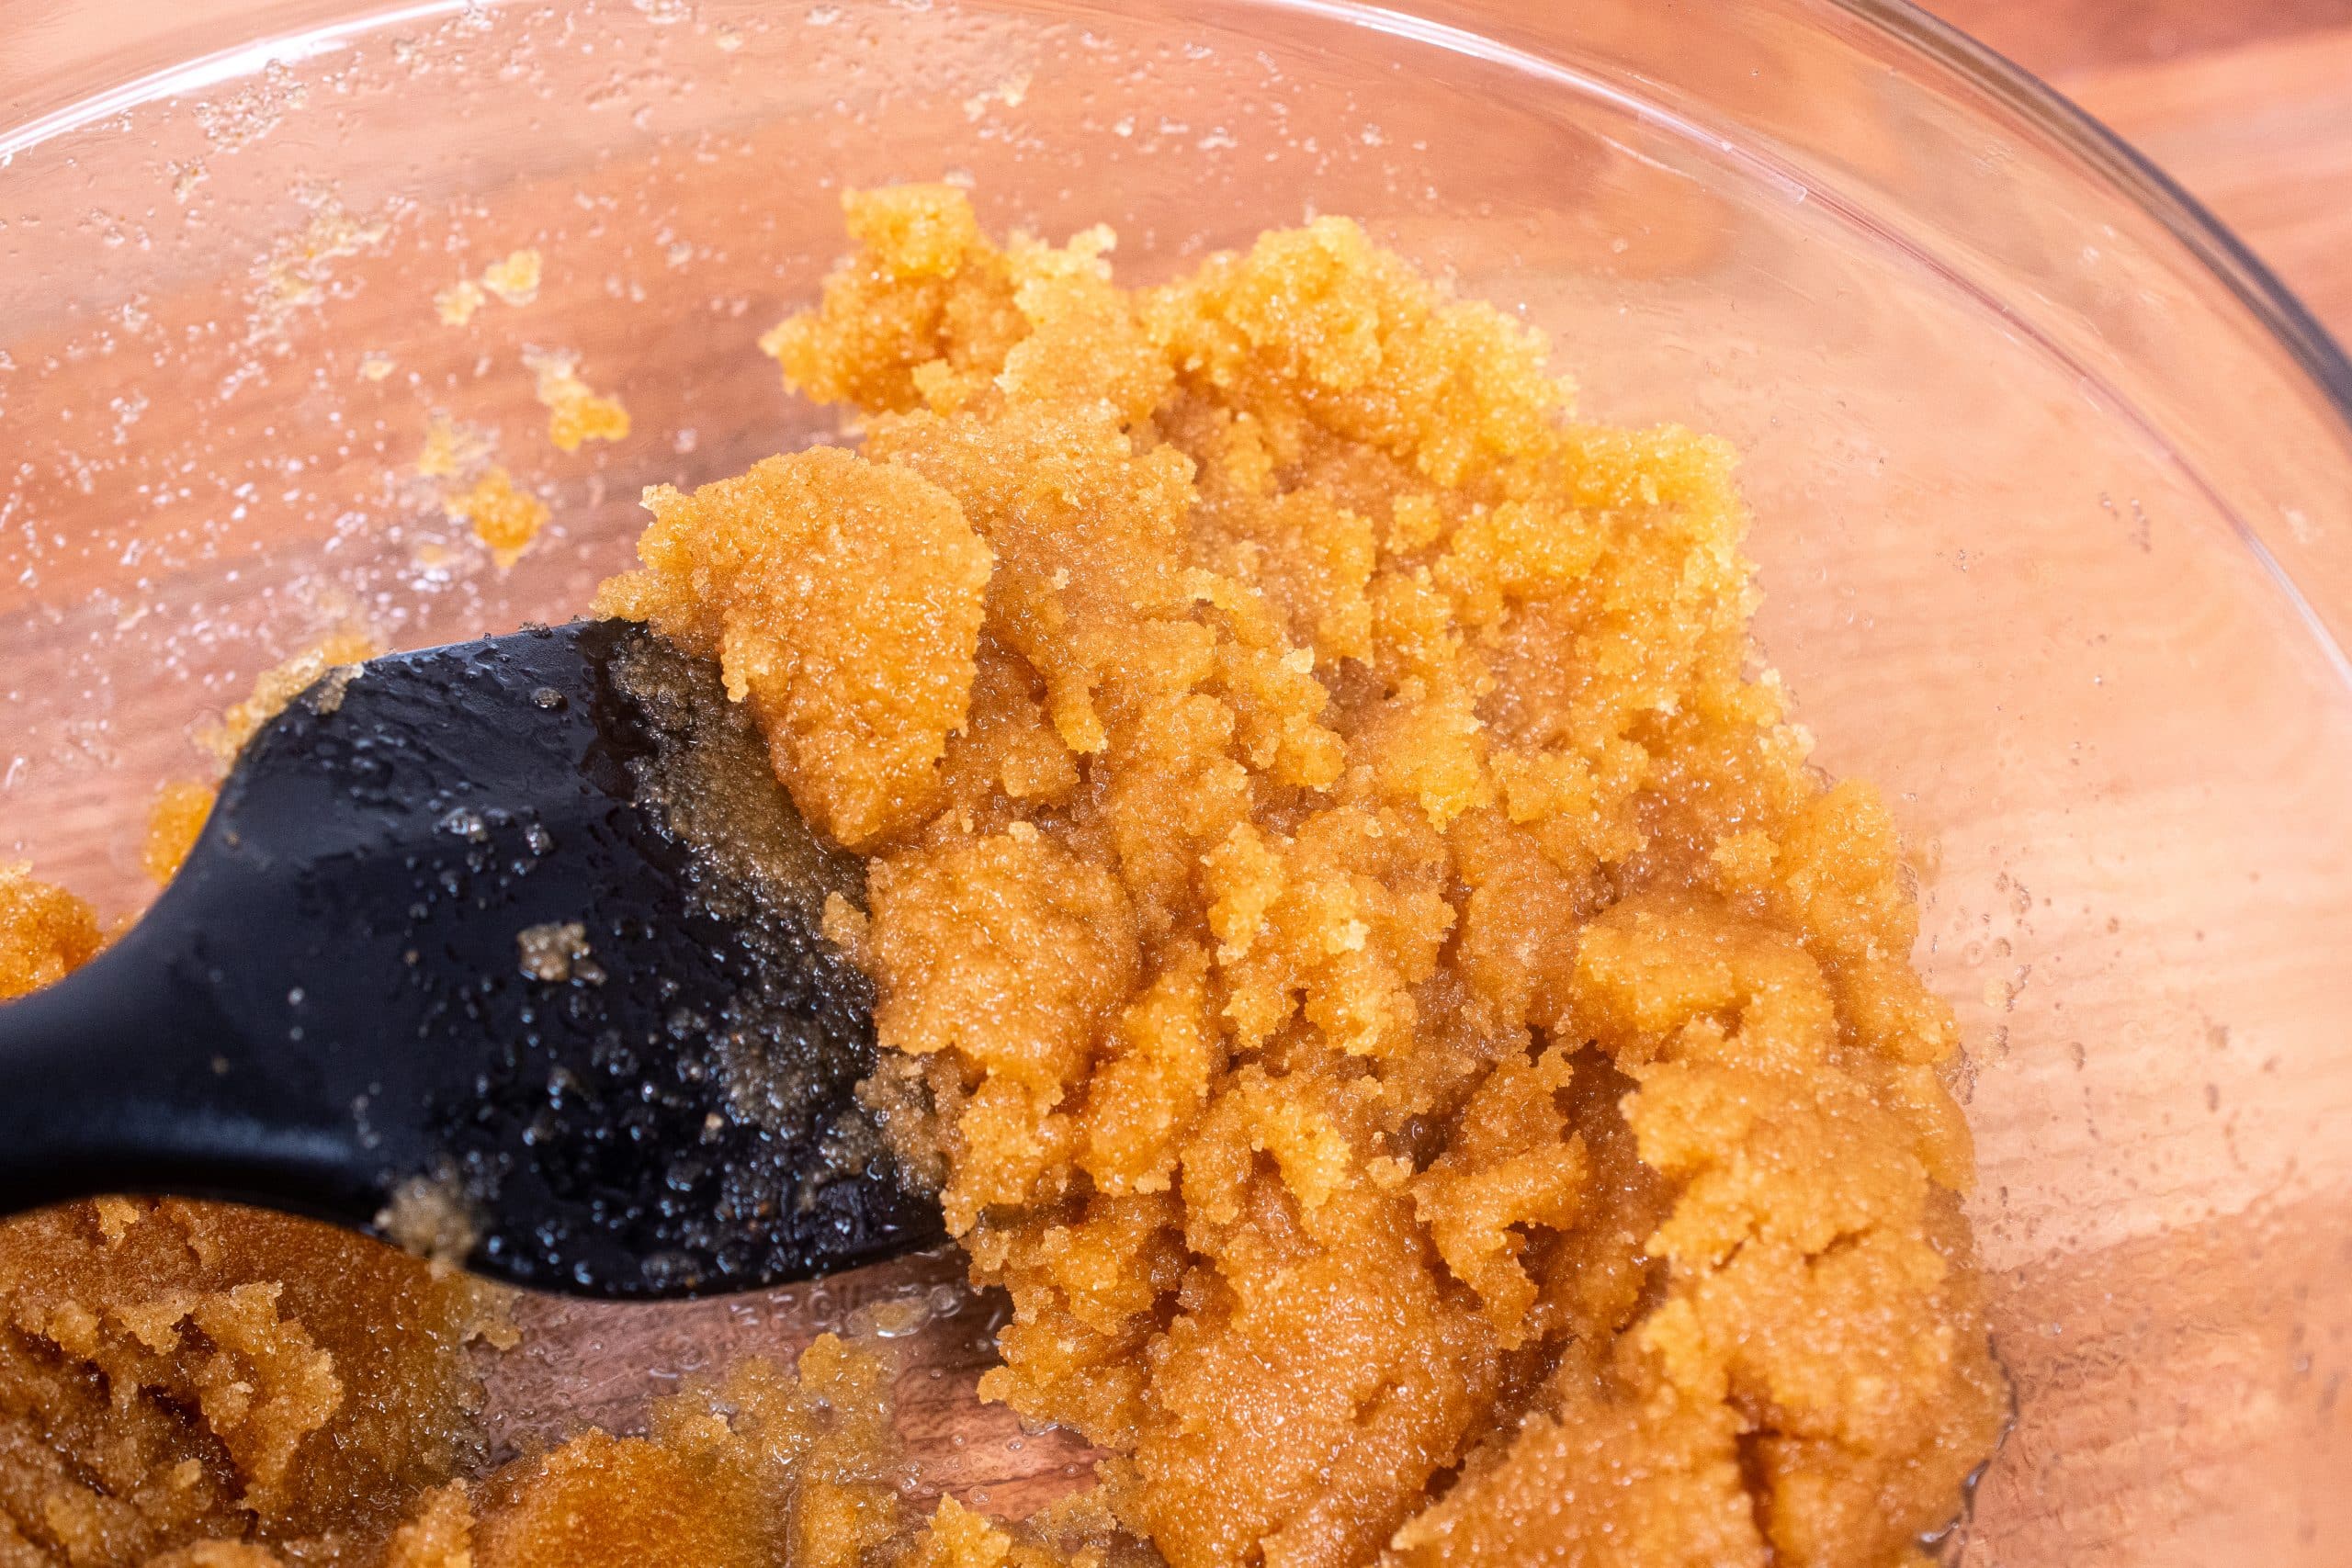
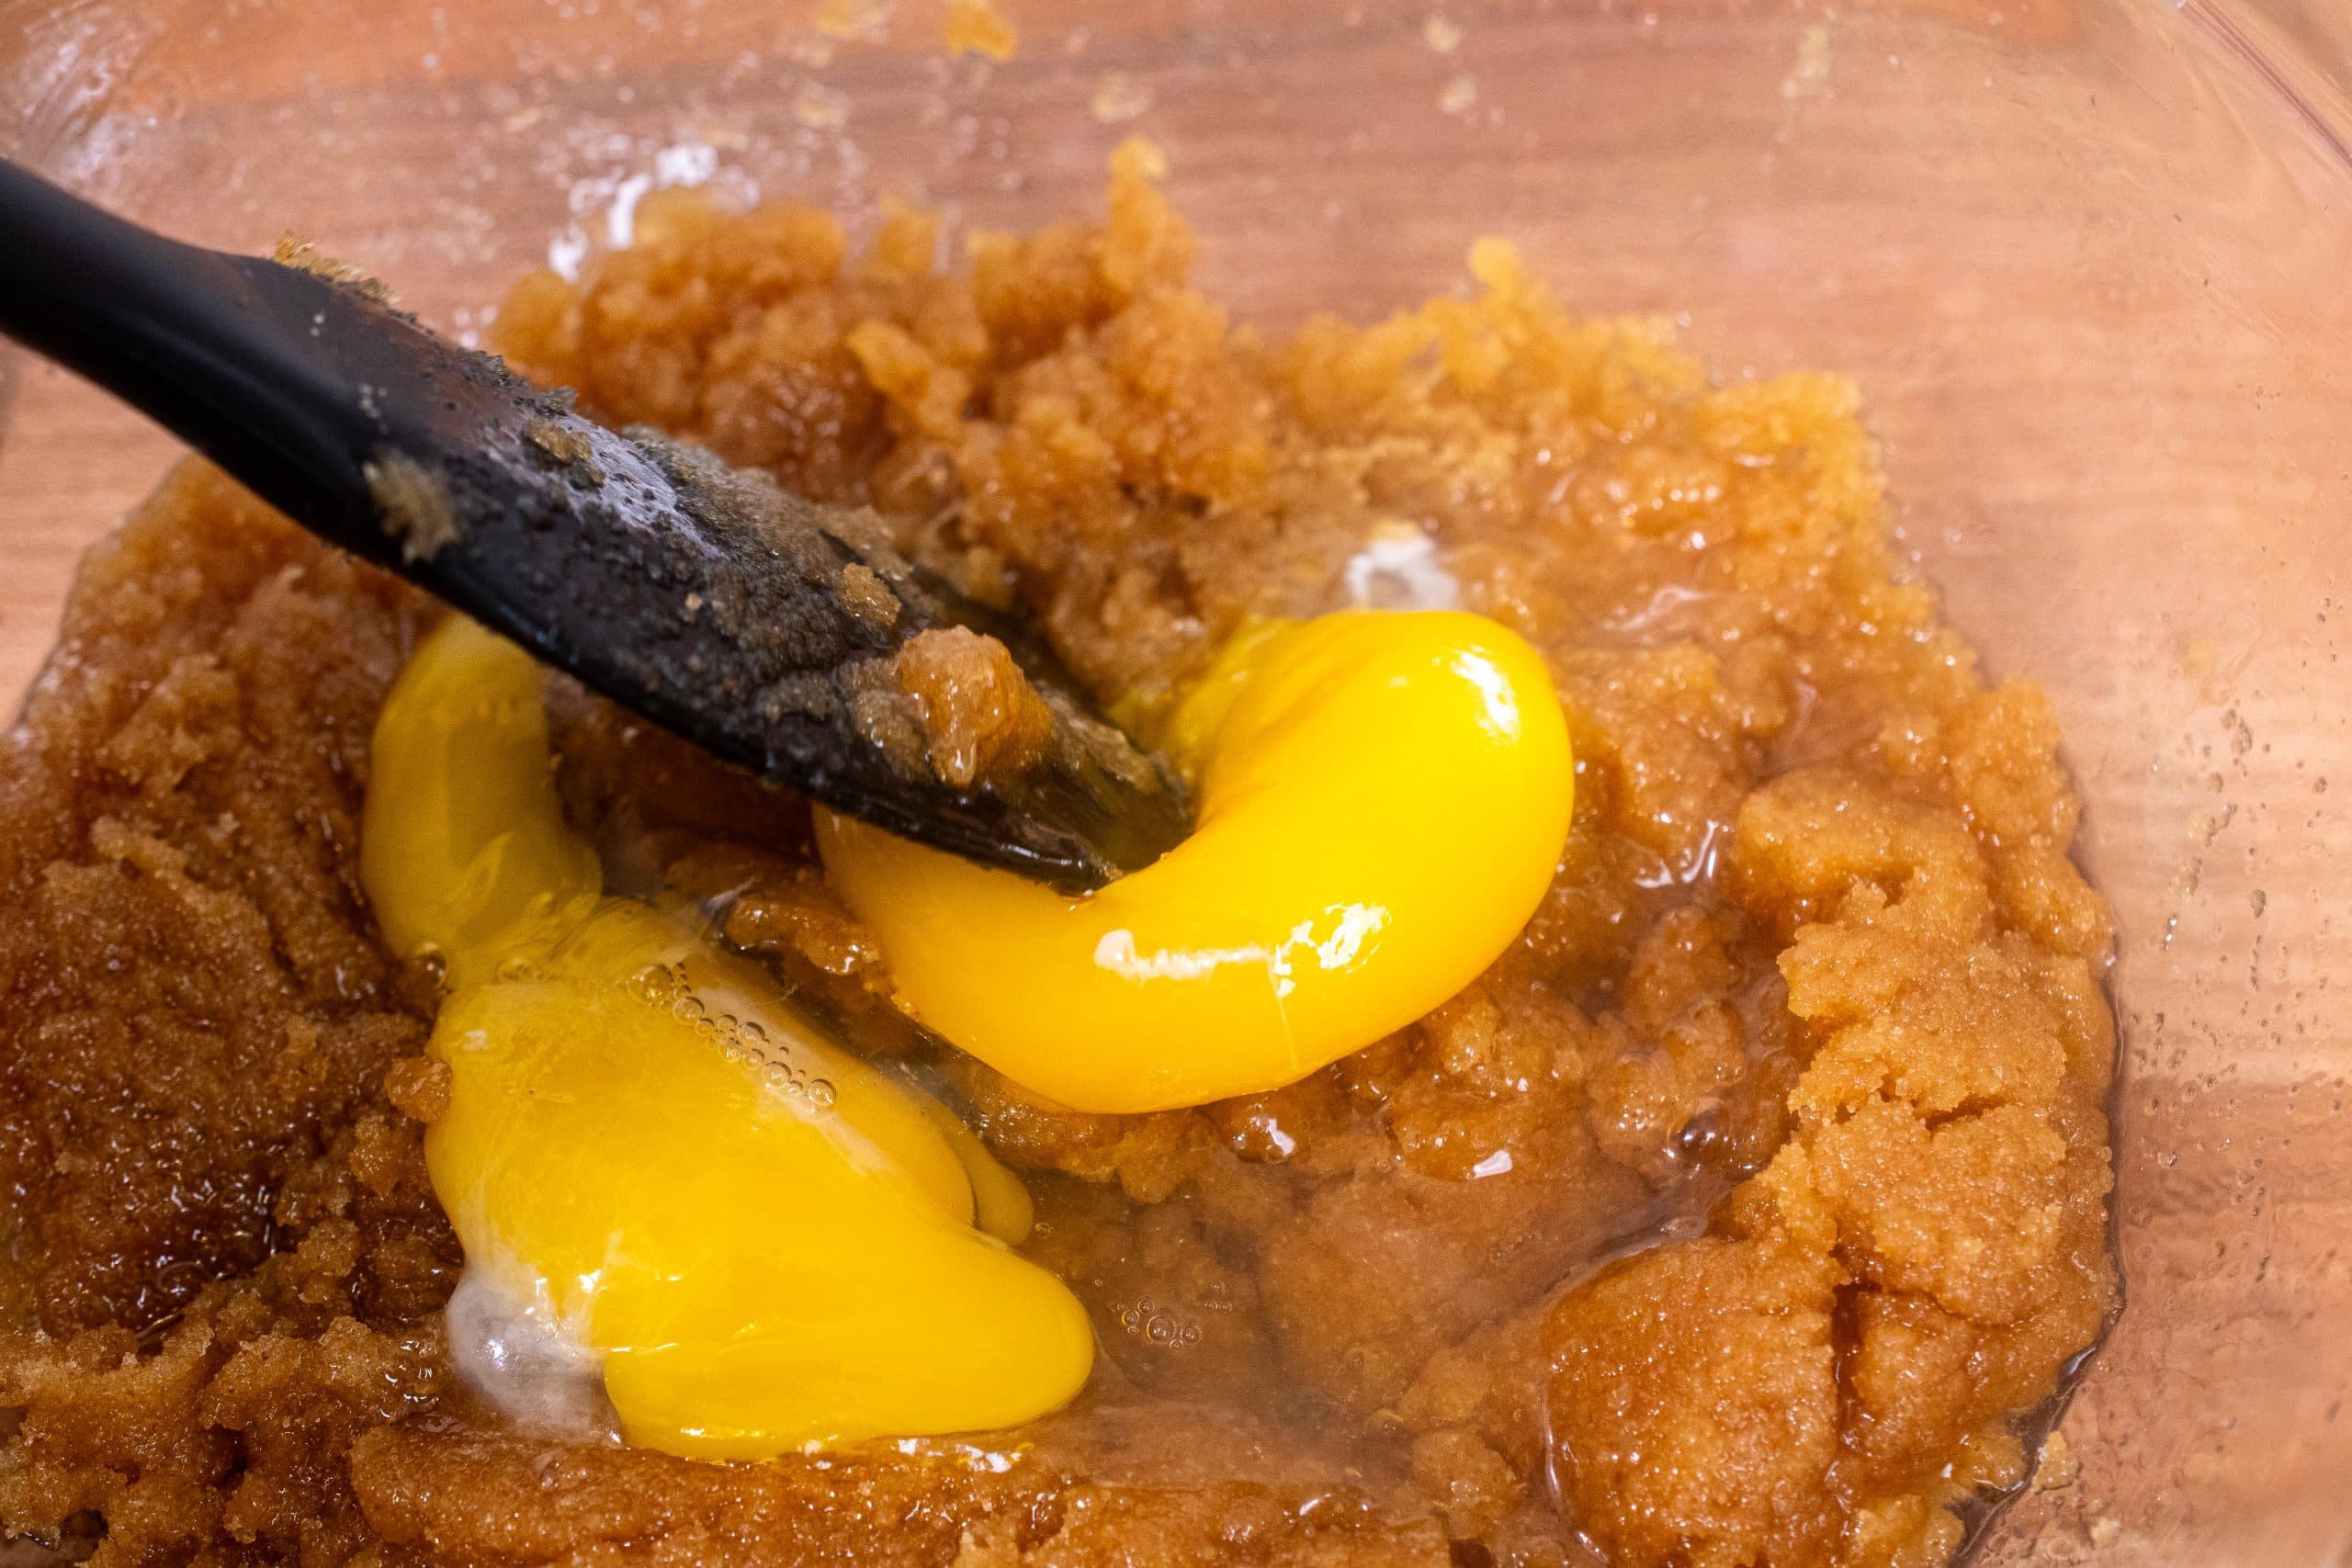
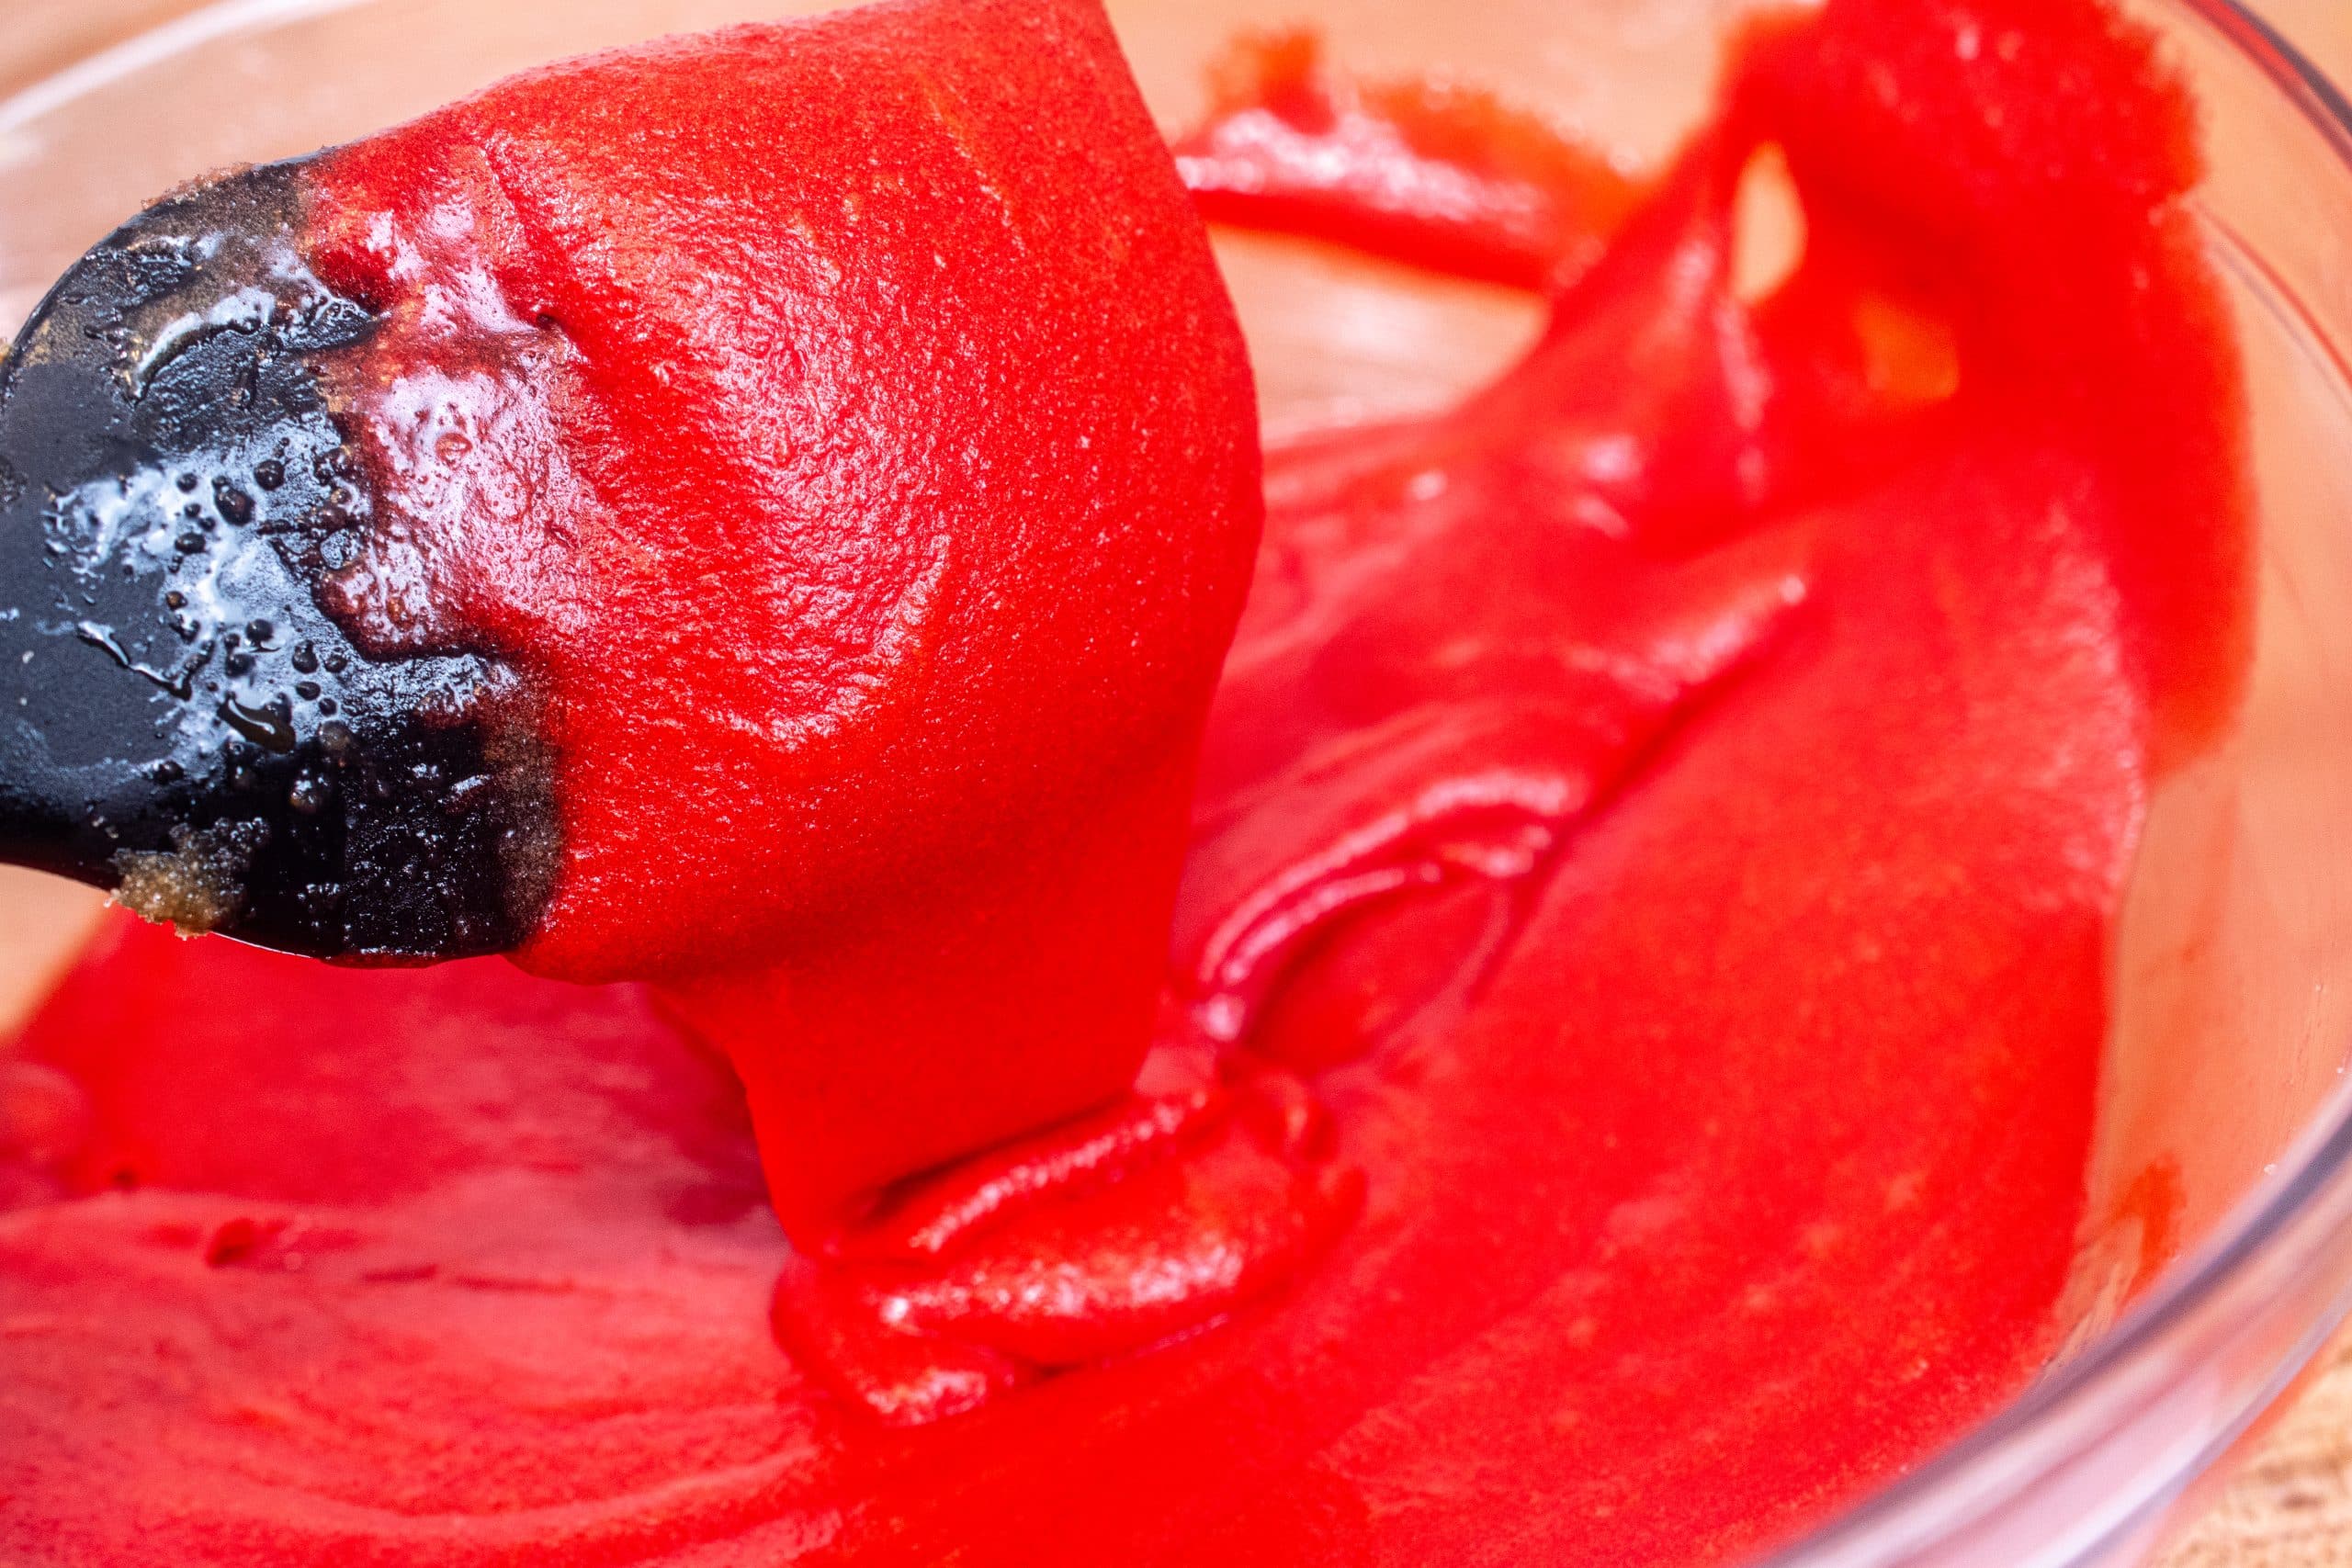
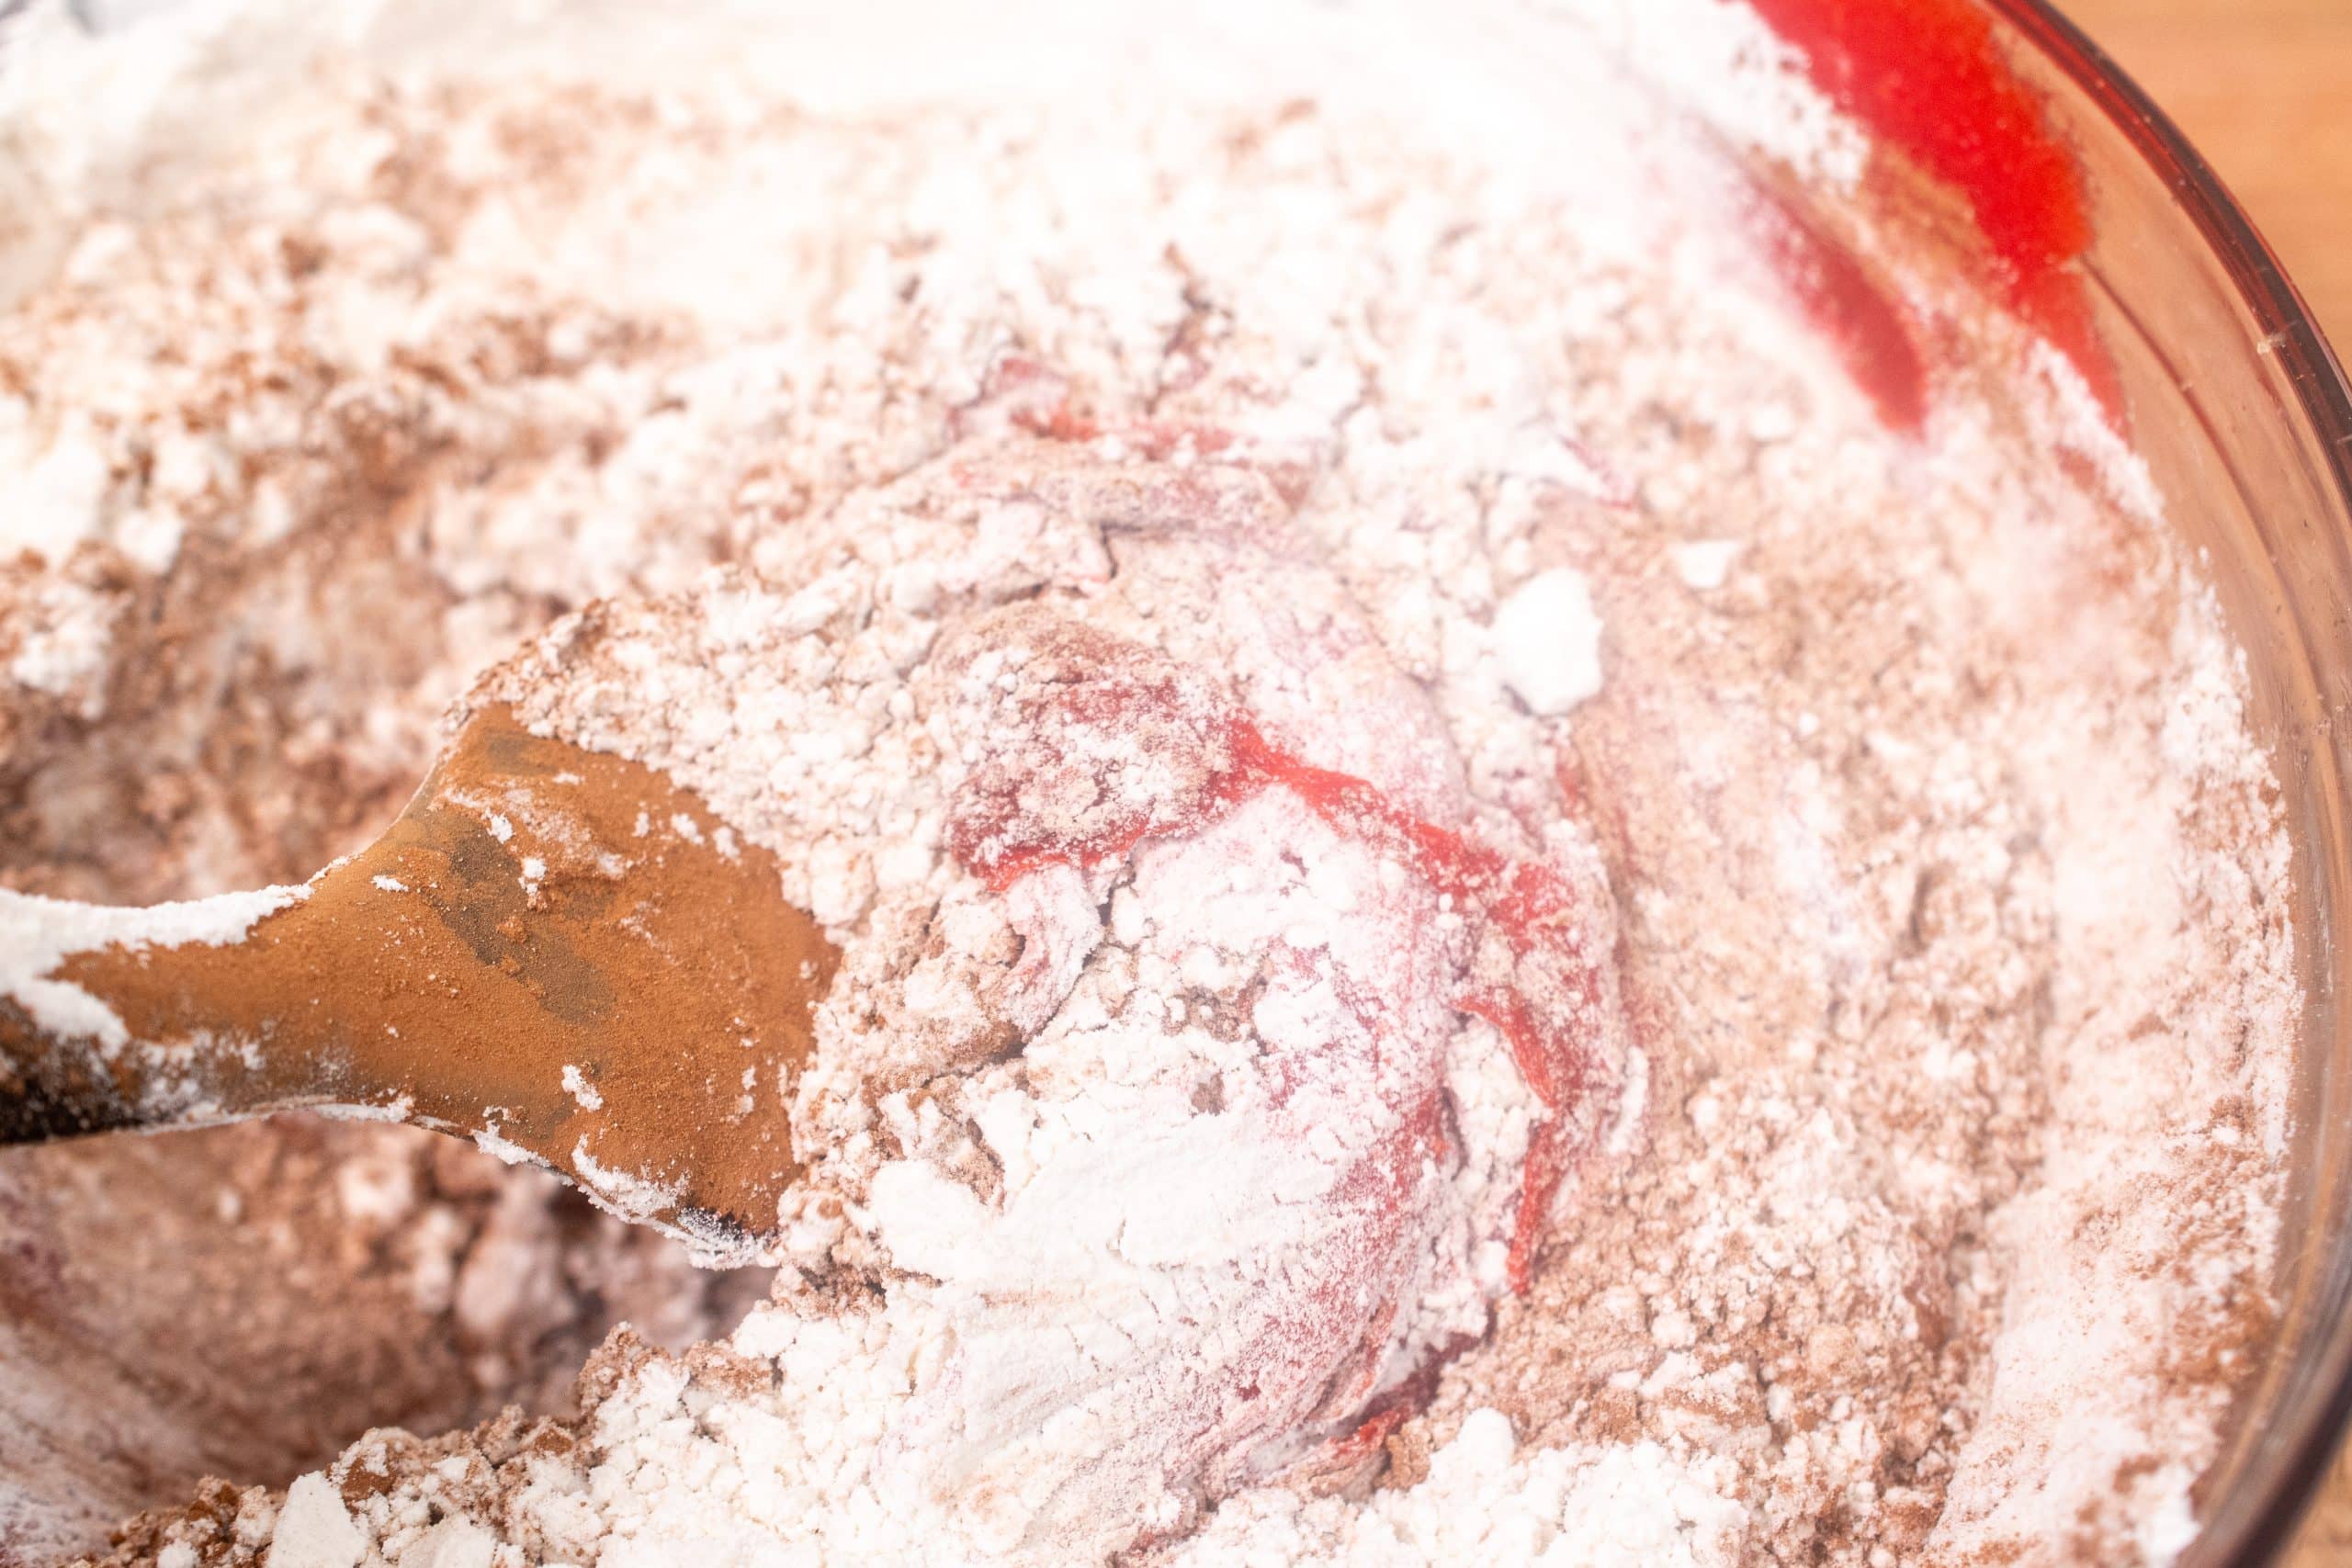
Start by mixing your dry ingredients and creaming the butter and sugars together. Incorporate the wet ingredients, including the red food coloring, to achieve that signature vibrant hue. Combine everything until you have a slightly crumbly dough that holds together when shaped.
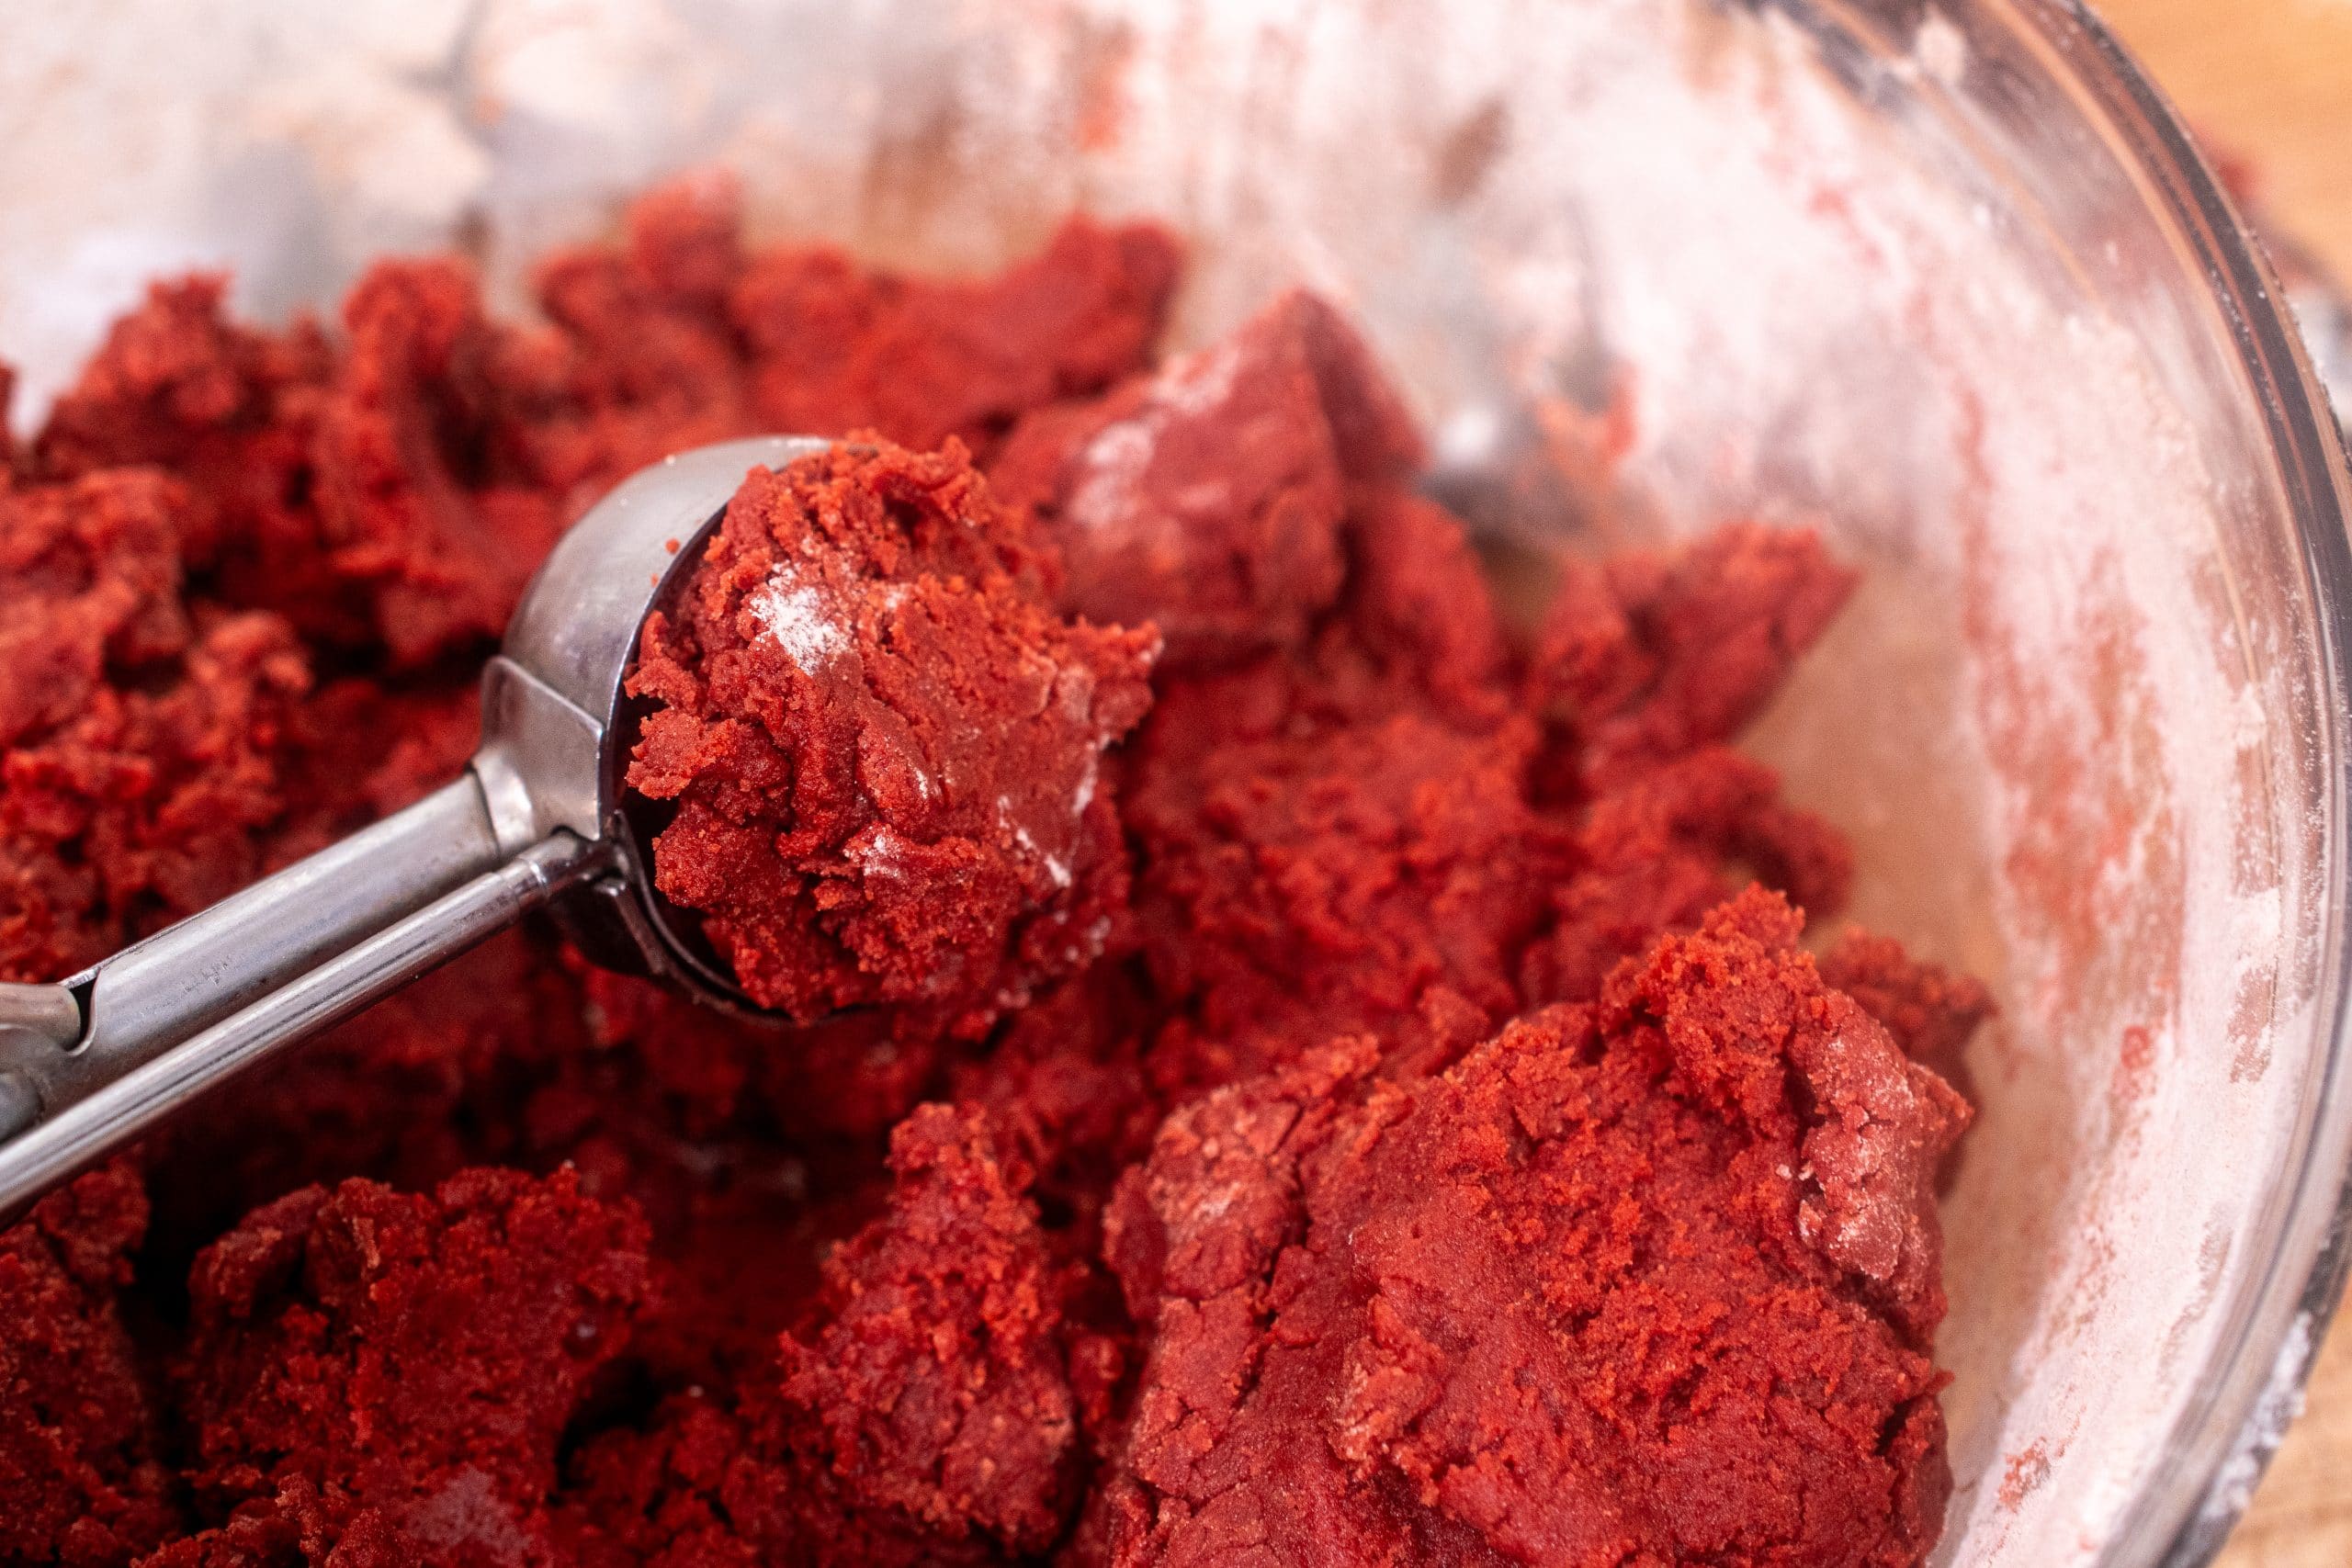
2. Portion and Bake
Scoop the dough into evenly sized balls and bake them until the edges are set and the cookies look slightly puffy. Let them cool completely before frosting.
3. Make the Frosting
Whip up a smooth and creamy frosting using softened cream cheese and butter. The frosting adds a tangy sweetness that perfectly complements the rich, cocoa-infused cookies.
4. Frost the Cookies
Once cooled, frost the cookies generously and, if desired, top with sprinkles or red velvet crumbs for an extra festive touch. Feel free to use a piping bag fitted with a 1M piping tip or just spread it on with a butter knife!
Tips for Perfect Red Velvet Cookies
- Use Gel Food Coloring: Gel provides a vibrant color without adding too much liquid to the dough. I always eyeball the amount of food coloring. You can make the cookies as red as you like.
- Softened Butter and Cream Cheese: Ensure both are softened to room temperature for smooth, lump-free mixing. Learn how to do it quickly and its importance here.
- Don’t Overmix: Overmixing the dough can lead to dense cookies. Mix just until the ingredients are combined. It’s normal that the dough is crumbly.
- Check Doneness: The cookies are done when the edges are set but the centers still look slightly soft. Avoid overbaking. The cookies continue baking as they cool.
- Cool Before Frosting: Frosting warm cookies will cause the frosting to melt and slide off.
Recipe Variations
- Chocolate Drizzle: Skip the frosting and drizzle melted dark or white chocolate over the cooled cookies.
- Filled Sandwich Cookies: Add a dollop of cream cheese frosting between two cookies for a red velvet sandwich cookie.
- Festive Toppings: Decorate with holiday-themed sprinkles for Christmas, Valentine’s Day, or any special occasion.
Storage and Make-Ahead Tips
- Storing Cookies: Store the frosted cookies in an airtight container in the refrigerator for up to 5 days. Bring them to room temperature before serving. If the cookies are unfrosted store at room temperature.
- Freezing Dough: You can freeze the cookie dough balls for up to 3 months. Bake directly from frozen, adding an extra 1-2 minutes to the baking time.
- Freezing Frosted Cookies: Frosted cookies can also be frozen. Arrange them in a single layer in a freezer-safe container, separating layers with parchment paper.
Why These Chewy Red Velvet Cookies Are Perfect for Special Occasions
These cookies aren’t just delicious; they’re visually stunning and versatile enough for any celebration. The vibrant red color makes them a standout on dessert tables, while the creamy frosting adds an elegant touch. Whether you’re baking for a holiday, a party, or just to treat yourself, these Red Velvet Cookies with Cream Cheese Frosting are guaranteed to impress. Your guest are going to think you’re the next Crumbl Cookies!
FAQs
Q: Can I use unsalted butter? Why do you use salted butter?
A: Yes, you can use unsalted butter if you prefer. Salted butter adds a subtle layer of flavor that enhances the sweetness and balances the overall taste of the cookies. I use salted butter in all of my baking! If using unsalted butter, simply follow the recipe as is or consider adding a pinch more of salt.
Q: Can I use liquid food coloring instead of gel?
A: Yes, but you may need to use more to achieve the same vibrant red color, which could affect the dough’s consistency. I highly recommend either Chef Master or Americolor Food Coloring.
Q: Can I substitute buttermilk?
A: If you don’t have buttermilk, you can just add in a tablespoon of milk instead. The buttermilk is a traditional ingredient in red velvet cakes and just adds a hint of tanginess. I recommend always keeping buttermilk in your kitchen.
Q: Why add white vinegar to your red velvet cookies?
A: White vinegar enhances the red color and reacts with the baking soda to create a lighter, fluffier texture. It also adds a subtle tang that complements the sweetness of the cookies. This is a key ingredient in any red velvet dessert!
Q: Can I make red velvet cookies without food coloring?
A: Yes, you can skip the food coloring. The cookies will still have the same great taste but won’t have the signature red color.
My Favorite Cookie Tools:
- Parchment Paper: Never worry about cookies sticking to your pan, and make cleanup a breeze! Perfect for even baking.
- KitchenAid Mixer: Skip the arm workout and save time with a stand mixer—ideal for making large batches of cookie dough effortlessly.
- Sheet Trays: Quality matters! Using high-quality sheet trays prevents cookies from browning too much or cooking unevenly. A must-have for perfect baking.
- Cookie Scoop: For consistent cookie sizes every time, I love using a cookie scoop. Having multiple sizes lets you choose between large or small cookies!
Final Thoughts
These Red Velvet Cookies with Cream Cheese Frosting are the perfect blend of flavor, texture, and presentation. They’re easy to make, incredibly satisfying, and sure to become a favorite in your household. Whether you’re baking for a crowd or simply indulging in a sweet treat, this recipe has you covered. Give it a try, and let me know how they turn out in the comments below!
Try My Other Cookie Recipes!
- Classic Gooey Chocolate Chip Cookies
- Fudgy Double Chocolate Chip Cookies
- Viral S’more Cookies
- Taylor Swifts Chai Sugar Cookies
- Brown Butter Chocolate Chip Cookies
Don’t forget to share this post with your friends and family, and tag me on social media if you make these cookies! Happy baking!

Ingredients
- 2 cups all-purpose flour
- 1/4 cup unsweetened cocoa powder
- 1 tsp baking soda
- 1/2 tsp salt
- 1/2 cup salted butter softened
- 1/2 cup light brown sugar
- 1/2 cup granulated white sugar
- 1 large egg at room temperature
- 1 tbsp pure vanilla extract
- 1 tbsp red food coloring adjust for desired color
- 1/2 tsp white distilled vinegar
- 1 tbsp buttermilk at room temperature
- 4 oz full fat block cream cheese softened
- 1/4 cup salted butter softened
- 1 cup powdered sugar or more depending on preferred sweetness.
- 1 tsp pure vanilla extract
- Pinch of salt
Instructions
- In a medium bowl, whisk together the flour, cocoa powder, baking soda, and salt. Set aside.
- In a separate large bowl, beat the butter, brown sugar, and white sugar until light and fluffy.
- Mix in the egg until well combined.
- Add the vanilla extract, vinegar, and red food coloring. Adjust the color to your preference.
- Stir in the buttermilk.
- Gradually add the dry ingredients to the wet ingredients, mixing until just combined.
- Scoop dough into balls (about 1.5 oz each) and place them on a lined baking sheet, spacing them about 2 inches apart. Slightly flatten them so its easier later on for the frosting.
- Bake at 350°F (175°C) for 10-15 minutes, or until the edges are set and the cookies look puffy.
- Allow the cookies to cool on the baking sheet for 5 minutes, then transfer to a wire rack to cool completely.
Make the Frosting:
- In a medium bowl, beat the cream cheese and butter until smooth and creamy.
- Gradually mix in the powdered sugar, then add the vanilla extract and a pinch of salt. Beat until the frosting is fluffy and well combined.
- Once the cookies are completely cool, spread or pipe the cream cheese frosting onto each cookie.
- Serve and enjoy!
Video
Notes
- Red Food Coloring: Gel food coloring works best for a vibrant red color without adding too much liquid. Start with 1 tablespoon and adjust as needed.
- Measuring Flour: For best results, fluff your flour with a spoon, scoop it into your measuring cup, and level it off with a knife. This prevents adding too much flour, which can make the cookies dry.
- Baking Time: Keep an eye on the cookies. They’re done when the edges are set, and the centers look slightly soft. Overbaking can make them dry.
- Storage: Store cookies in an airtight container in the refrigerator for up to 5 days. Bring them to room temperature before serving.


Honestly, the BEST red velvet cookies I’ve tried! Thank you so much for this recipe!
This makes me so happy!!! Thank you for trusting me 🙂
My dough turned out sticky. Kinda nervous it won’t turn out good
Tasted Amazing! Can’t wait to see more
Tasted Amazing!