
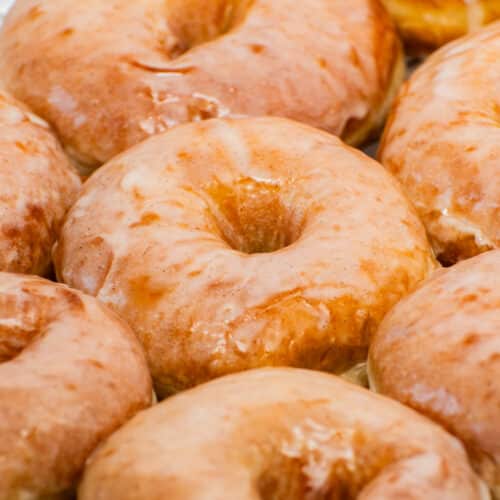
Easy Homemade Glazed Donuts (Better Than Krispy Kreme)
These homemade glazed donuts? Better than Krispy Kreme. I said what I said, and you’re about to see why.
Honestly, there are few things in life better than a freshly made glazed donut. Okay, maybe a cinnamon roll, but don’t make me choose. The best part is that these homemade glazed donuts no longer have to live behind a donut shop counter. With one bowl of dough, a pot of oil, and a bowl of glaze, you can bring the whole donut shop experience right into your kitchen. We got Krispy Kreme at home, and yes, it really is better.
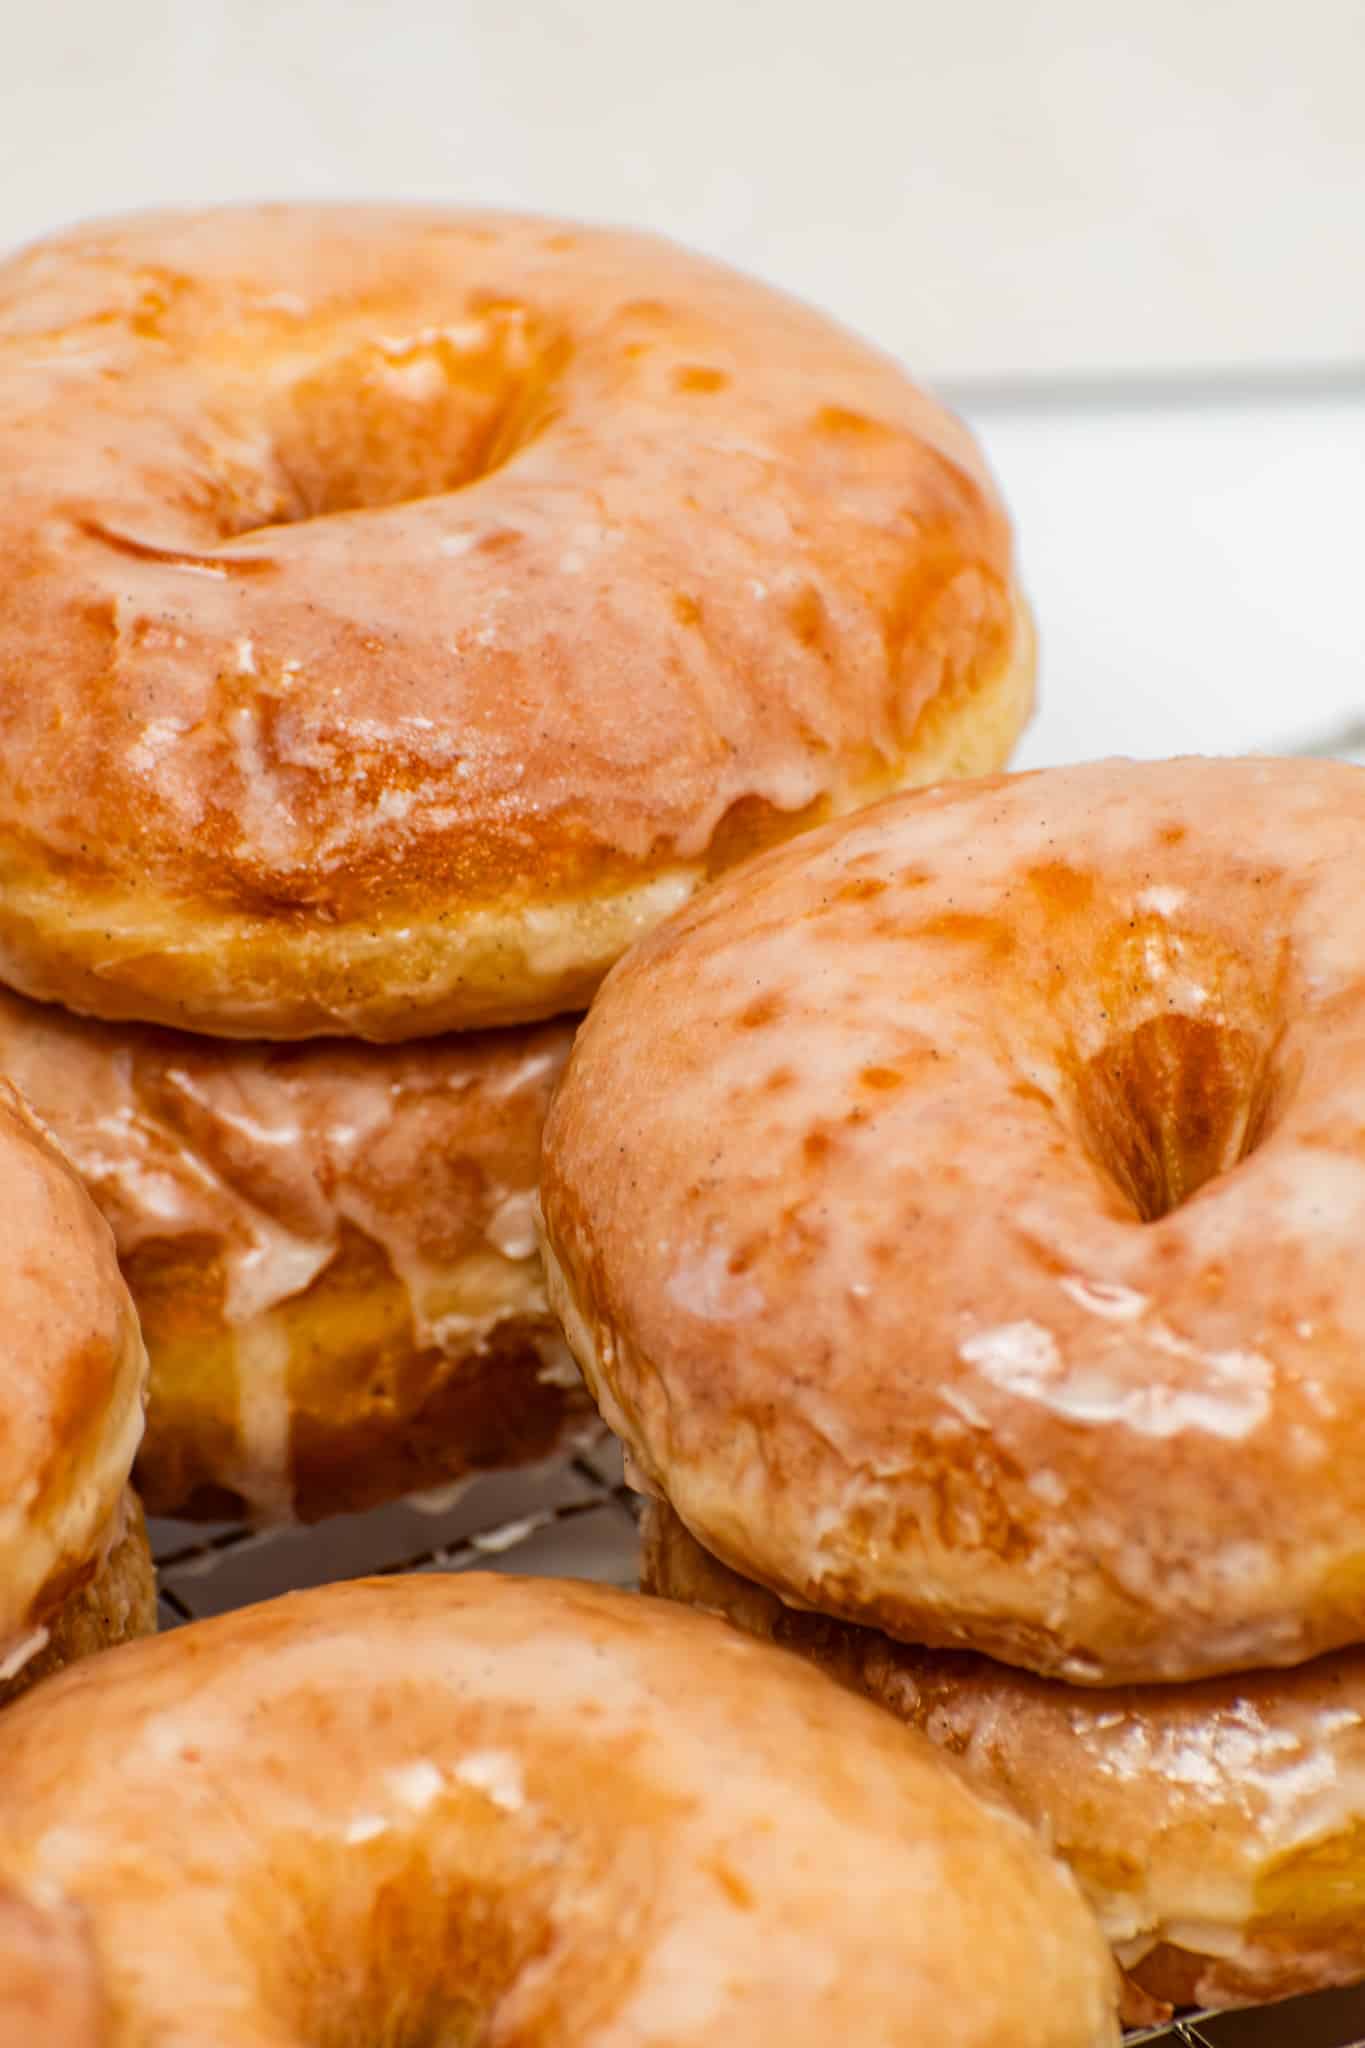
These homemade glazed donuts are pillowy soft, buttery, and finished with that signature glassy crackle. They’re tender on the inside, sweet but never overwhelming, and at their absolute best the moment they hit the rack. Below, I’ll walk you through the why behind every ingredient, step-by-step instructions, troubleshooting tips, and a few glaze flavor variations to make this recipe yours.
Why You’ll Love These Homemade Glazed Donuts
- Soft, pillowy, brioche-style donuts made rich with butter, eggs, and whole milk for that bakery-quality texture.
- That signature glossy glaze with the perfect crackly finish on both sides—the double dip is the real secret.
- Better than the donut shop because these homemade glazed donuts are fresh from the oil, warm, soft, and impossible to beat.
- Beginner-friendly with clear step-by-step instructions, video tutorial, visual cues, troubleshooting tips, and more to take out the guesswork.
- Easy to customize with vanilla, lemon, chocolate, or strawberry glaze variations depending on your mood.
- Bakery-style results without bakery hours—ready in about 2 ½ hours, with most of that time being hands-off rising.
Yeast Donuts vs. Cake Donuts
Quick crash course before we get into the recipe. Cake donuts use baking powder for lift, which gives them that denser, cake-like interior. Yeast donuts use—well, yeast. That means a longer rise, a chewier pull, and that soft, pillowy interior that practically melts in your mouth.
This recipe is firmly in the yeast donut camp, which is exactly what makes it the Krispy Kreme dupe everyone is here for. Cake donuts absolutely have their place. This is not it.

Ingredients You’ll Need
Most homemade glazed donuts come out dense or dry because the ingredients are not used as intended. Here is what every component does, and how to get the most out of it.
- Whole milk, warm (105 to 110°F). Whole milk provides the fat the dough needs for that soft, tender crumb. Warm, not hot—too hot can kill the yeast, while too cold means the yeast will take forever to wake up. For best results, use a thermometer; if you do not have one, test it as you would a baby bottle.
- Instant yeast. Instant yeast is convenient because the rise time is usually shorter, and it does not require a separate blooming step. In this recipe, though, it still gets mixed with the warm milk and sugar first, so you can see proof of life before moving on. If it does not foam after about 5 minutes, it is dead—toss it. Using dead yeast is the number one reason homemade donuts turn out flat.
- Granulated sugar. Just a little. Enough to feed the yeast and give the dough a gentle sweetness. The signature glaze handles the rest.
- Eggs (room temperature). Cold eggs shock the dough. Room temperature eggs give a smoother, more elastic dough that rises evenly. Set them on the counter in a bowl of warm water while everything else gets measured, and they will be ready when needed.
- Vanilla bean paste or extract. This is what gives these donuts that bakery-style aroma and takes them to the next level. I love using vanilla bean paste for those gorgeous little vanilla speckles in the dough and the extra depth of flavor, but pure vanilla extract works just as well.
- Kosher salt. Salt is not optional in baking. It balances the sugar and brings out every other flavor. A donut without salt tastes flat.
- All-purpose flour. Standard AP flour provides structure without making it chewy. No need for bread flour here. The goal is a pillowy soft donut, not a bagel.
- Salted butter, very soft. This is where the magic happens. Adding the butter after the dough has come together (and one tablespoon at a time) is what gives it that brioche-style richness. Cold butter will not incorporate. The butter has to be soft enough to smear easily on a knife.
- Neutral oil for frying. Vegetable, canola, or peanut. Anything with a high smoke point and no strong flavor of its own.
- For the glaze (powdered sugar, milk, melted butter, vanilla, salt). The glaze is simple on purpose. The melted butter is what gives it that subtle richness and shine. The pinch of salt is non-negotiable. Trust the process.
How to Make Homemade Glazed Donuts Step by Step
1. Wake up the yeast.
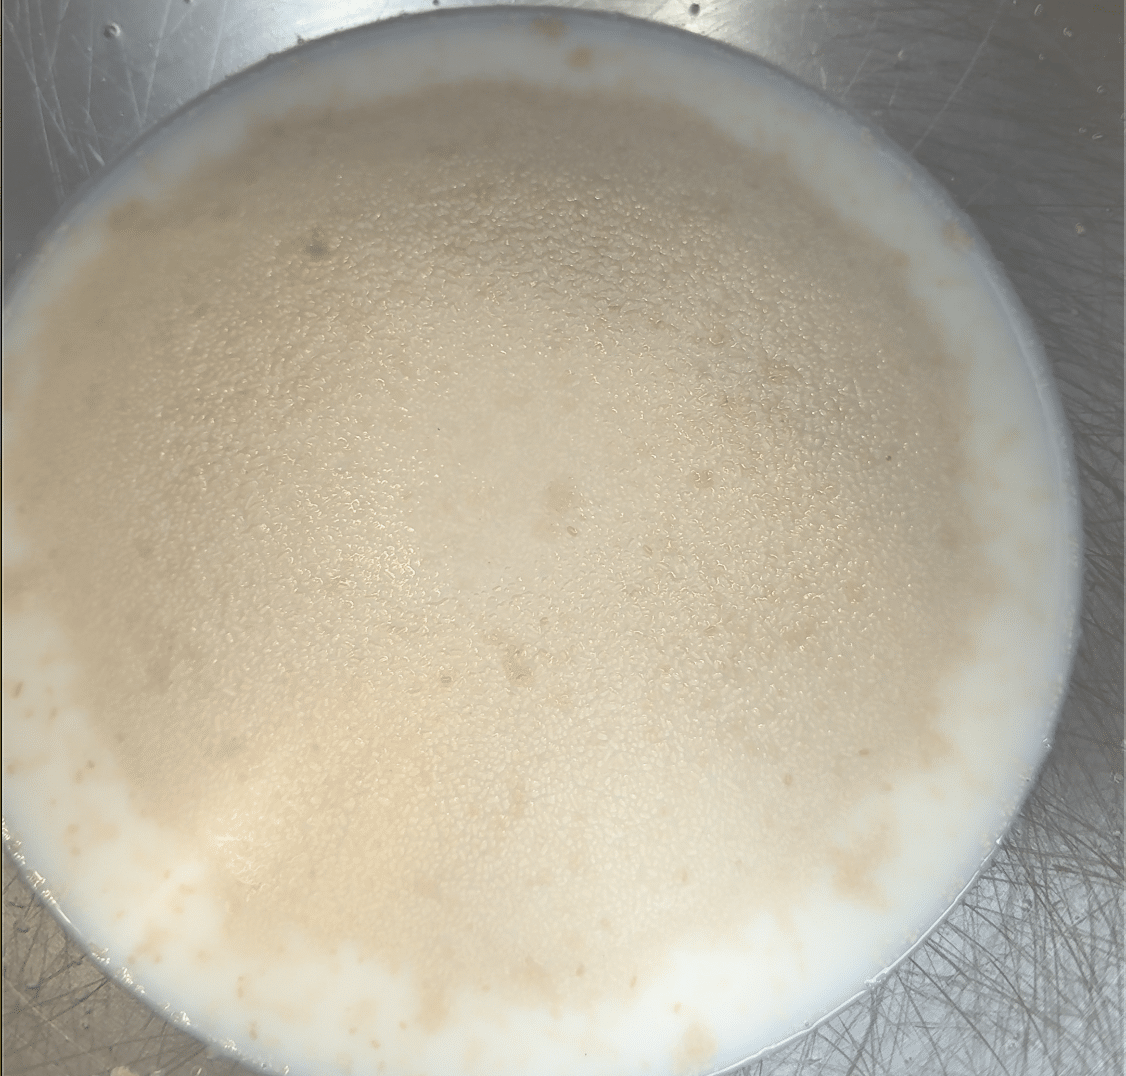
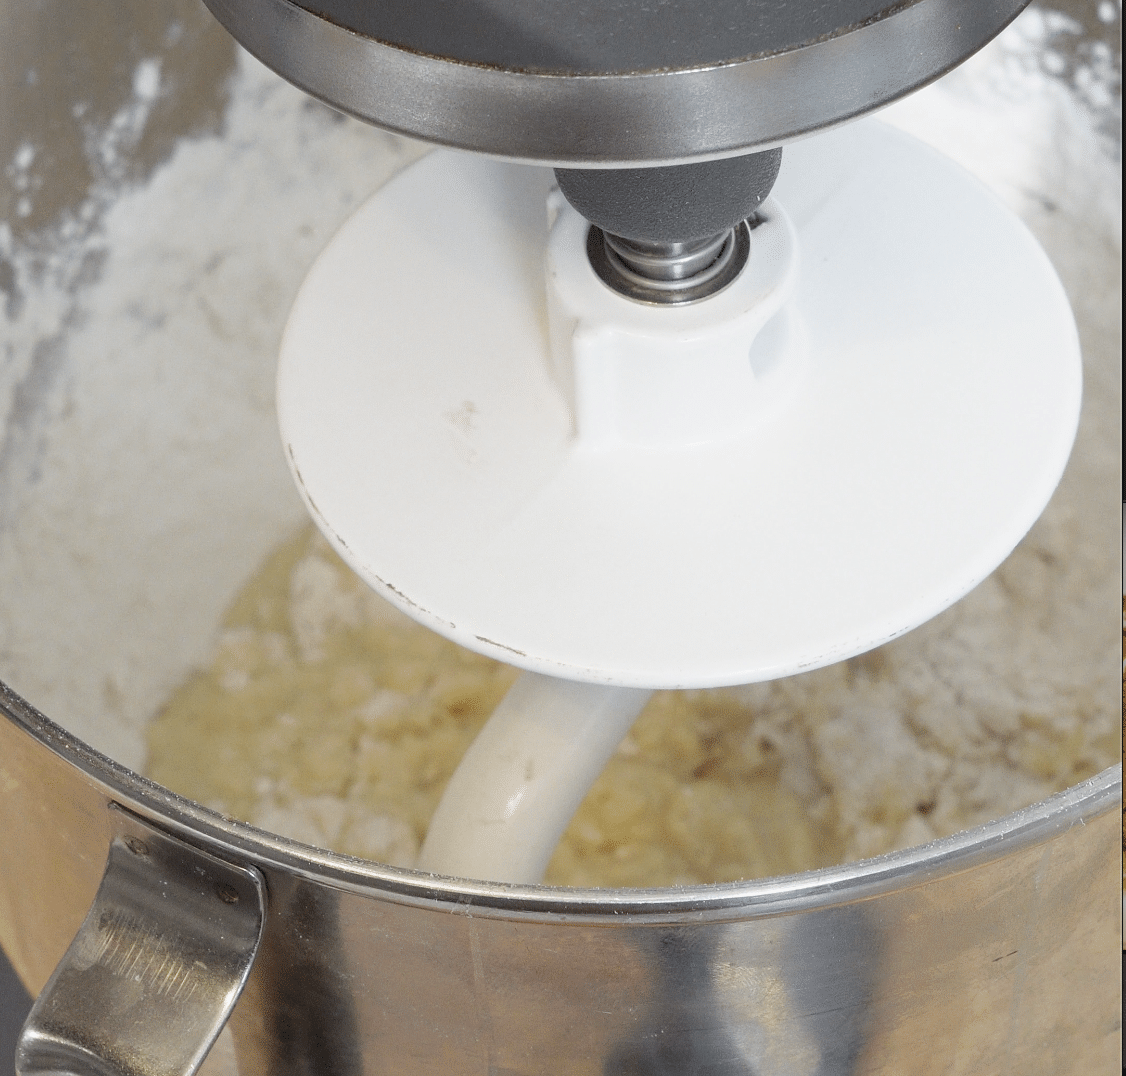
In the bowl of a stand mixer fitted with the dough hook, combine the warm milk, yeast, and sugar. Let it sit for 5 minutes until foamy. Foam means alive. No foam means start over with fresh yeast. Whisk in the eggs and vanilla. Add the flour and salt and mix until a rough, shaggy dough forms. Knead 3 to 4 minutes on medium-low until it begins to smooth out.
Pro tip: No stand mixer? This can absolutely be done by hand. It takes longer, and the arms will find out later, but the results are the same. Just be prepared for a sticky dough.
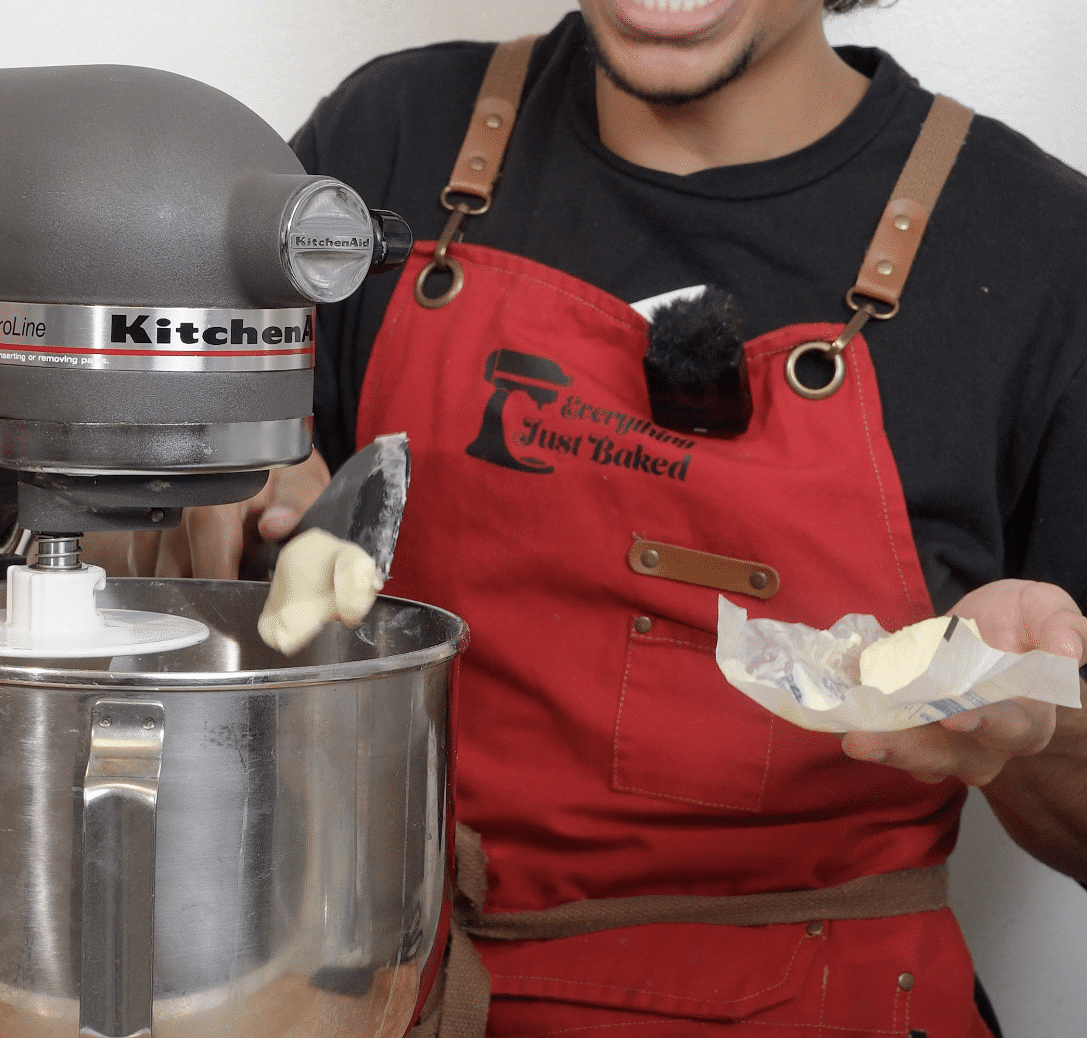
2. Add the butter, slowly.
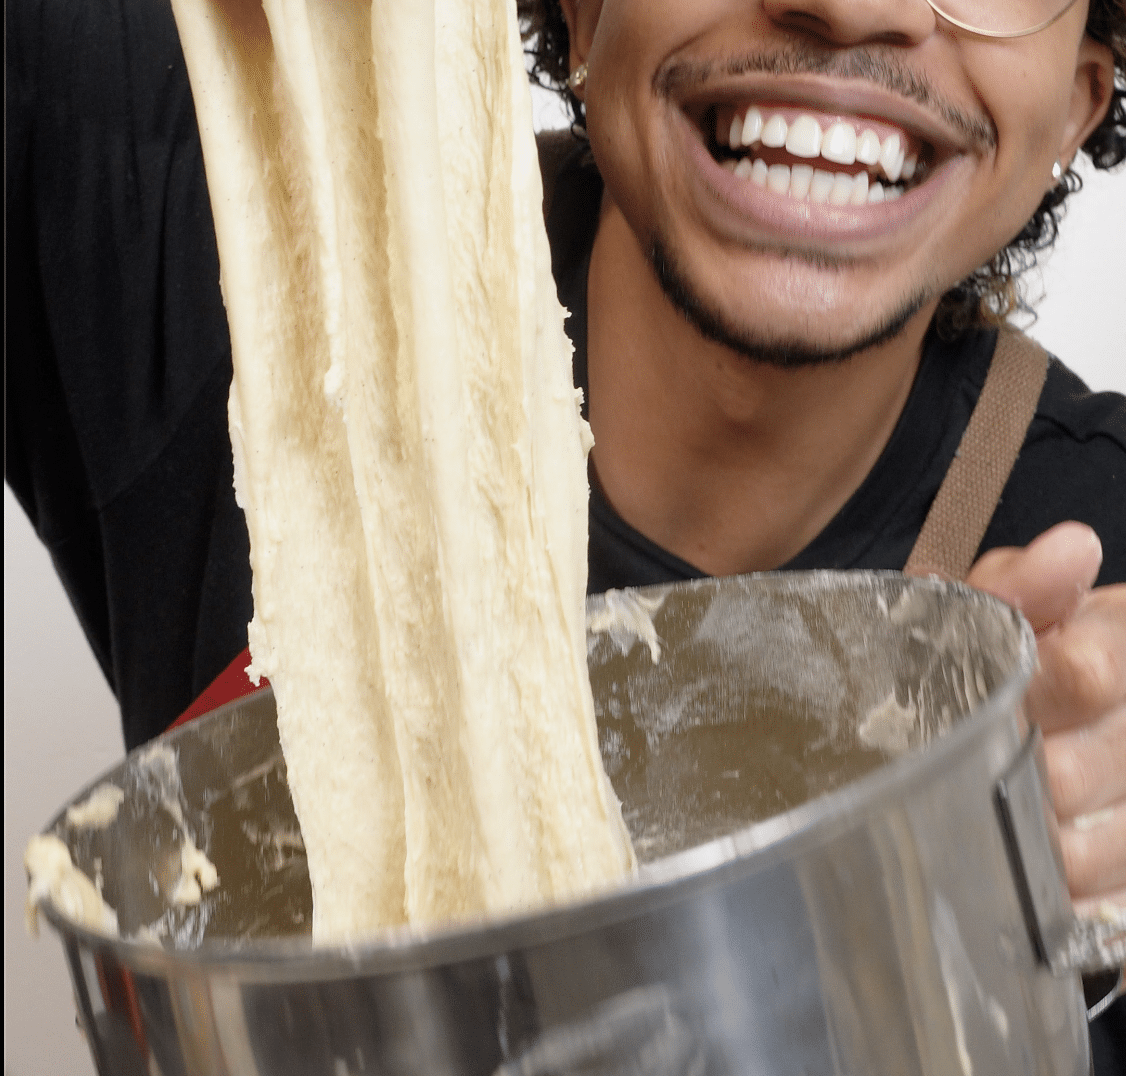
With the mixer running on medium-low, add the soft butter one tablespoon at a time. Wait for each piece to fully disappear into the dough before adding the next. Do not rush this step. Once all the butter is in, knead 8 to 12 minutes until the dough is smooth, elastic, and slightly tacky.
Sticky dough is normal with enriched dough. Resist the urge to dump in flour. The dough comes together with kneading. If it is still way too sticky after 12 full minutes, then add flour one tablespoon at a time. Three tablespoons max.
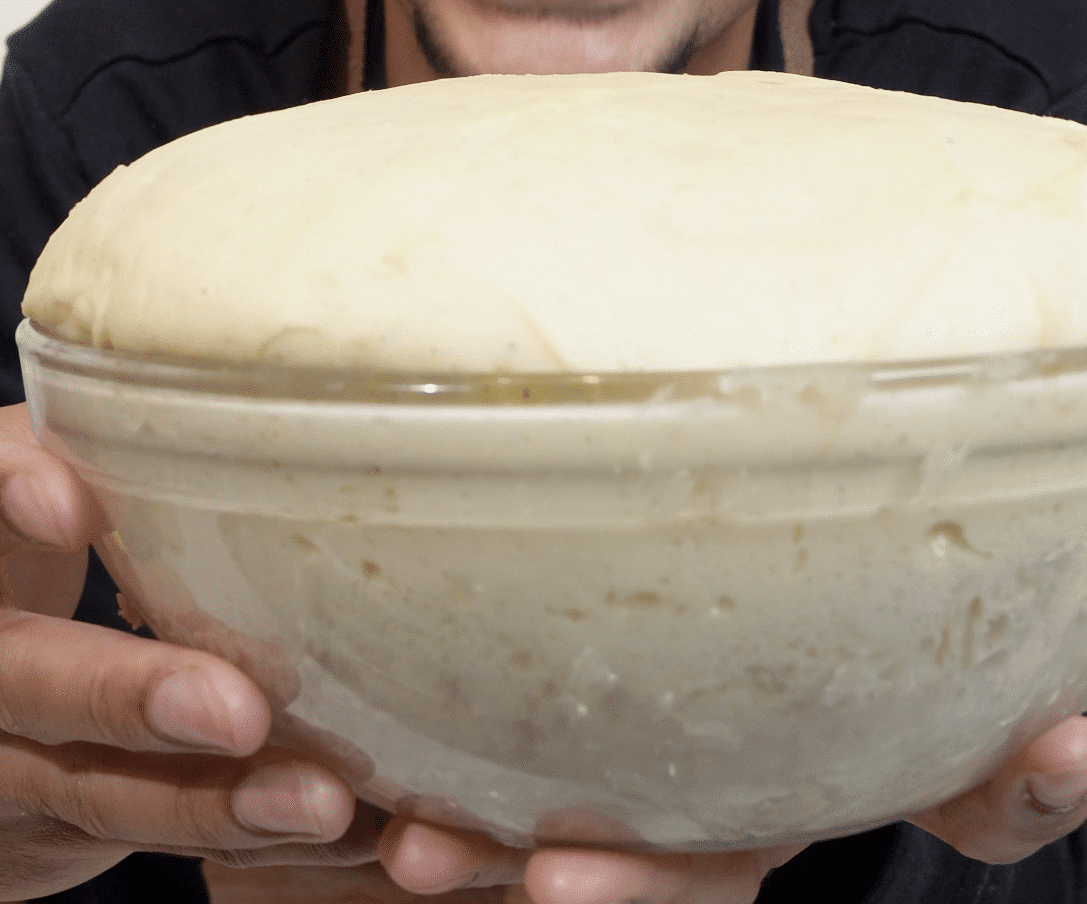
3. First rise.
Transfer the dough to a greased bowl, cover, and let it rise for 1 to 1½ hours, or until doubled in size and airy. It is best to let the dough rise in a warm environment. I often place mine in the microwave or oven (turned off) to help create that cozy spot.
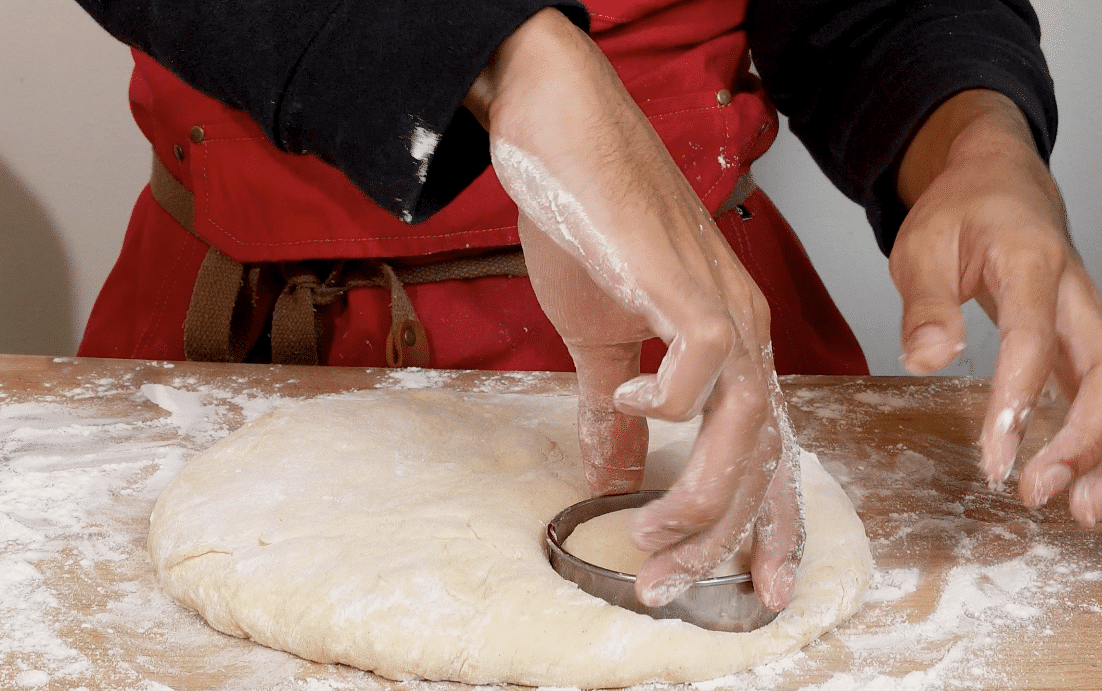
4. Shape and second rise.
Turn the dough out onto a lightly floured surface and gently pat it to about ½-inch thickness. You should not need a rolling pin—we do not want to press the dough too thin. Cut into 3-inch rounds with a 1-inch hole in the center, or leave them whole if you plan to fill the donuts. Place the donuts on a parchment-lined tray, cover, and let them rise for 30 to 45 minutes, until puffy and pillow-soft.
Check out this Donut Cutter to save time!
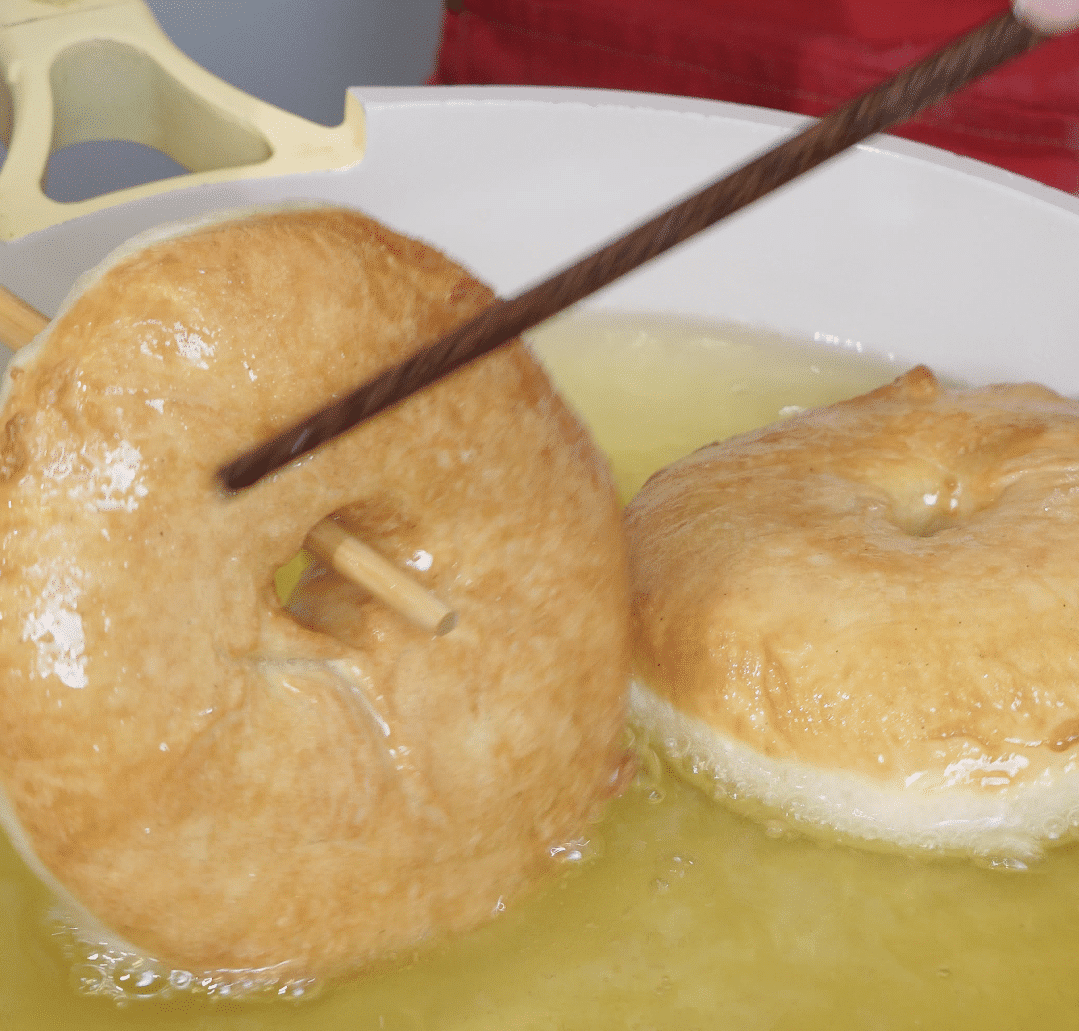
5. Fry.
Heat 2 to 3 inches of neutral oil in a heavy-bottomed pot to 350°F (175°C). It’s important to get as close to 350°F as possible; too hot, and the outside burns before the inside cooks through. Too cool, and the donuts soak up oil, turning greasy. A clip-on candy thermometer is genuinely the cheapest investment with the biggest payoff here.
Fry the donuts in small batches, 45 to 60 seconds per side, until light golden. Lift them out with a slotted spoon or chopsticks and transfer to a wire rack to drain.
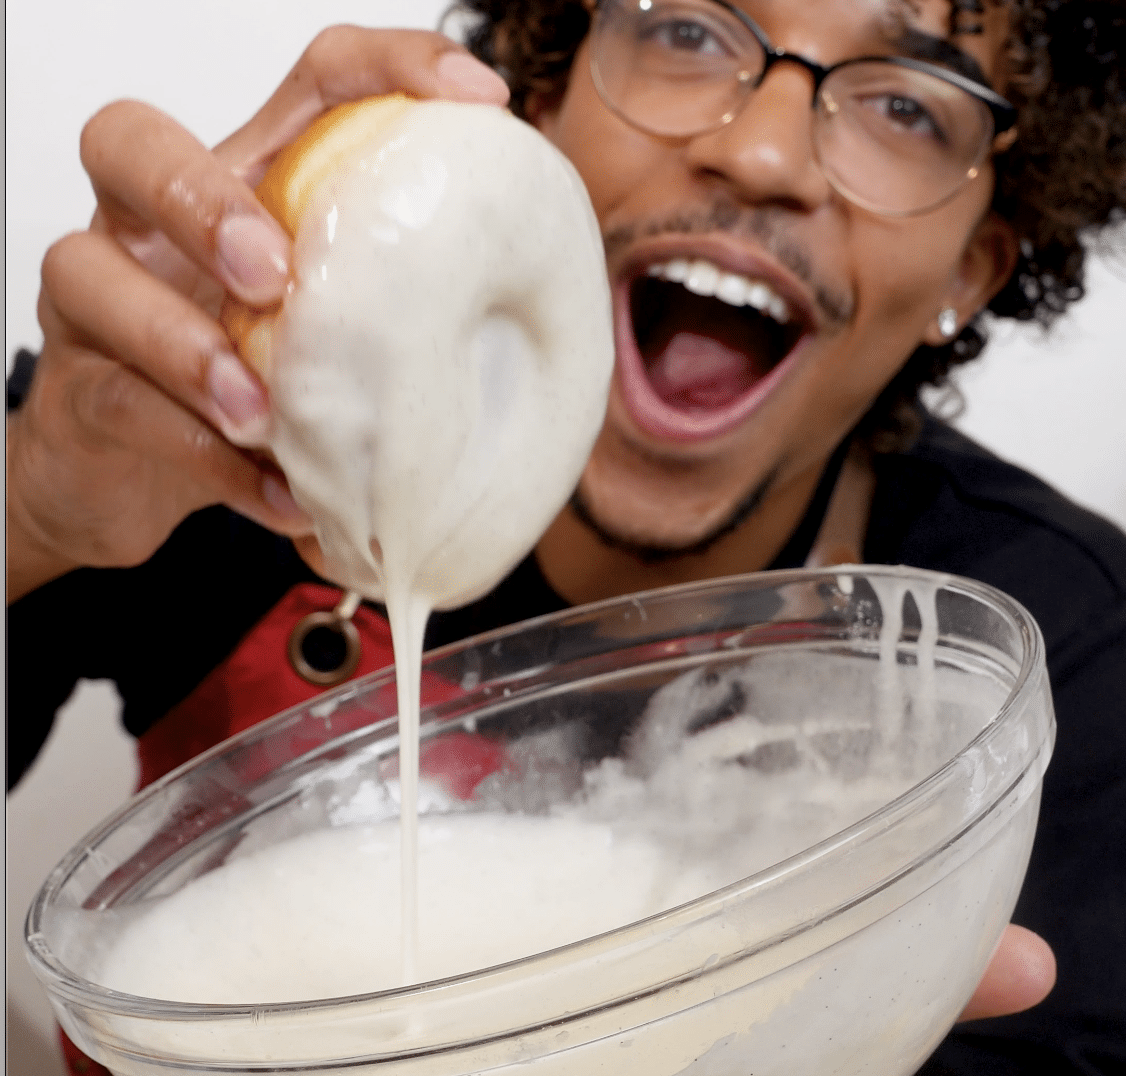
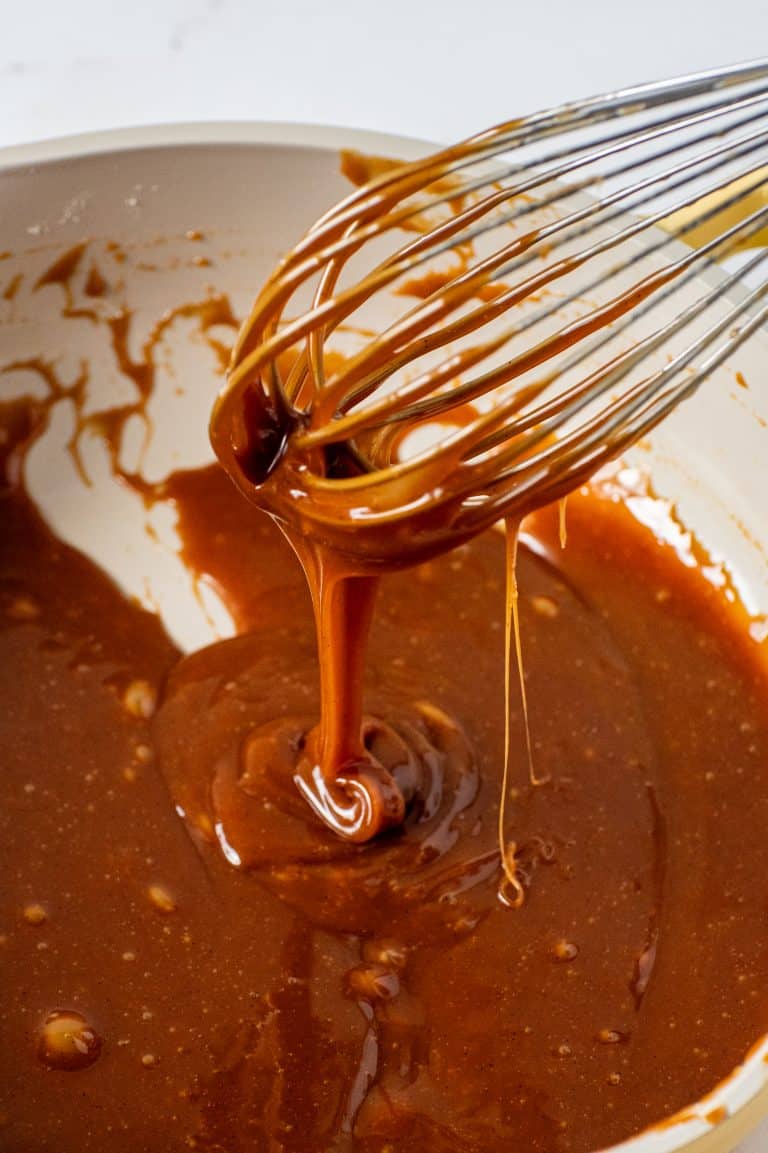
6. Make the glaze.
Whisk together the powdered sugar, milk, melted butter, vanilla, and salt until smooth and pourable. Set it aside. The right consistency is somewhere around heavy cream. Too thick? Add a teaspoon of milk. Too thin? Sift in a little more powdered sugar.
7. Glaze and finish.
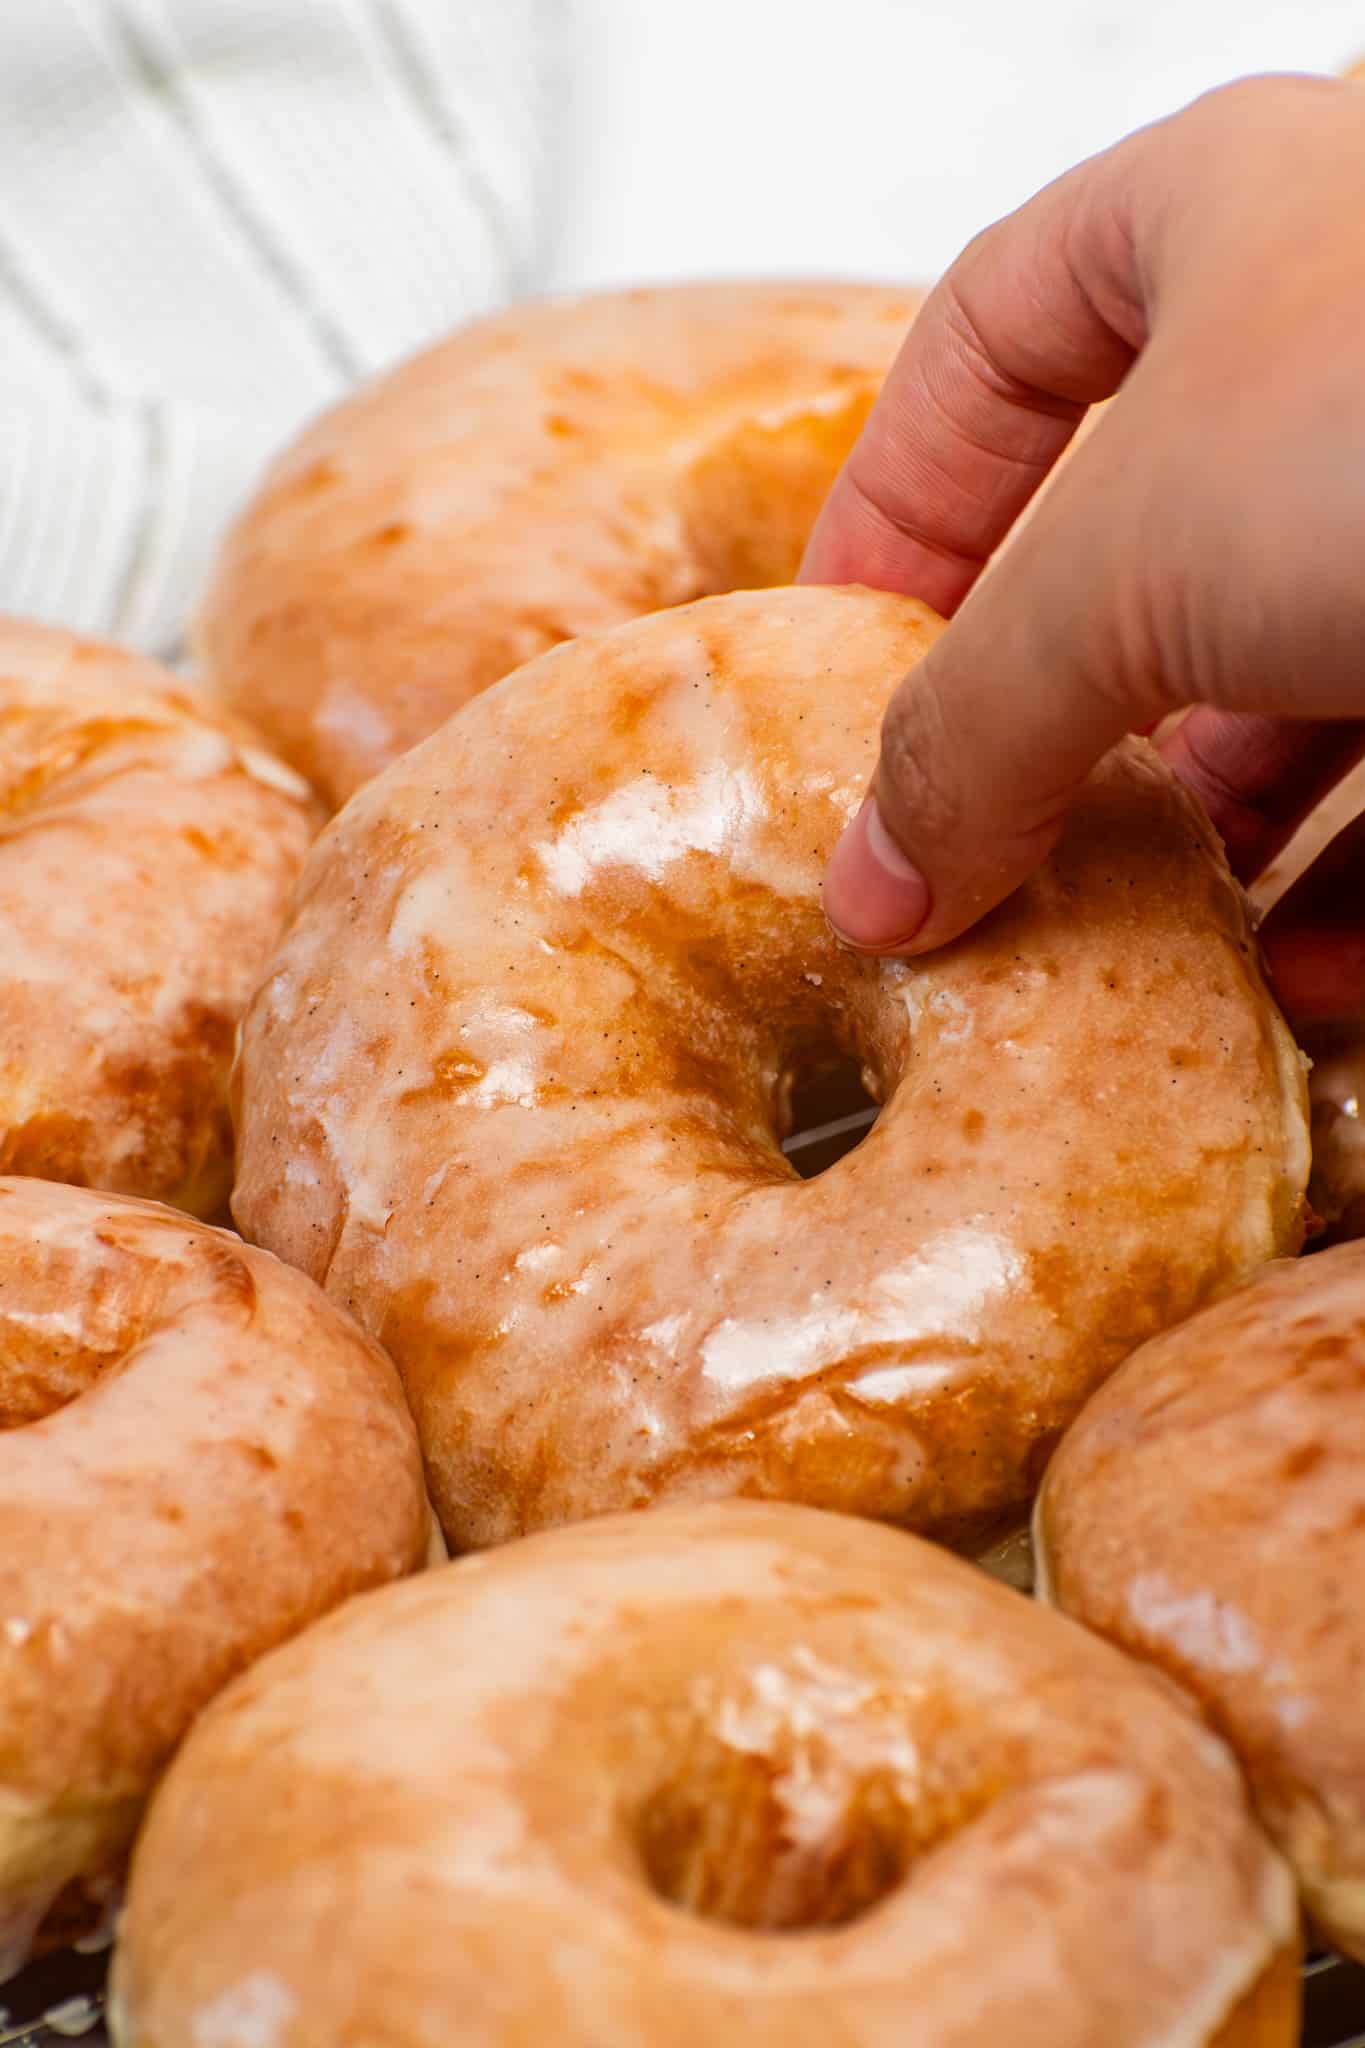
While the donuts are still warm (not blazing hot), dip the top into the glaze, flip, and dip the bottom. Yes, the bottom too. The double dip is what creates that all-over glassy crackle and the little signature drips down the sides. Let the excess drip off and place each one back on the rack to set for 3 to 5 minutes.
Now the hardest part of this whole recipe: not eating them all immediately. (It will happen anyway. It is fine.)
Tips for Perfect Homemade Glazed Donuts Every Time
A few small things separate good homemade glazed donuts from great ones. These are the cues that come up over and over in recipe testing.
- Check the yeast first. Foam in the milk and sugar within 5 minutes means alive. No foam means start over with fresh yeast. There is no fixing a flat donut after the fact.
- Use room temperature eggs. Cold eggs shock the dough and slow the rise. Set them on the counter while everything else gets measured.
- Resist the urge to over-flour. Sticky dough is normal in this recipe. Adding too much flour gives a tough, dry donut.
- Watch the oil temperature. 350°F is the sweet spot. Too high and the donuts burn before cooking through. Too low and they soak up oil and turn greasy.
- Fry in small batches. Crowding the pot lowers the oil temperature and runs counter to everything in the previous tip.
Struggling with Proofing Yeast Dough?
Fill a mug with water and microwave it for 2 minutes until it is steaming. Leave the mug inside the microwave, place the covered dough next to it, and close the door. The trapped steam creates a warm, humid little proofing chamber that helps the dough rise beautifully. Works every single time.
How to Store and Reheat Homemade Glazed Donuts
Glazed donuts are at their absolute best the day they are made. There is no version of these that gets better overnight. The whole game is enjoying them as fresh as possible.
Same-day storage. For the first few hours after frying, leave the donuts uncovered on a wire rack at room temperature. This keeps the glaze glossy and the texture soft.
Leftovers. Transfer them to an airtight container and keep at room temperature for up to 1 day. Skip the fridge. Cold air dries them out, and the glaze starts to sweat.
Reheating. Microwave a leftover donut for 5 to 10 seconds. The warmth wakes up the glaze and brings the soft crumb right back.
Freezing. Freeze only the unglazed, fried donuts in an airtight bag for up to 1 month. Thaw at room temperature, warm in a 300°F oven for 3 to 4 minutes, and glaze fresh. Trying to freeze already-glazed donuts is a sticky disaster.
Homemade Glazed Donuts FAQs
Absolutely! Prepare the recipe as written, but once you shape the donuts, place them on a parchment-lined tray, cover tightly, and refrigerate overnight. In the morning, let them sit at room temperature and rise in a warm spot until they are puffy and pillowy. Then fry as directed.
Glazed donuts are at their absolute peak the day they are made. Store leftovers in an airtight container at room temperature for up to 1 day. Reheat for 5 to 10 seconds in the microwave to bring them back to life. Skip the fridge. The fridge is where donuts go to die.
Yes. Freeze the unglazed, fried donuts in an airtight bag for up to 1 month. When ready to serve, thaw them at room temperature, warm them in a 300°F oven for a few minutes, and glaze them fresh.
You can also freeze the shaped dough before frying for up to 3 months. On the day you plan to serve them, let the donuts thaw and rest at room temperature for about 4 to 5 hours, or until fully thawed and puffy. Then fry as directed.
I don’t recommend using this recipe to make baked donuts. For the best results, frying is the way to go here.
Technically, yes, but for this recipe, I would not recommend it. Air frying gives you a more bread-like texture rather than the classic soft, pillowy fried donut texture with the signature crisp exterior. If you are looking for that true bakery-style glazed donut, deep frying is absolutely the way to go.
Get one. Seriously. It is the single best $10 investment for anyone frying at home. In the meantime, drop a small piece of dough scrap into the oil. If it sizzles right away and floats to the top within a few seconds, the temperature is right. If it sinks and sits there, the oil is too cool. If it browns instantly, the oil is too hot.
Glazed Donut Flavor Variations
The signature vanilla glaze is just the beginning. Same dough, endless directions.
- Lemon glaze: Swap some of the milk for fresh lemon juice and add 1 teaspoon of lemon zest for a bright, citrusy finish.
- Chocolate glaze: Whisk 1 tablespoon of Dutch-process cocoa powder into the powdered sugar before adding the milk and vanilla.
- Strawberry glaze: Add 2 tablespoons of strawberry puree and a drop of strawberry extract for a sweet, fruity glaze with bakery-style flavor.
How to Make Filled Donuts From the Same Dough
This dough works just as beautifully for filled donuts.
Instead of cutting a hole in the middle, cut the dough into full 3-inch rounds and let them rise the same way. Fry as directed until golden and pillowy, then let them cool just enough to handle.
Once cool, use a piping bag fitted with a round tip to fill each donut with whatever sounds good. Raspberry jam. Vanilla pastry cream. Chocolate cream. Homemade lemon curd. They all work.
For classic bakery-style jelly donuts, roll them in granulated sugar while still warm, then pipe the filling. For a softer, glazed-style filled donut, skip the sugar and finish with the vanilla glaze instead.
Try These Other Recipes:
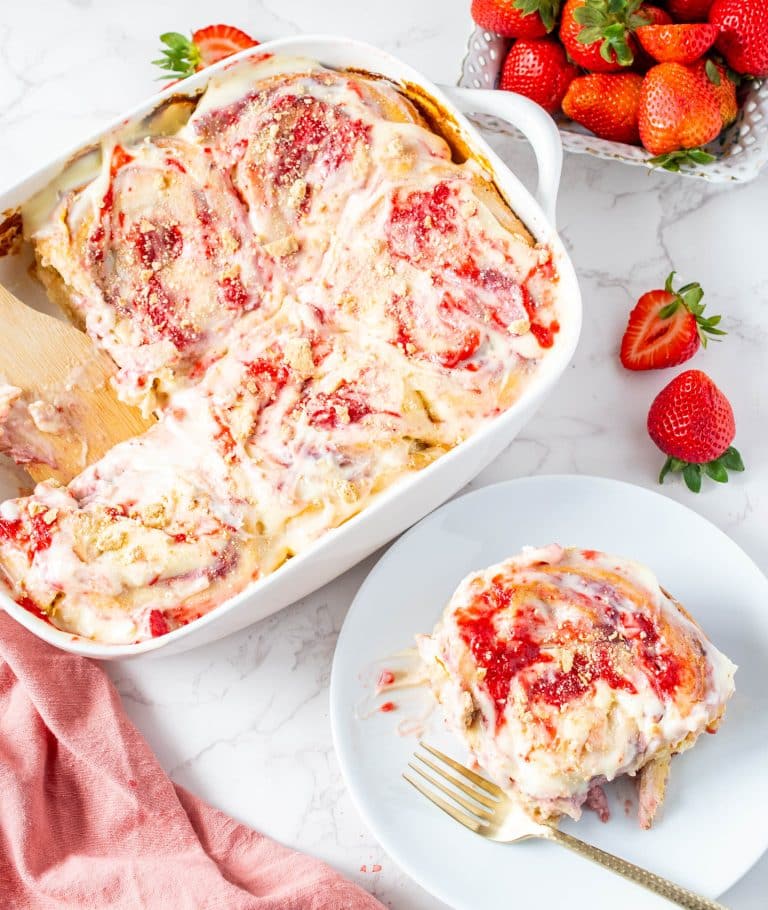
- Strawberry Cheesecake Cinnamon Rolls
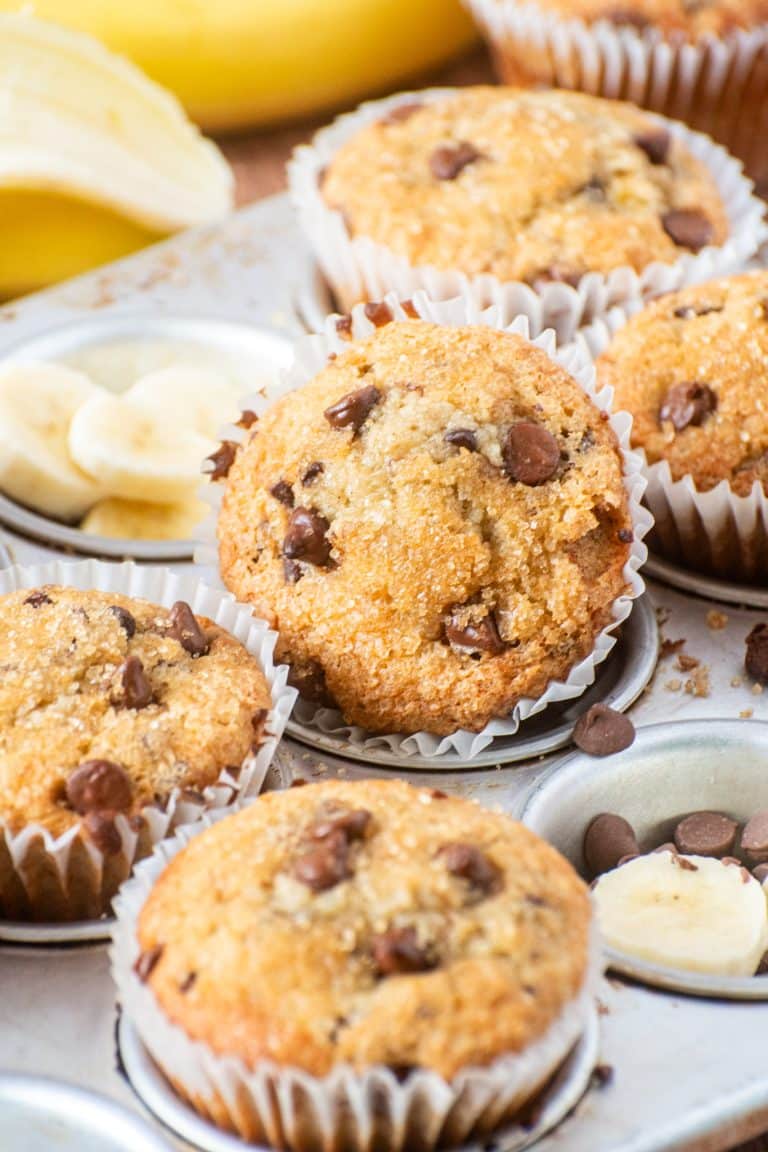
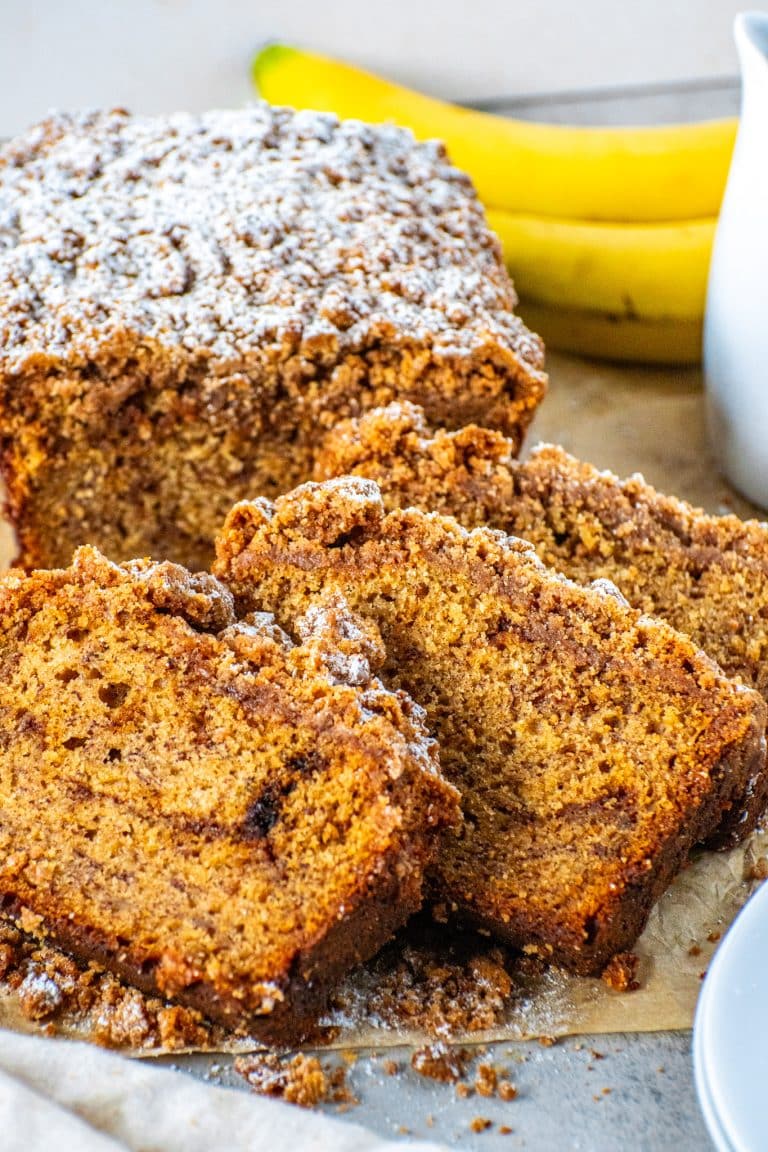
- Chocolate Chip Banana Bread
- Coffee Cake Banana Bread
- Blueberry Muffins
- Buttermilk Pancakes
Get to Baking!
There is just something about a fresh glazed donut that feels a little magical. The soft, pillowy center, that shiny crackly glaze, and the fact that you made it yourself? Absolutely unbeatable. These homemade glazed donuts are the kind of recipe that makes people stop mid-bite and ask, “Wait… you made these?” And honestly, that is always the goal.
Whether you keep them classic with vanilla glaze, fill them like bakery-style jelly donuts, or go full chocolate glaze mode, this dough is one worth keeping around.
If you make these, let me know in the comments and tag me on social media @everythingjustbaked. I want to know if you agree that they are better than Krispy Kreme. (I already know the answer.)
Ingredients
- 1 cup (240g) whole milk warmed (105 to 110°F / 40 to 43°C)
- 2¼ teaspoons (7g) instant yeast
- ¼ cup (50g) granulated white sugar
- 2 large eggs room temperature
- 1 tablespoon vanilla bean paste or extract
- 1 teaspoon kosher salt
- 3¼ cups (400g) all-purpose flour
- 6 tablespoons (85g) salted butter very soft
- Neutral oil for frying
- 2 cups (240g) powdered sugar
- 4 to 5 tablespoons whole milk
- 1 tablespoon salted butter melted
- 1 teaspoon vanilla bean paste or extract
- Pinch of kosher salt
Instructions
Make the Dough
- In a stand mixer fitted with the dough hook, combine the warm milk, yeast, and sugar. Let it sit for 5 minutes until foamy. If it doesn't foam, your yeast is dead. Add the eggs and vanilla and mix to combine.
- Add the flour and salt and mix until a rough dough forms. Knead for 3–4 minutes on medium-low until the dough begins to smooth out.
- With the mixer running on medium-low, add the butter one tablespoon at a time, waiting until each addition is fully incorporated before adding the next. Once all the butter is in, knead for 8 to 12 minutes until the dough is smooth, elastic, and slightly tacky. Resist adding extra flour during this time — the dough will come together with continued kneading. To test if it's ready, pull off a small piece with greased fingers and gently stretch it. If it stretches thin without tearing, it's ready. If it tears quickly, keep kneading. If the dough is still too sticky, add flour one tablespoon at a time. Avoid adding more than 3 tablespoons.
- Transfer to a greased bowl, cover, and let rise for 1 to 1½ hours until doubled and airy.
- Using greased fingers, turn the dough out onto a lightly floured surface and roll to ½ inch thick. Cut into 3-inch rounds and 1-inch holes. Place on a parchment-lined tray or indivudal parchemnt squares , and let rise for 30 to 45 minutes until puffy.
- Heat 2 to 3 inches of neutral oil in a heavy-bottomed pot to 350°F (175°C). Fry the donuts in batches for 45 to 60 seconds per side until light golden. Transfer to a wire rack.
Make the Glaze:
- Whisk together the powdered sugar, milk, melted butter, vanilla, and salt until smooth and pourable. Set aside.
- While still warm, dip each donut top side down into the glaze, then flip and dip the bottom. Let the excess drip off and place on a rack. Allow the glaze to set for 3 to 5 minutes before serving. These are best enjoyed fresh but can be stored in an airtight container at room temperature for up to 1 day. Reheat briefly in the microwave before serving.
Video
Notes
-
- No warm spot? No problem. Fill a mug with water and microwave it for 2 minutes until steaming. Leave the mug in the microwave, place your covered dough inside, and close the door. The steam creates a warm, humid environment that’s perfect for rising any dough.
- Make it yours. The signature glaze is just the beginning. Swap the milk for fresh lemon juice and add a teaspoon of lemon zest for a bright lemon glaze. Stir in a tablespoon of Dutch-process cocoa for a chocolate version. Add strawberry puree and a drop of strawberry extract to make a strawberry glaze. Same donut, endless options.
Amazing!
These were so easy to make and taste so good. They’re so light and fluffy! I also made a chocolate frosting and added that to them!
Question : What if you are allergic to eggs? How can I make these donuts, what can I use as an substitute?
Oooh as of now, im not too sure of a good substitute here. Sorry about that.
Made these and my family love them! Making them again now.
You can use an egg replacer (my mom is vegan so i use it alot), but just make sure if you do that add a little extra liquid.
This recipe is fabulous AND it makes a bunch of donuts!
Thank you so much! I made these this afternoon and my husband ate almost all of them. Delicious recipe and easier than I thought.
OMG I made your donuts last night. Absolutely fabulous, even though I didn’t have a donut cutter or a proper thermometer. Even though I have no confidence with frying, it went great and even the day after, they are fabulous! Thank you for your tips and tricks for making, frying, storing and warming up for serious enjoyment this morning.
My family was eating them faster than I could fry them! I did the make ahead method, and the only issue I had was some of the donut lost their hole in the 2nd rising (which is really not an issue at all!). Kids and husband LOVED having some fresh donuts for breakfast without having to leave home. And I love that all ingredients are stuff that I normally have on hand anyways
Will this work with gluten free flour?
I havent tried honestly so Im not too sure here.
Can I use the same amount of active yeast?
yes
Justin, first off I love your energy and recipes. Quick question do you have a recipe for the cream filling? I’d love to make both glaze and cream filled.
Keep me in prayer, forgot to add the eggs when I was supposed to so i’m trying to get the dough to work cause I added them afterwards.
Did it work?
I will definitely be making these again and again! These donuts were a hit! I used a Mason jar lid to cut the shape of each donut and a bottle cap can work to cut out the center hole. Thank you so much for sharing your recipes, Justin! Blessings to you and thanks again!
I don’t have a stand mixer, so I’m trying to do this by hand. My dough is too sticky. What an i doing wrong?
Hi the dough is normally super sticky so its not you. As you knead the gluten is more developed helping with the stickiness. Since your doing it by hand you will have to use more flour but still keep the dough slightly sticky.
Hi! Can I make these the night before for my son? He needs to bring something to school. I usually make cookies or cupcakes, but I wanted to try something different
Hi! You can but I would fry in the morning if possible. Donuts are best day of. So after shaping, cover with plastic wrap and place in the fridge. Then in the morning let it sit for 30 minutes or so before frying.
Would it work to make the night before, put in refrigerator and cook the next morning?
Totally! Just let them rise at room temperature for about 30 mins to an hour before frying
Thank you, Justin!! love your videos!!!
I made these with my special needs daughter, she has a blast and the best ever donuts!! Super easy to follow along. You make baking a joy!
My daughter and I did these Sunday for a Mother’s day treat. And baby!! So good. Bestie found out we were making homemade donuts and her and her daughter came over for a little snack. Needless to say they have already been requested again by both households.
I made these last night and the were a hit! Absolutely delicious. Melt in your mouth! Light and fluffy! 10/10
Best and easiest I have used so far. Only thing I wish I would have done is saw these could be shaped ahead of time for the next day. My kids ended up with donuts for dinner. Lol
Hi Justin,
I am anxious to make these donuts. I know this section is for comments but I have a question. I don’t have a stand mixer but have a hand mixer. Can I use it to mix the ingredients? I know I will have to knead but hand.
Hi! You got this Janet! I dont reccomend using the hand mixer. Just do the whole process by hand/wooden spoon. Keep in mind the dough will be sticky and you may need to use more flour to knead. You can also grease your hands to prevent sticking. You got this!
Oh. My. Goodness….this recipe is a 30/10!!! Better than Krispy Kreme…YES,,,1000 times better!!!!
Better than Krispy Kreme…Yes…1000 times better,,,and cheaper!! I’m rating this recipe 30/10!!!
This was a waste of hours of my time, the dough was so wet even though I added more flour than the no more than extra 3 tablespoons recommended, I followed the recipe to the letter, and yet they wouldn’t even hold their shape to fry, absorbed so much oil, nobody could eat them. The ratios are way off. How aggravating.
oh no! Sorry you had this experience. Did you mix for the stated time? Thats important as it develops gluten which will strengthen your dough. Did you use a stand mixer?
Hey, I followed the recipe as well and yes it was extremely wet and added…a lot more flour and the donuts were soft and very flavorful. I understand your frustration but, I wasn’t about to let this send me mad. Add the flour chick….aaaaddd
Thank you! The donuts turned out very well. One thing, you said the yield was 10 donuts…..did you throw away the remaining dough? 😲 Noooo sir, I got 25 donuts and donut holes.
Omgggg hahhaa. Im thinking you may have rolled your dough thinner? Or maybe your cutter was smaller than mine? I also saw your comment that you ended up adding a bit more flour, that will also yield you a little differently.
Made them. My family loved them. Thank you for always being so happy making your creations.
Omg! I just made these and I have to say they are amazing! They were super easy and delicious. I glazed some and I also made some with cinnamon sugar. They were a big hit with my kids. Thank you so much for sharing!
Has anyone tried baking these instead of frying?
I havent but I think this recipe will be best for frying though. Ill try to create a baked version.
Looking forward to baked. Just so you know I know they’ll be like cake donuts, not fried
…..I’m still excited!
When I tried the first time, my yeast didn’t get foamy, so I tried again with warmer milk + a different pack of yeast, and it worked. These are SO GOOD DUDE. I might stop buying glazed donuts in general.
Hi why did my dough spread when I was using the cutter. Wouldn’t keep the shape
My dough doubled but spread everywhere when I went to cut them out
what did i do wrong
Can you clarify what spreading everywhere means? Perhaps the dough needed a bit more flour? How did it end up coming out when you fried?
These came out phenomenal! I had the reel saved for weeks and finally got around to making them! I didn’t follow the recipe to a T and it was still accommodating! I used dry active yeast as it’s what I had on hand and I kneaded the dough by hand. The glaze recipe made enough for me to have plain, chocolate, and strawberry. Super simple and straightforward recipe and the tips at the bottom are super helpful. Love love love!
Thanks for this easy recipe. I made them this morning and they were a hit when fresh. I stored them covered to serve some guests in the evening and the donuts got very dense and felt more bready. Any recommendations on where to tweak the recipe?
My dough shrunk when I cut it what is the remedy for that
Do you mean when cutting the donuts? I would suggest using a sharp cutter and then give the donut time to rise again!