
Cherry Cheesecake Recipe (Super Creamy & Easy)
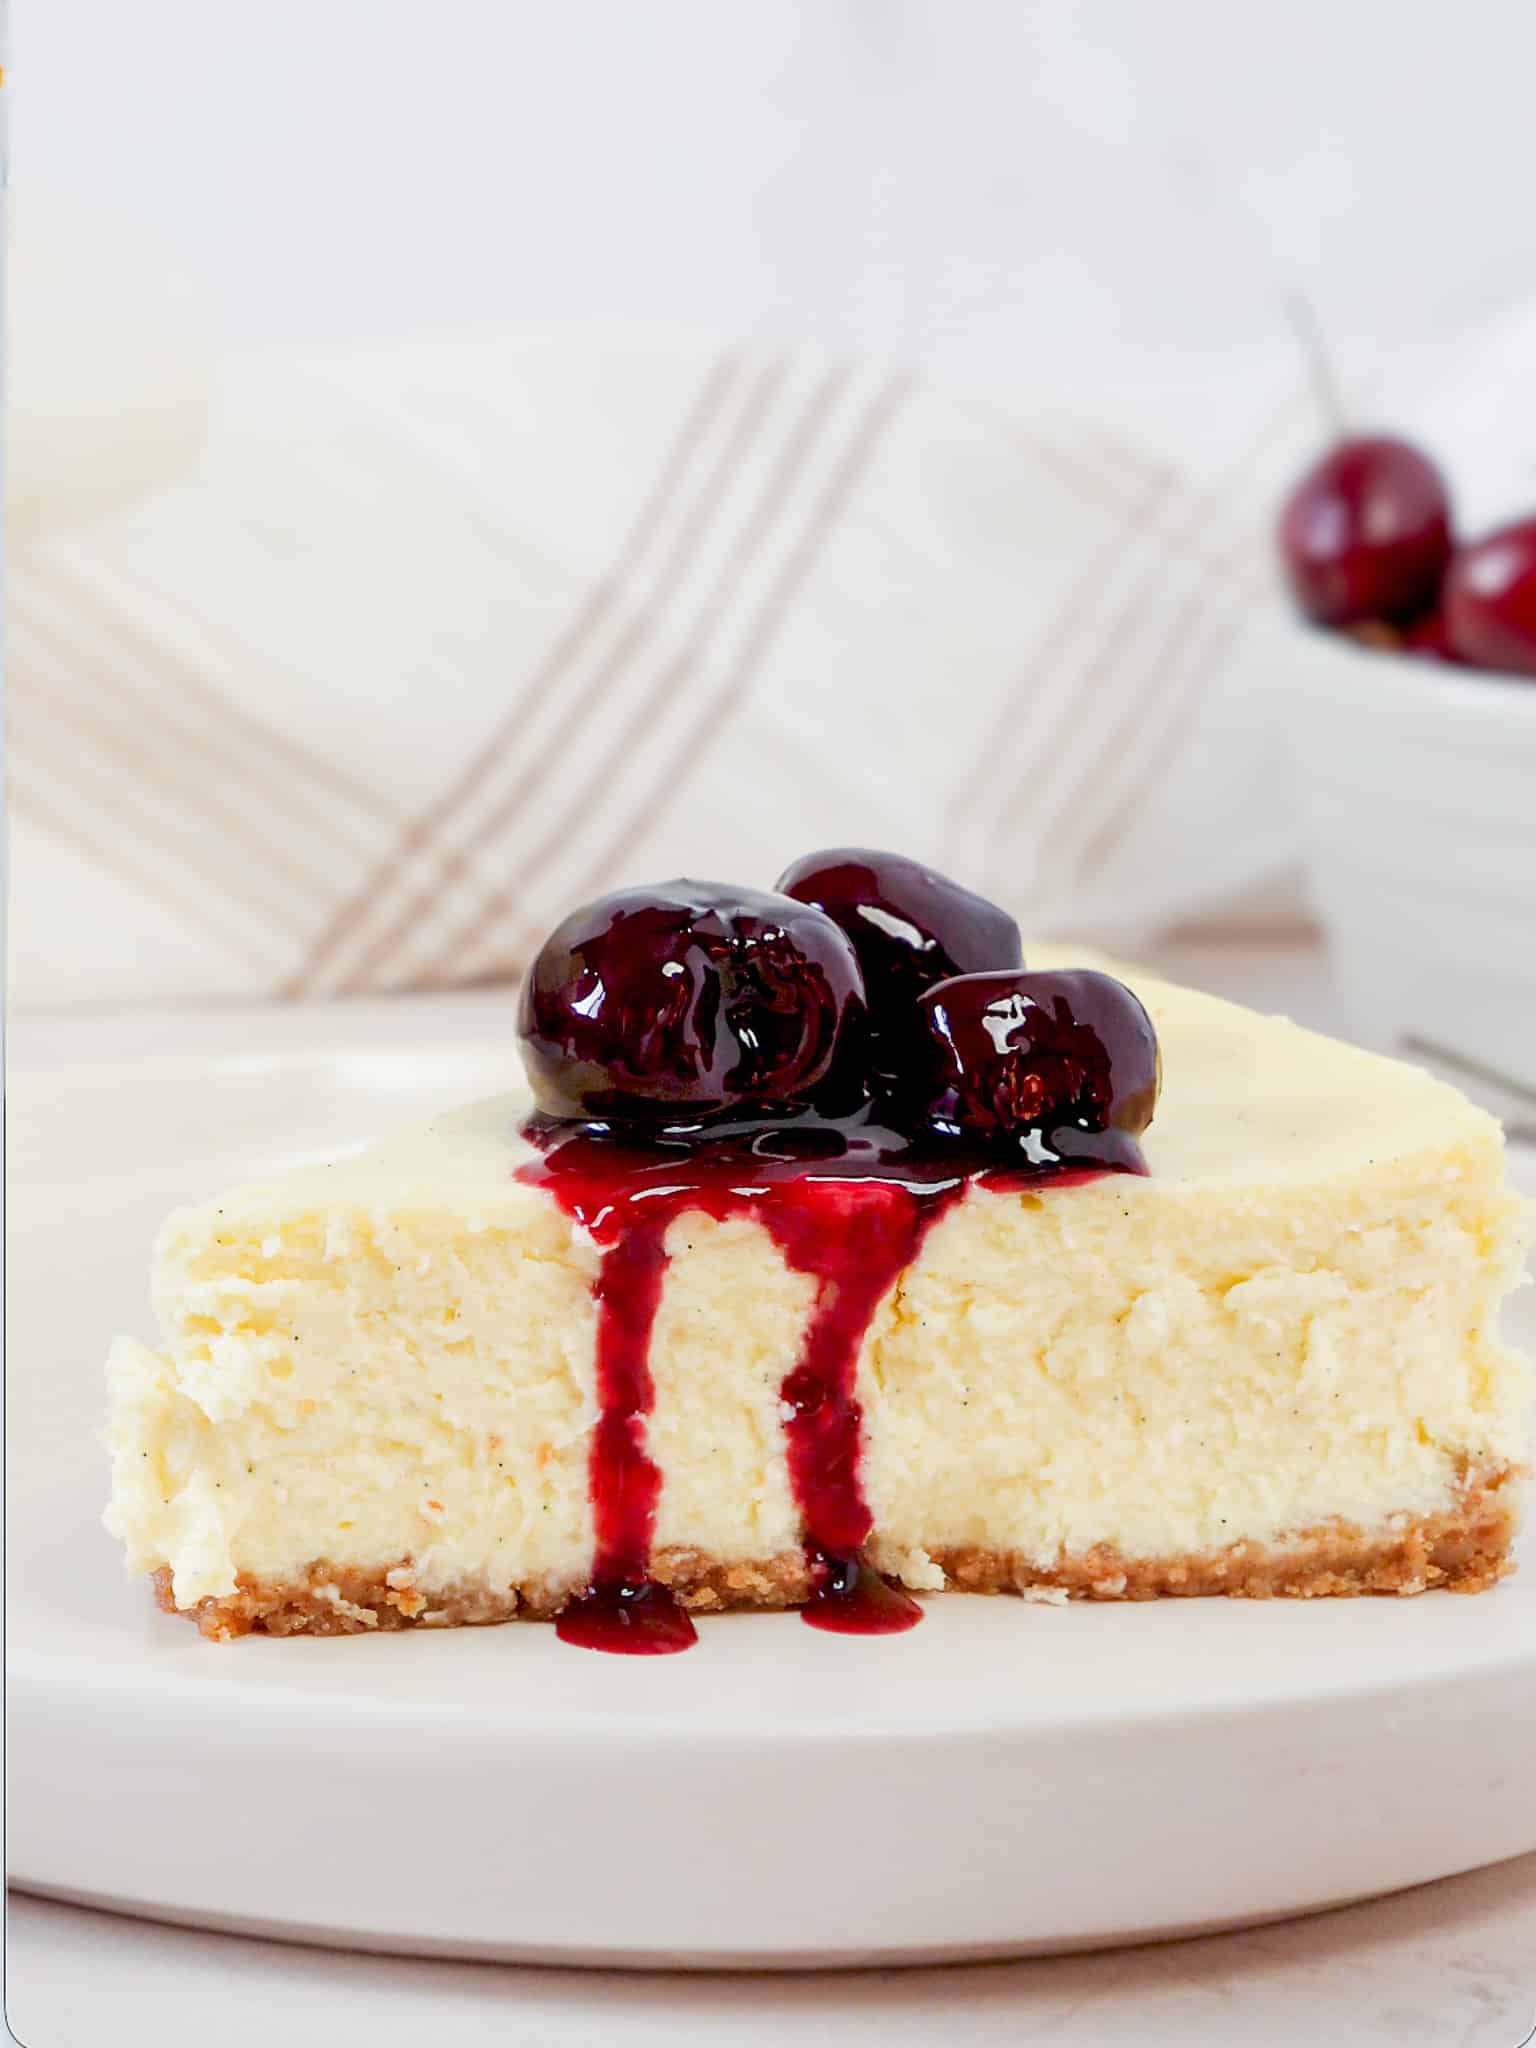
If you love a rich, smooth cheesecake, this cherry cheesecake recipe is about to become a new favorite. It starts with a buttery graham cracker crust, a luxuriously creamy vanilla bean cheesecake filling, and finishes with a glossy homemade cherry compote, no canned cherry filling here (unless that’s your thing… no judgment 😅).
Instead of baking cherries directly into the cheesecake, which can affect the texture, this recipe keeps the filling perfectly silky and adds the cherry flavor where it shines most: right on top. The result is a baked cherry cheesecake that’s elegant, balanced, and surprisingly easy to make at home.
This recipe is adapted from my viral Vanilla Bean Cheesecake, one of my all-time favorite desserts. And yes, I’m a cheesecake snob, so you can trust this one.
Why You’ll LOVE This Cherry Cheesecake Recipe
- Ultra-creamy texture every time – The combination of cream cheese, mascarpone, sour cream, and heavy cream creates a cheesecake that’s smooth, rich, and never dry or dense.
- Perfect cherry flavor without canned filling – A simple homemade cherry compote adds bright, sweet-tart flavor and a glossy finish that tastes fresh and balanced. The best part is, it takes just 10 minutes!
- Crack-free and bakery-quality – Gentle mixing, a water bath, and slow cooling help ensure a beautifully smooth crack-free cheesecake top.
- Make-ahead friendly – This cheesecake needs time to chill, making it ideal for entertaining or preparing in advance.
- Classic flavor, elevated – Vanilla bean and cherries are a timeless pairing, taken up a notch with a refined, from-scratch approach.
Cherry Cheesecake with Cherry Compote (Why It’s Better on Top)
Many cherry cheesecake recipes bake the fruit directly into the filling, but that can introduce excess moisture and lead to uneven baking. Instead, this recipe uses a simple homemade cherry compote spooned over the cheesecake after it has fully chilled.
This approach gives you:
- Better control over texture
- Brighter cherry flavor
- A clean, elegant-style finish
Key Ingredients You’ll Need
These key ingredients work together to create a smooth, rich, and perfectly balanced cherry cheesecake recipe. Each one plays an important role in flavor or texture. As always, the full recipe measurements are listed in the recipe card down below.
- Full-Fat Cream Cheese – The foundation of any great cheesecake. Full-fat cream cheese provides structure, richness, and that classic dense-but-creamy texture you want in a baked cheesecake.
- Mascarpone Cheese – Mascarpone softens the texture and adds a subtle sweetness, making the cheesecake extra smooth and luxurious without tasting heavy. You can also substitute with additional cream cheese if you prefer.
- Vanilla Bean Paste – Vanilla bean paste adds depth and warmth to the cheesecake filling, enhancing the overall flavor and complementing the cherries without overpowering them. Learn how to make Homemade Vanilla Bean Paste!
- Sour Cream & Heavy Cream – This combination creates a cheesecake that’s creamy and silky rather than dry or dense. Sour cream adds a slight tang, while heavy cream keeps the texture soft and velvety.
- Egg – Eggs give the cheesecake structure and help it set properly while still staying smooth. Mixing them in gently is key to a crack-free finish.
- Graham Cracker Crust – A buttery graham cracker crust adds crunch and balance, providing the perfect contrast to the creamy filling.
- Cherries – Fresh or frozen cherries are cooked into a simple compote that adds bright, sweet-tart flavor and a classic cherry cheesecake finish. If you are short on time, you can also use canned cherry topping.
- Lemon Juice – A small amount of lemon juice sharpens the cherry flavor and keeps the compote tasting fresh, not overly sweet.
Whenever making cherry cheesecake, it is SUPER important to make sure all of your ingredients are at room temperature. This will ensure a velvety smooth cheesecake.
How to Make This Cherry Cheesecake Recipe Step by Step
1) Prep your pan and oven
Preheat the oven to 350°F (175°C). Wrap the outside of a 10-inch springform pan with heavy-duty foil (I like 3 layers) to prevent water from seeping in during the water bath. If you’re not using a springform pan, no problem, just grab a regular cake pan and line the bottom with parchment paper.
2) Make and bake the graham cracker crust
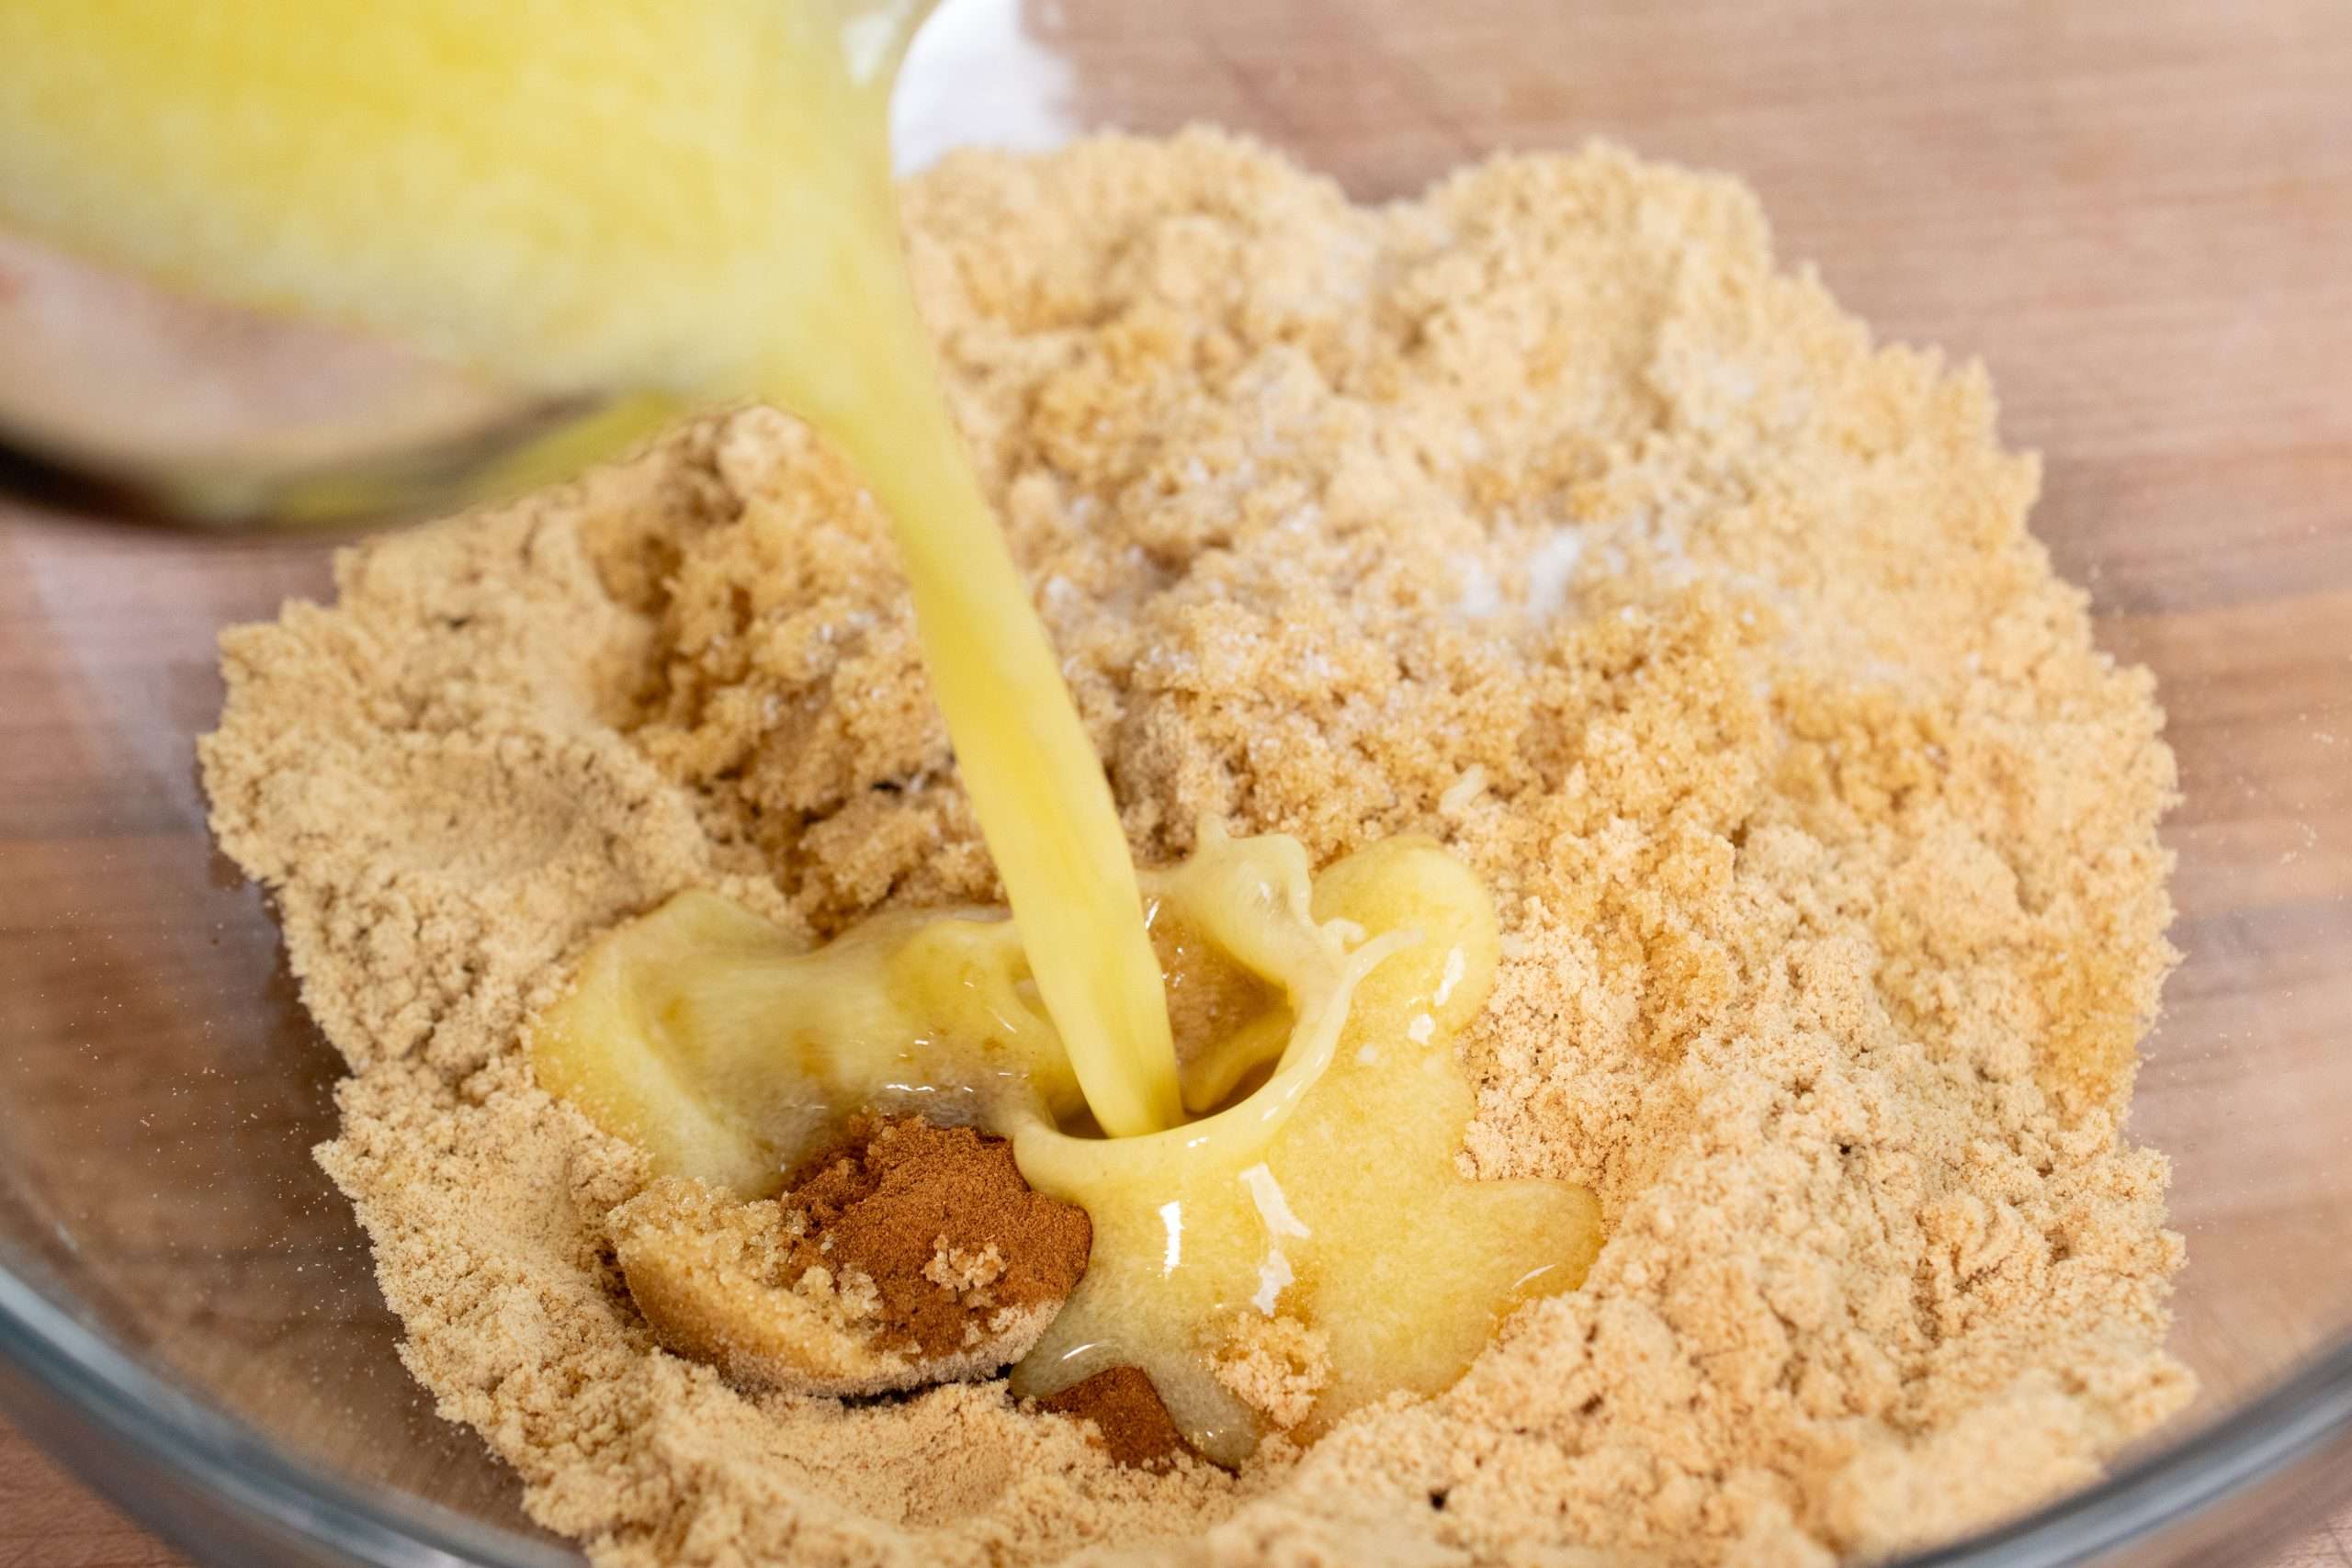
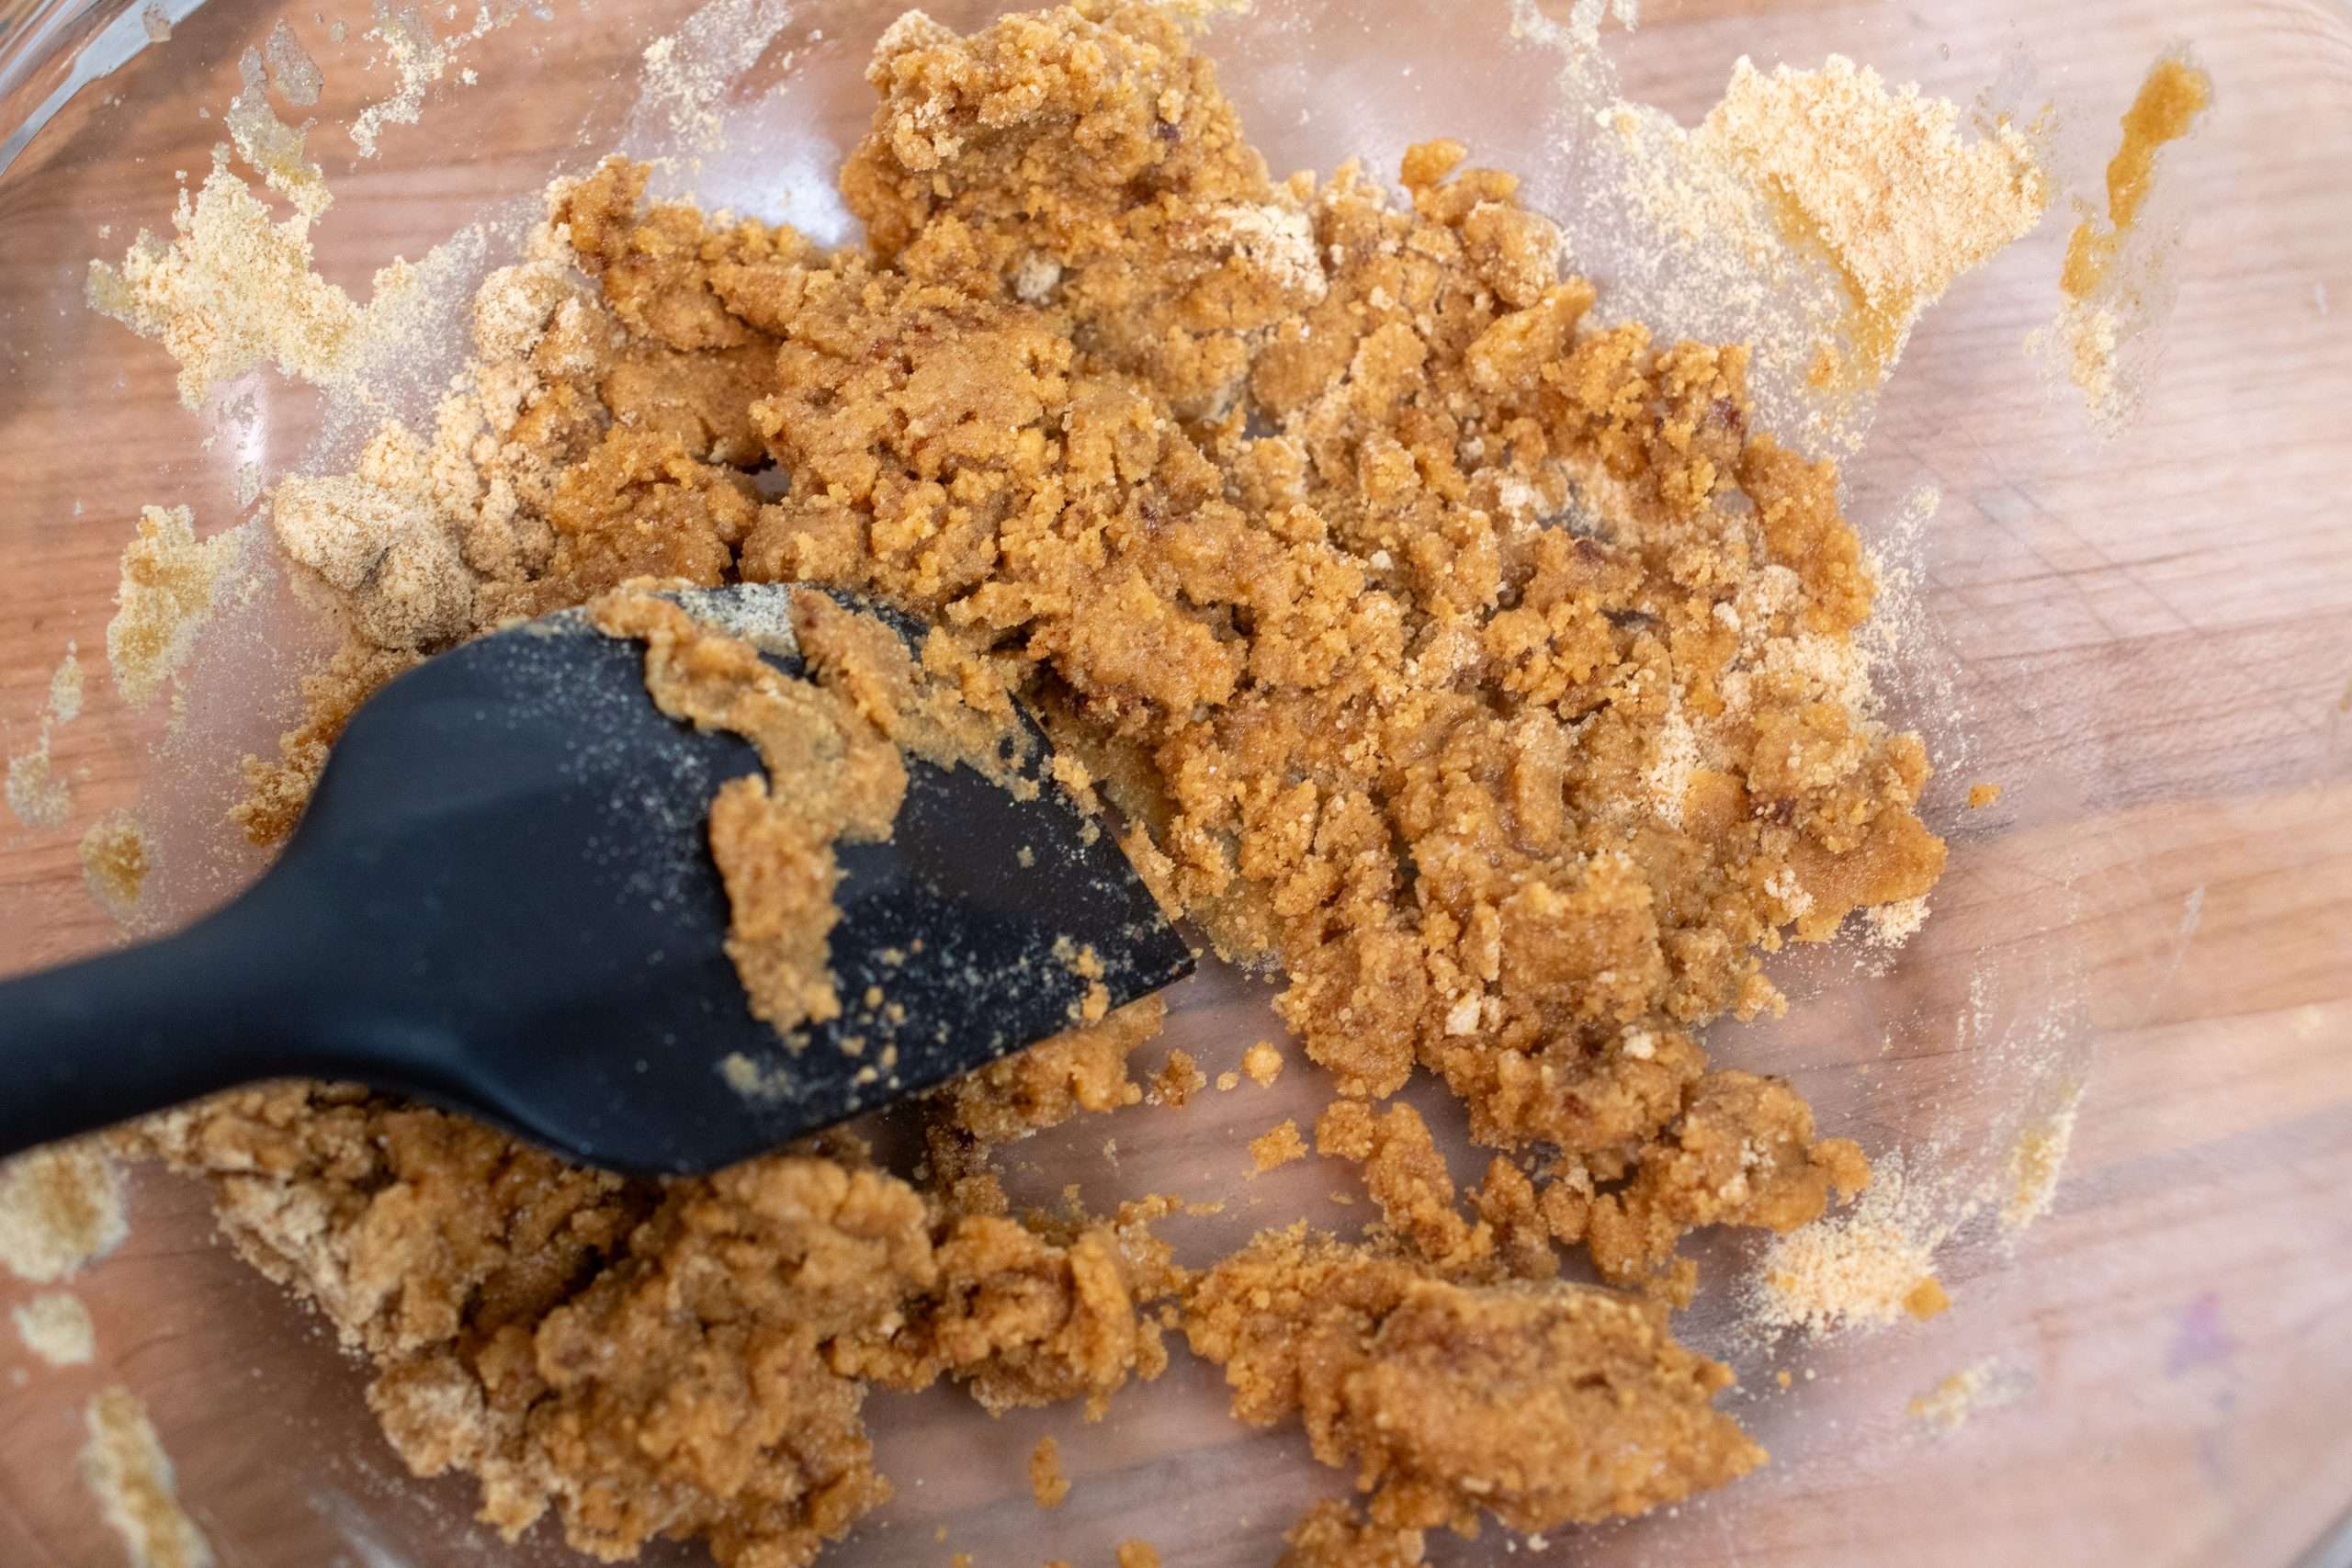
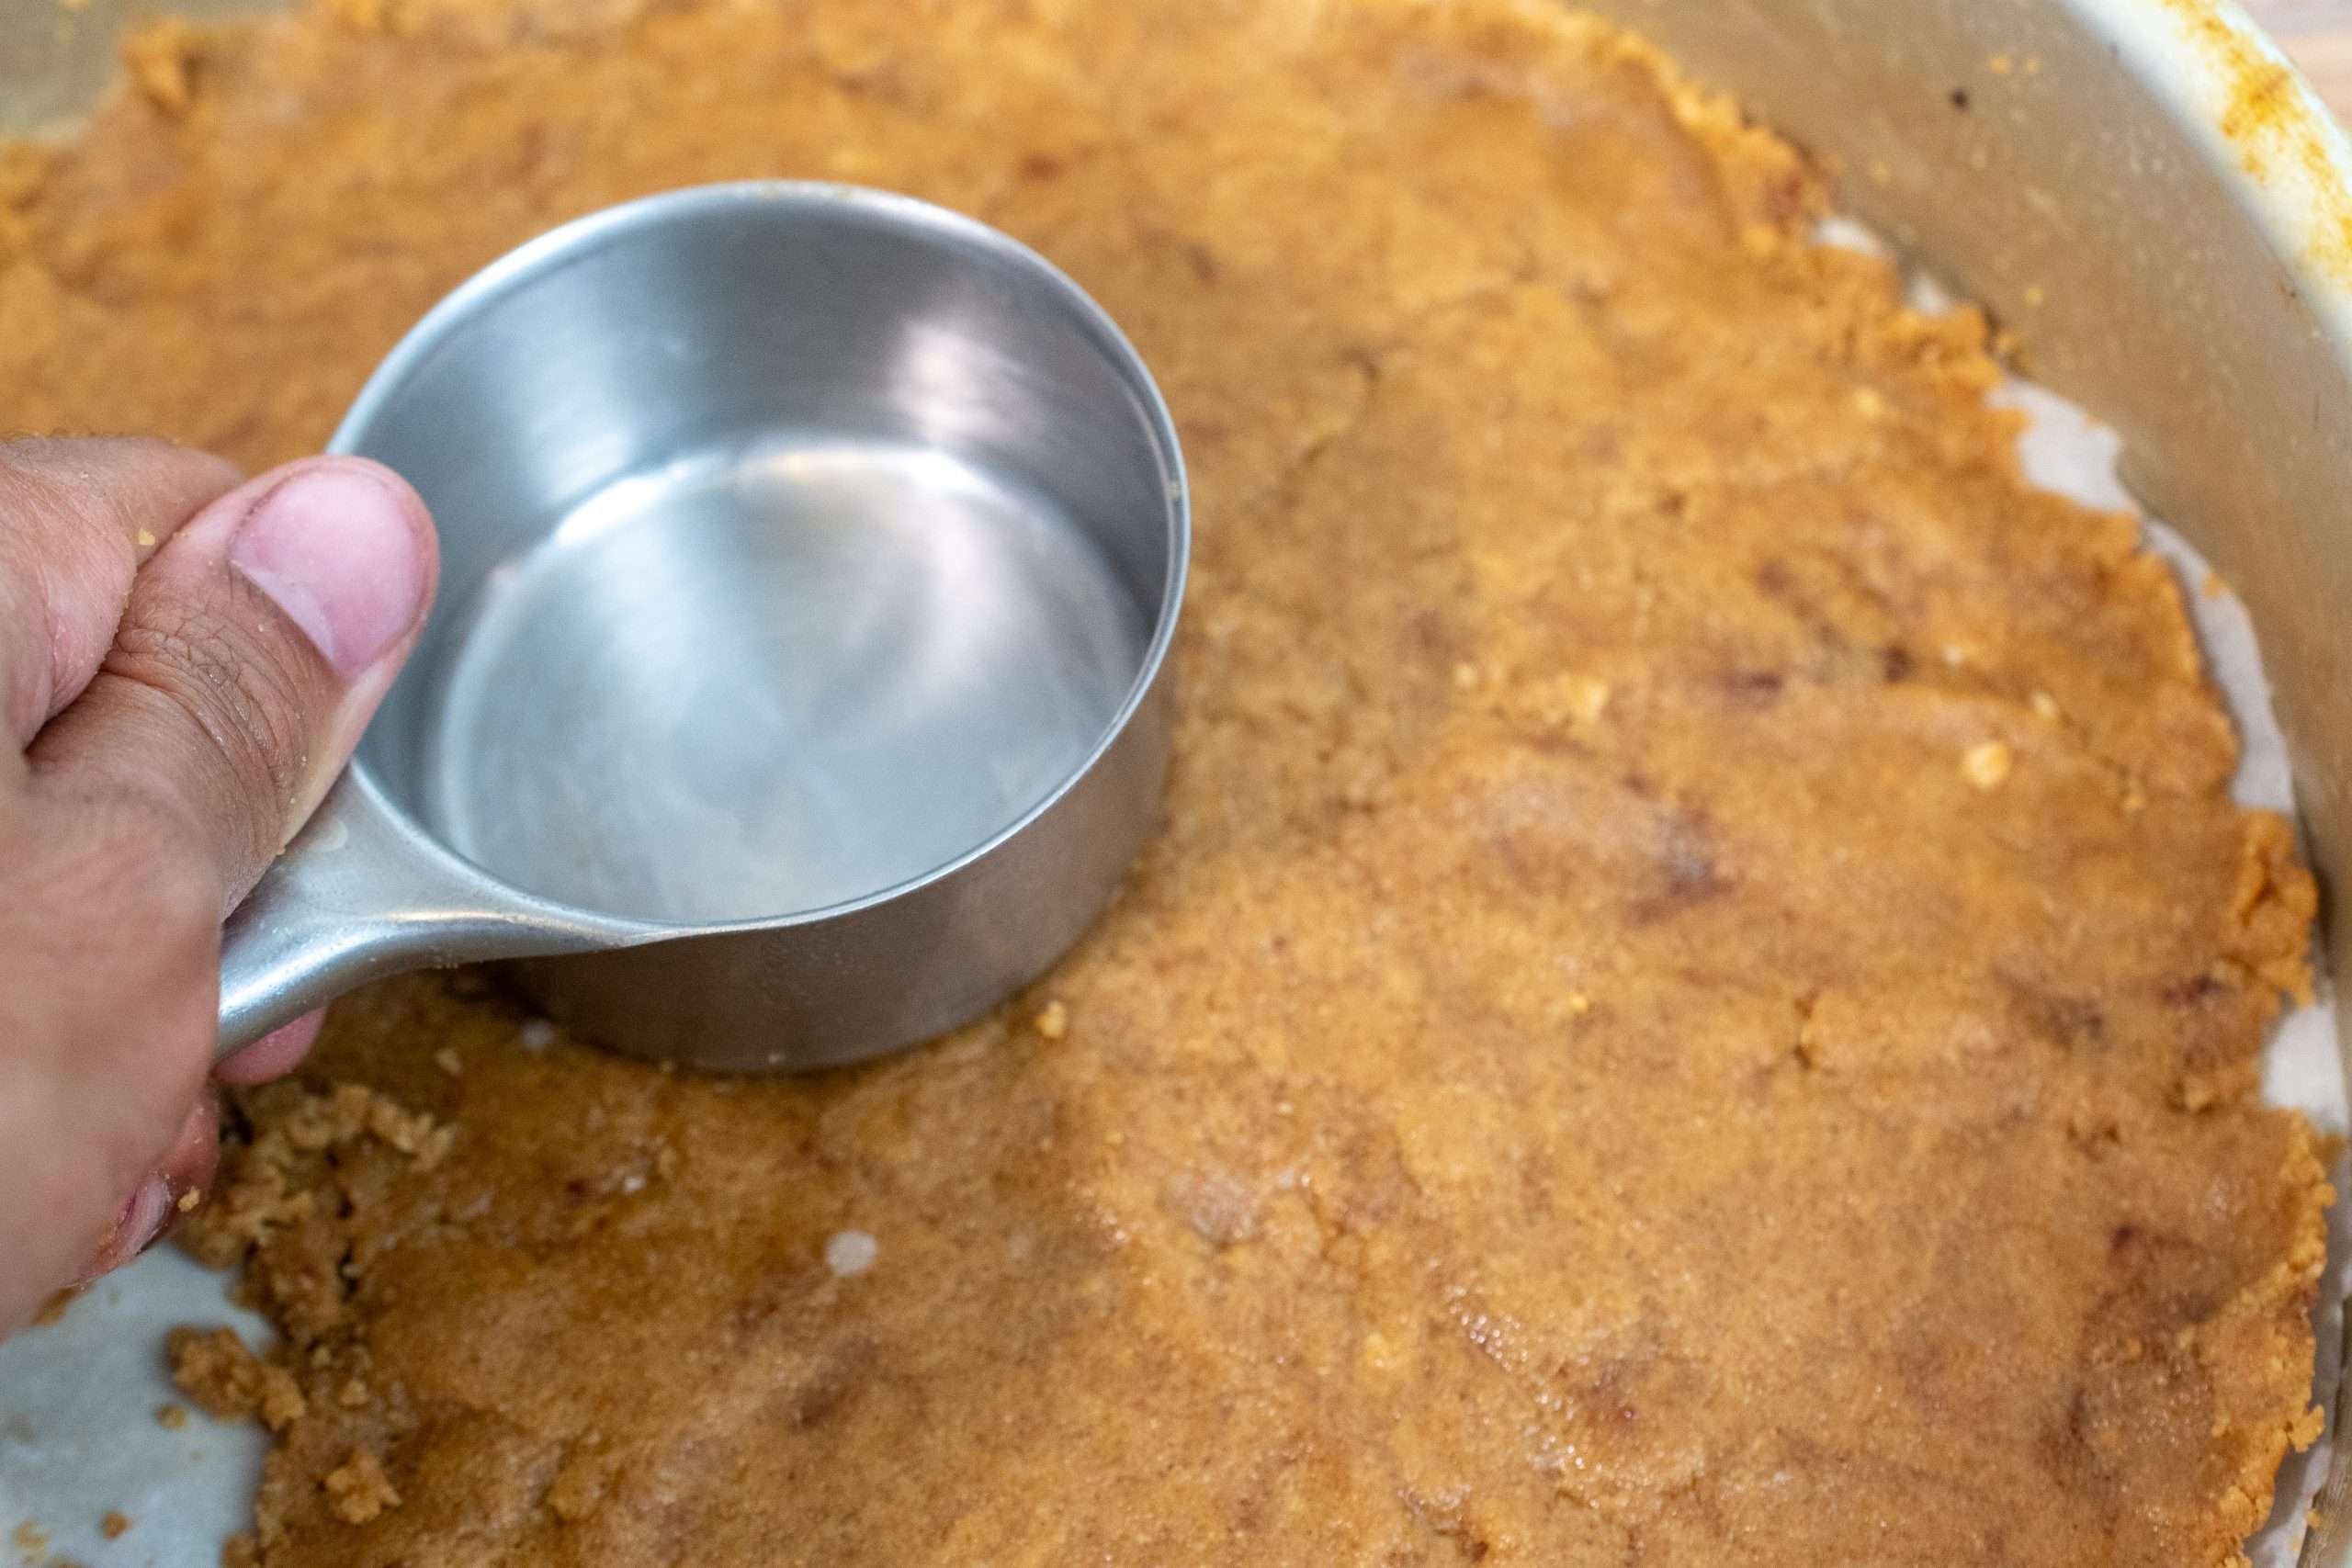
Mix the graham cracker crumbs, brown sugar, cinnamon, and salt, then stir in the melted butter until it looks like wet sand. Press firmly into the bottom (and slightly up the sides). Bake for 10 minutes, then set aside to cool. Reduce the oven to 325°F (160°C).
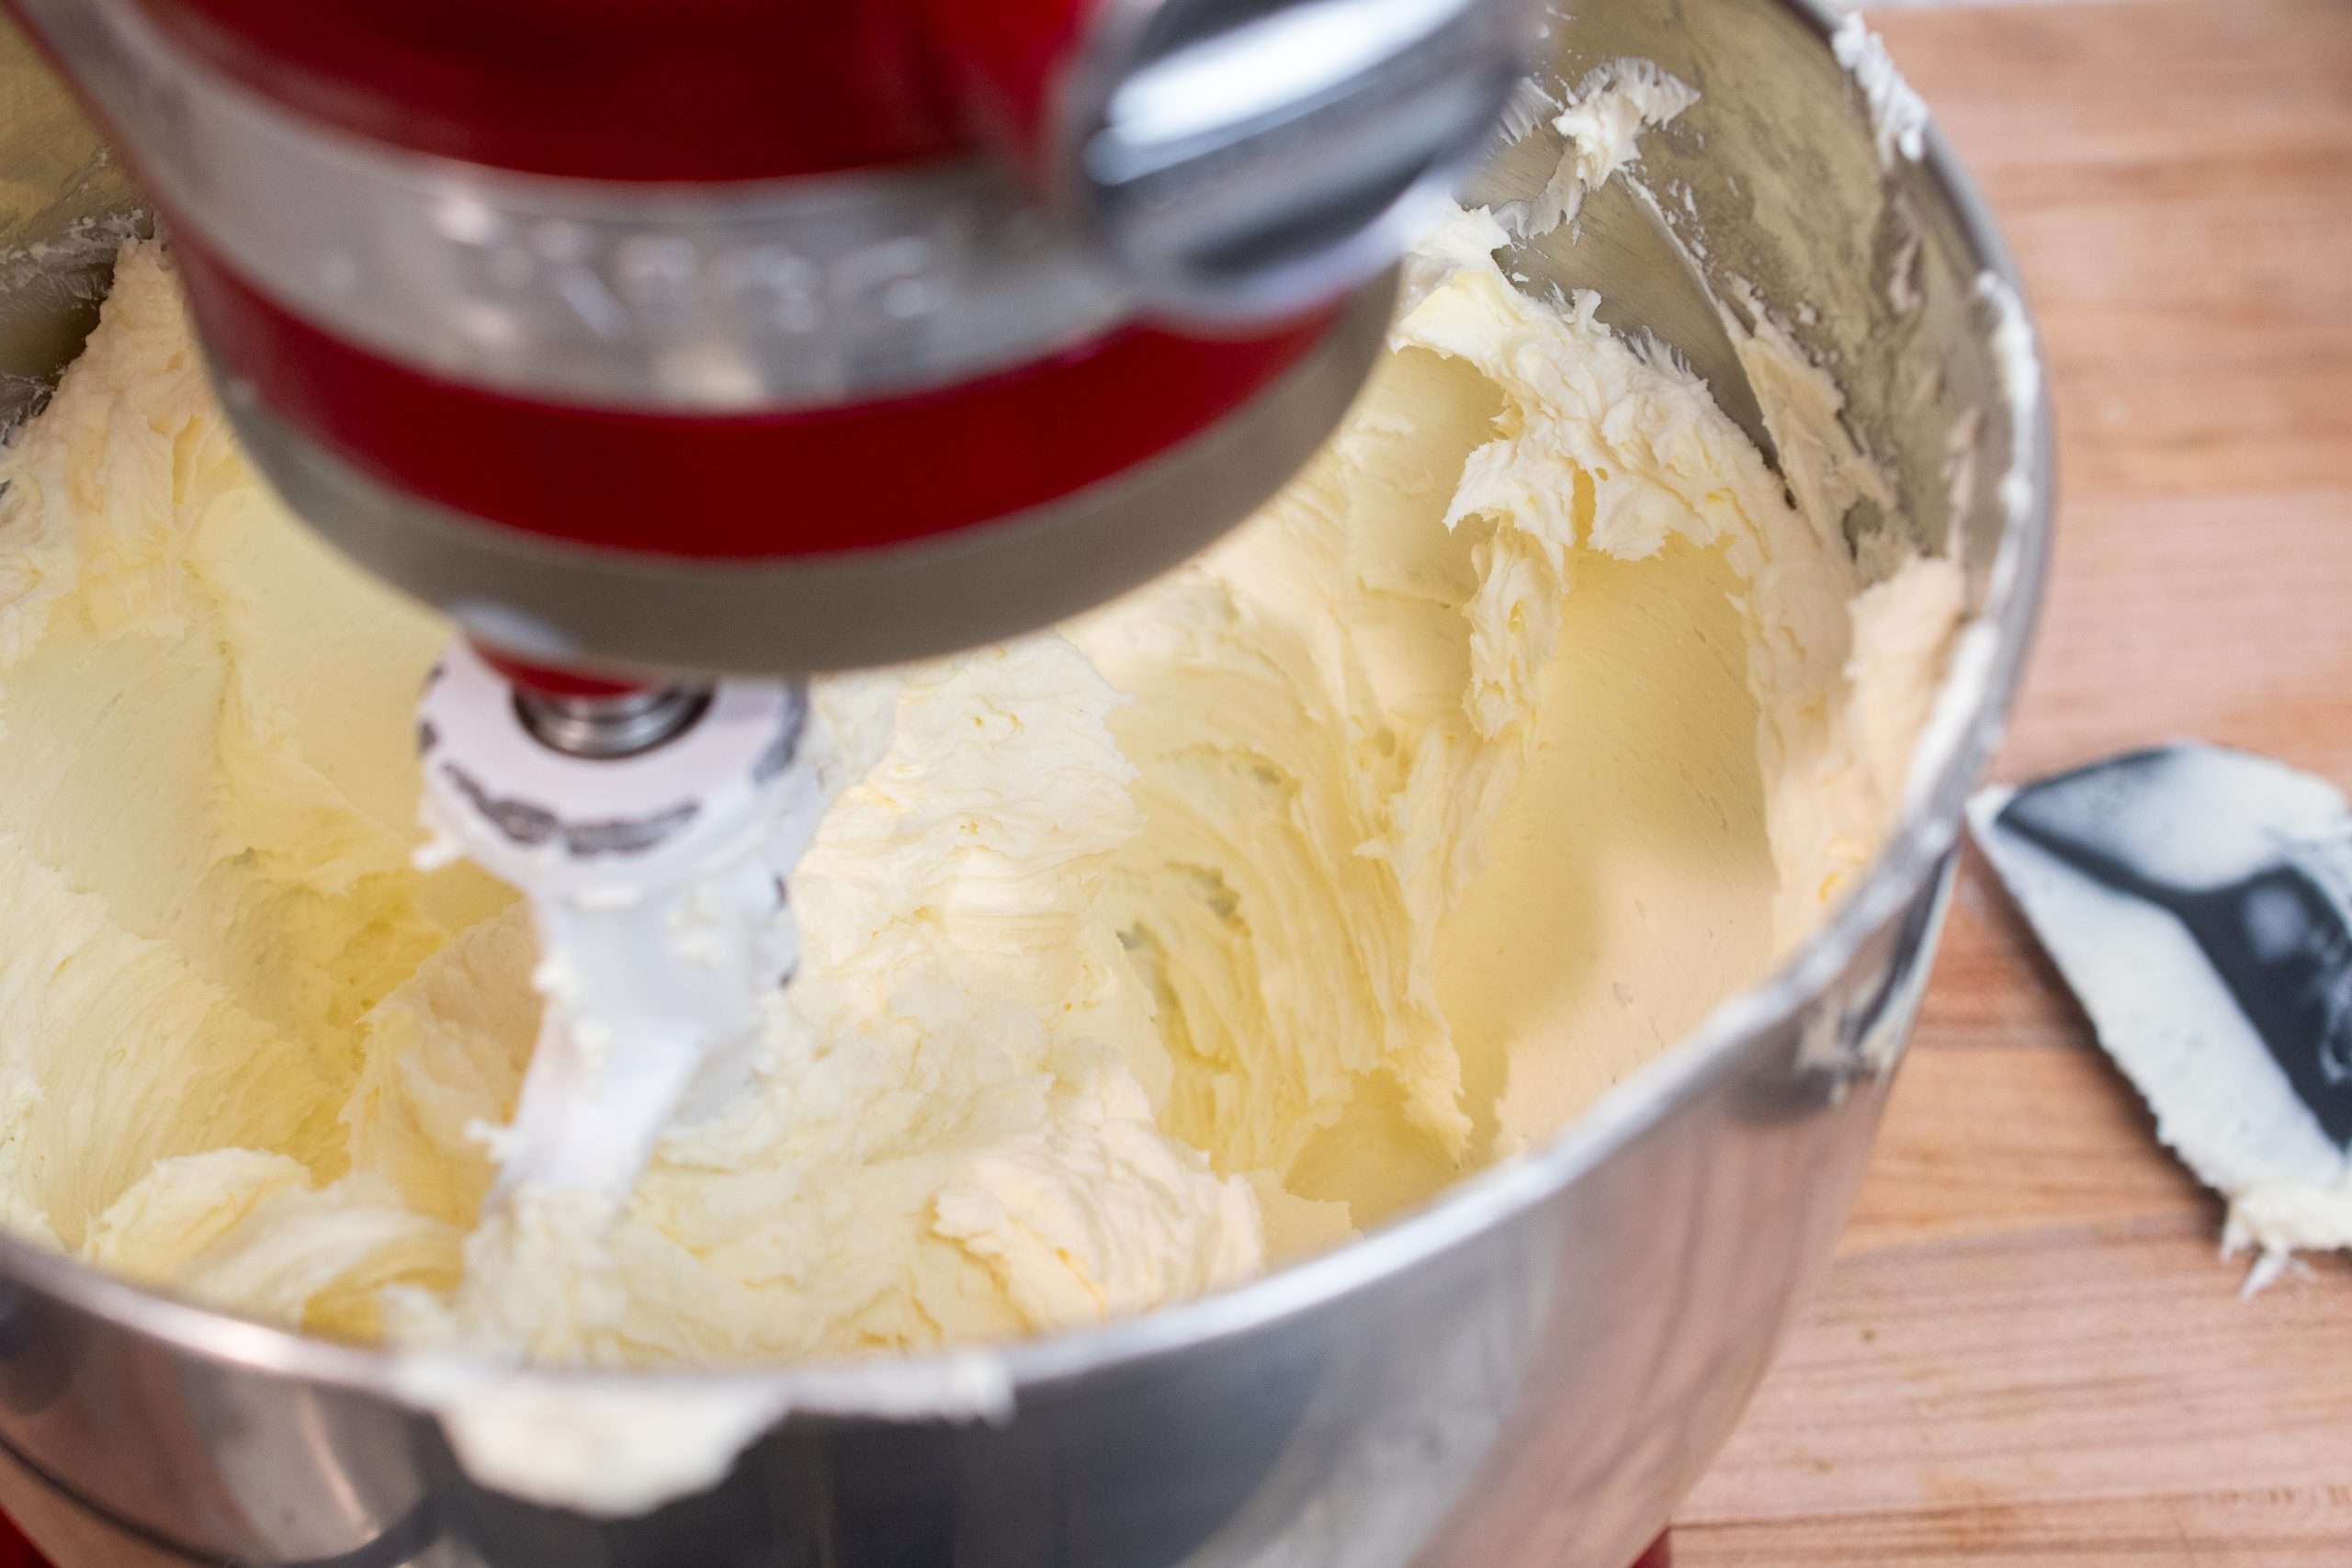
3) Beat the cream cheeses until perfectly smooth
In a large bowl, beat the cream cheese + mascarpone until fluffy and lump-free (about 4 minutes). This is where you build that ultra-creamy texture, so take your time here.
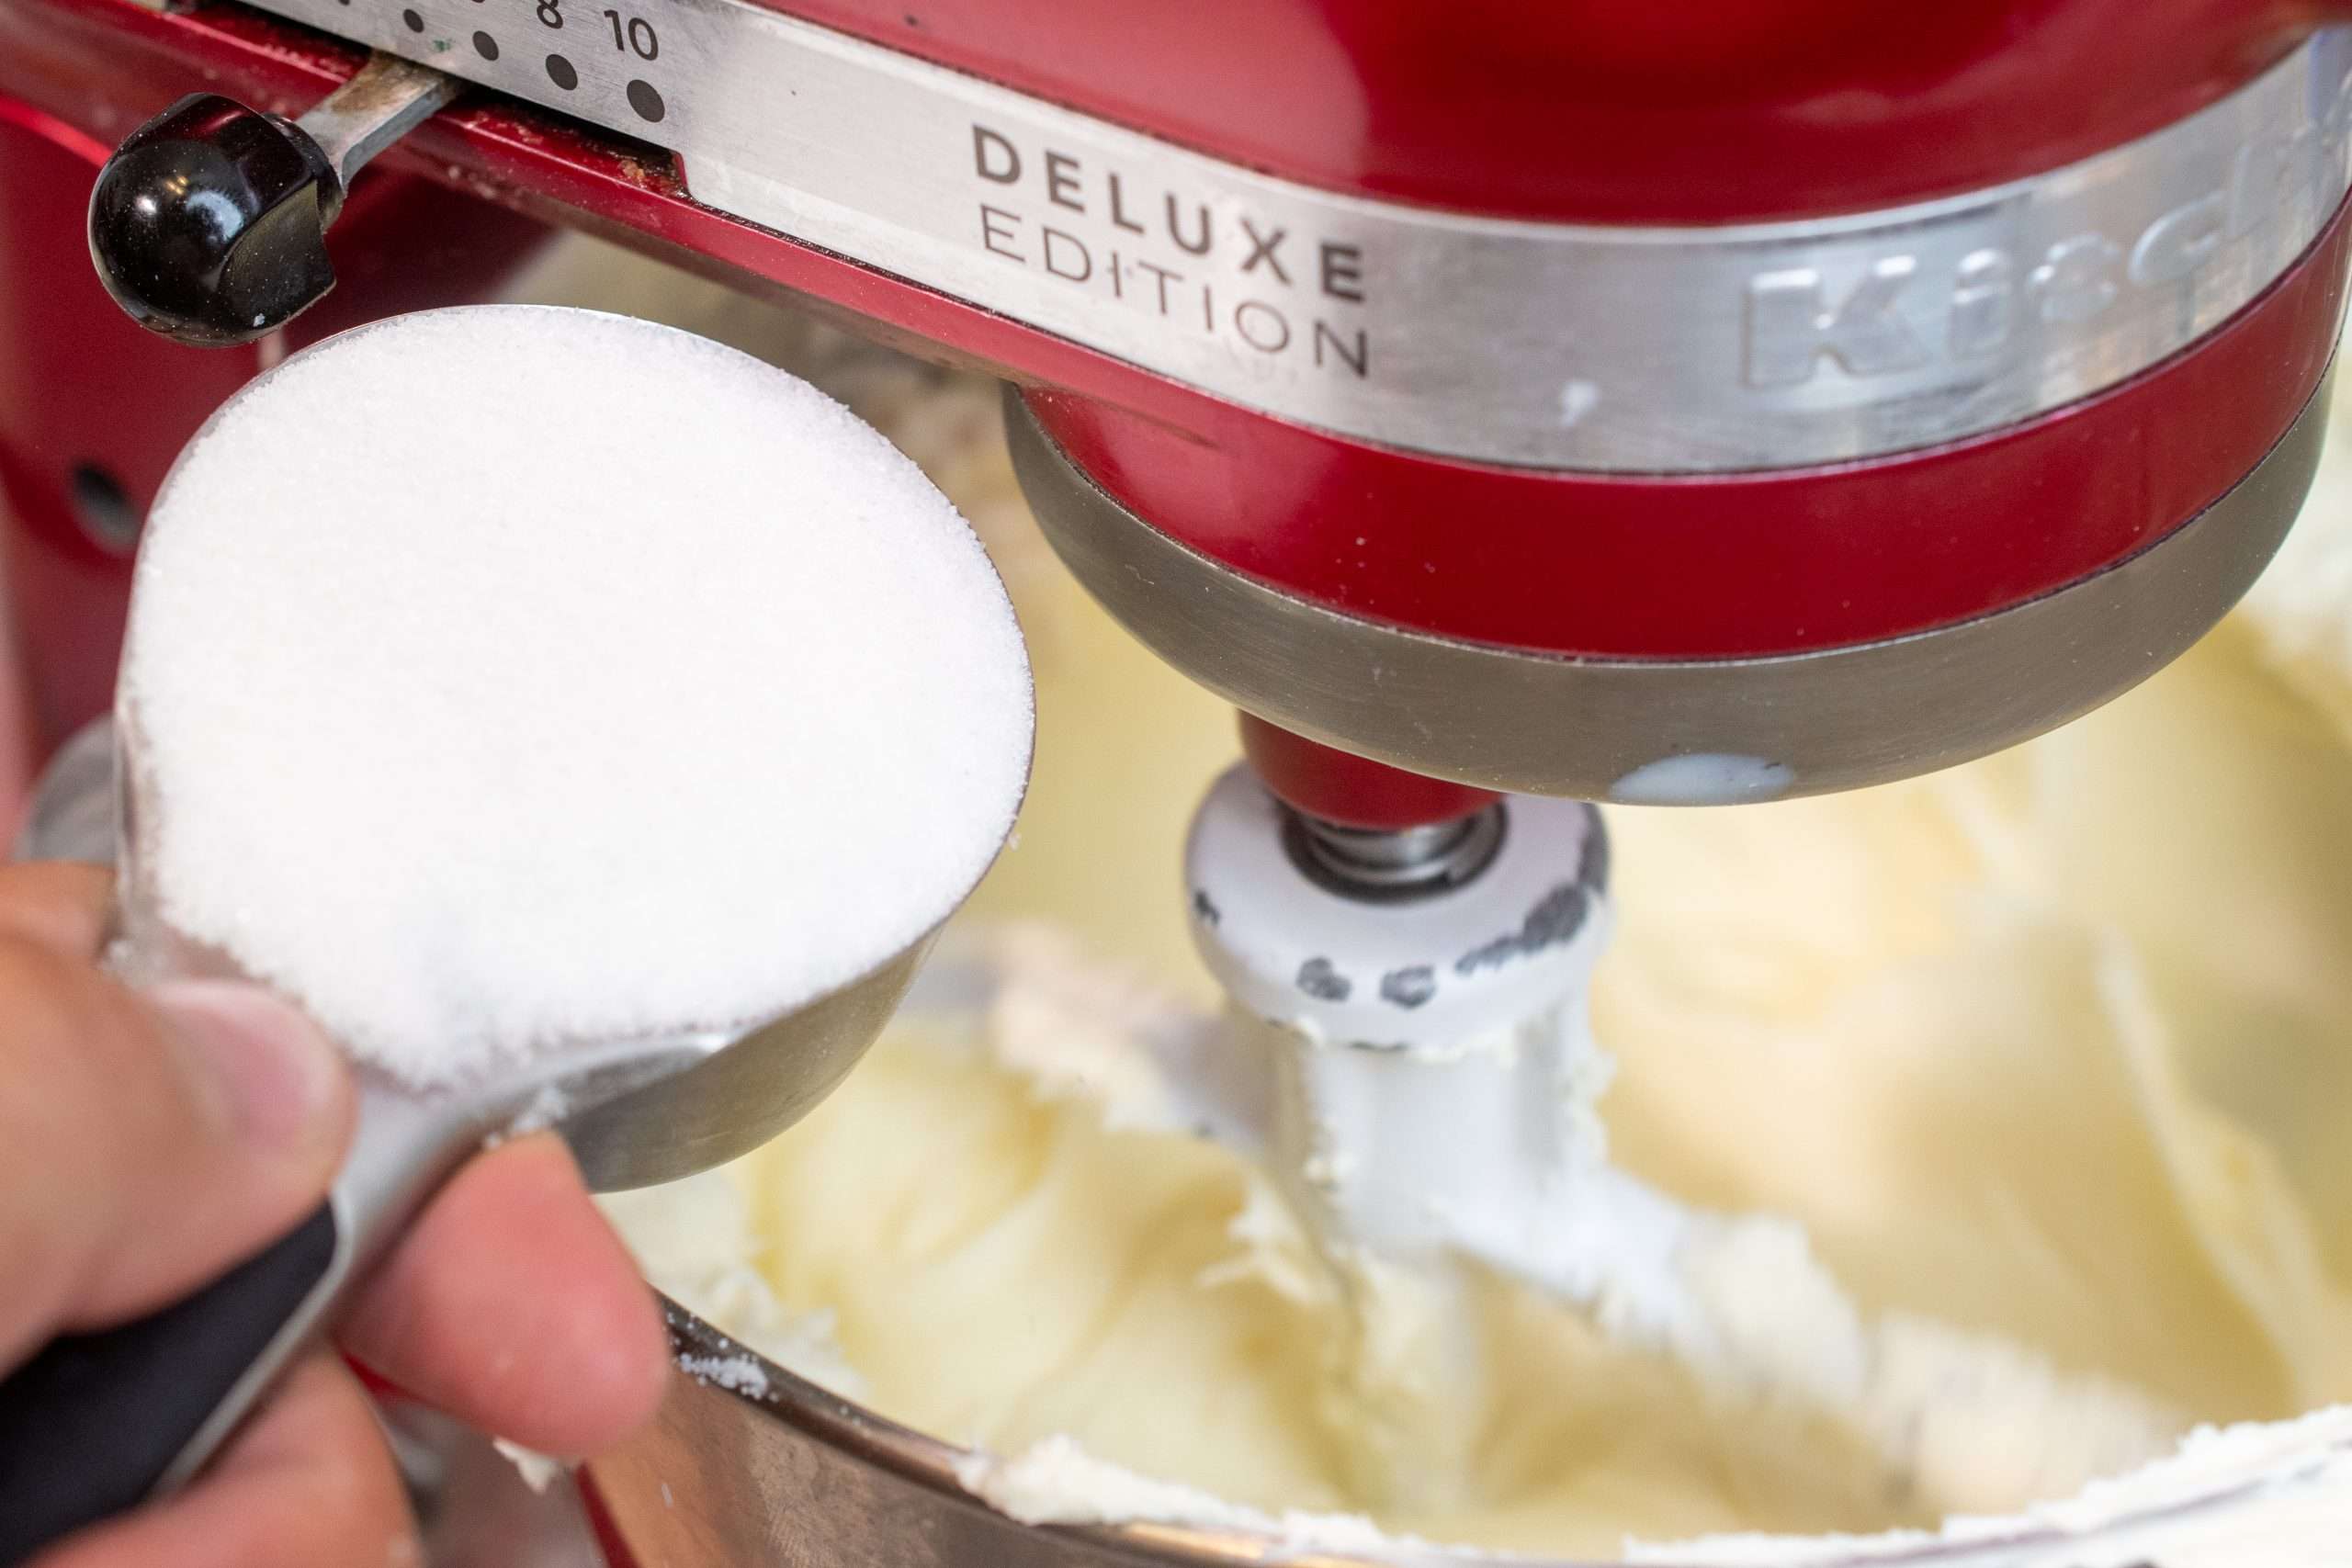
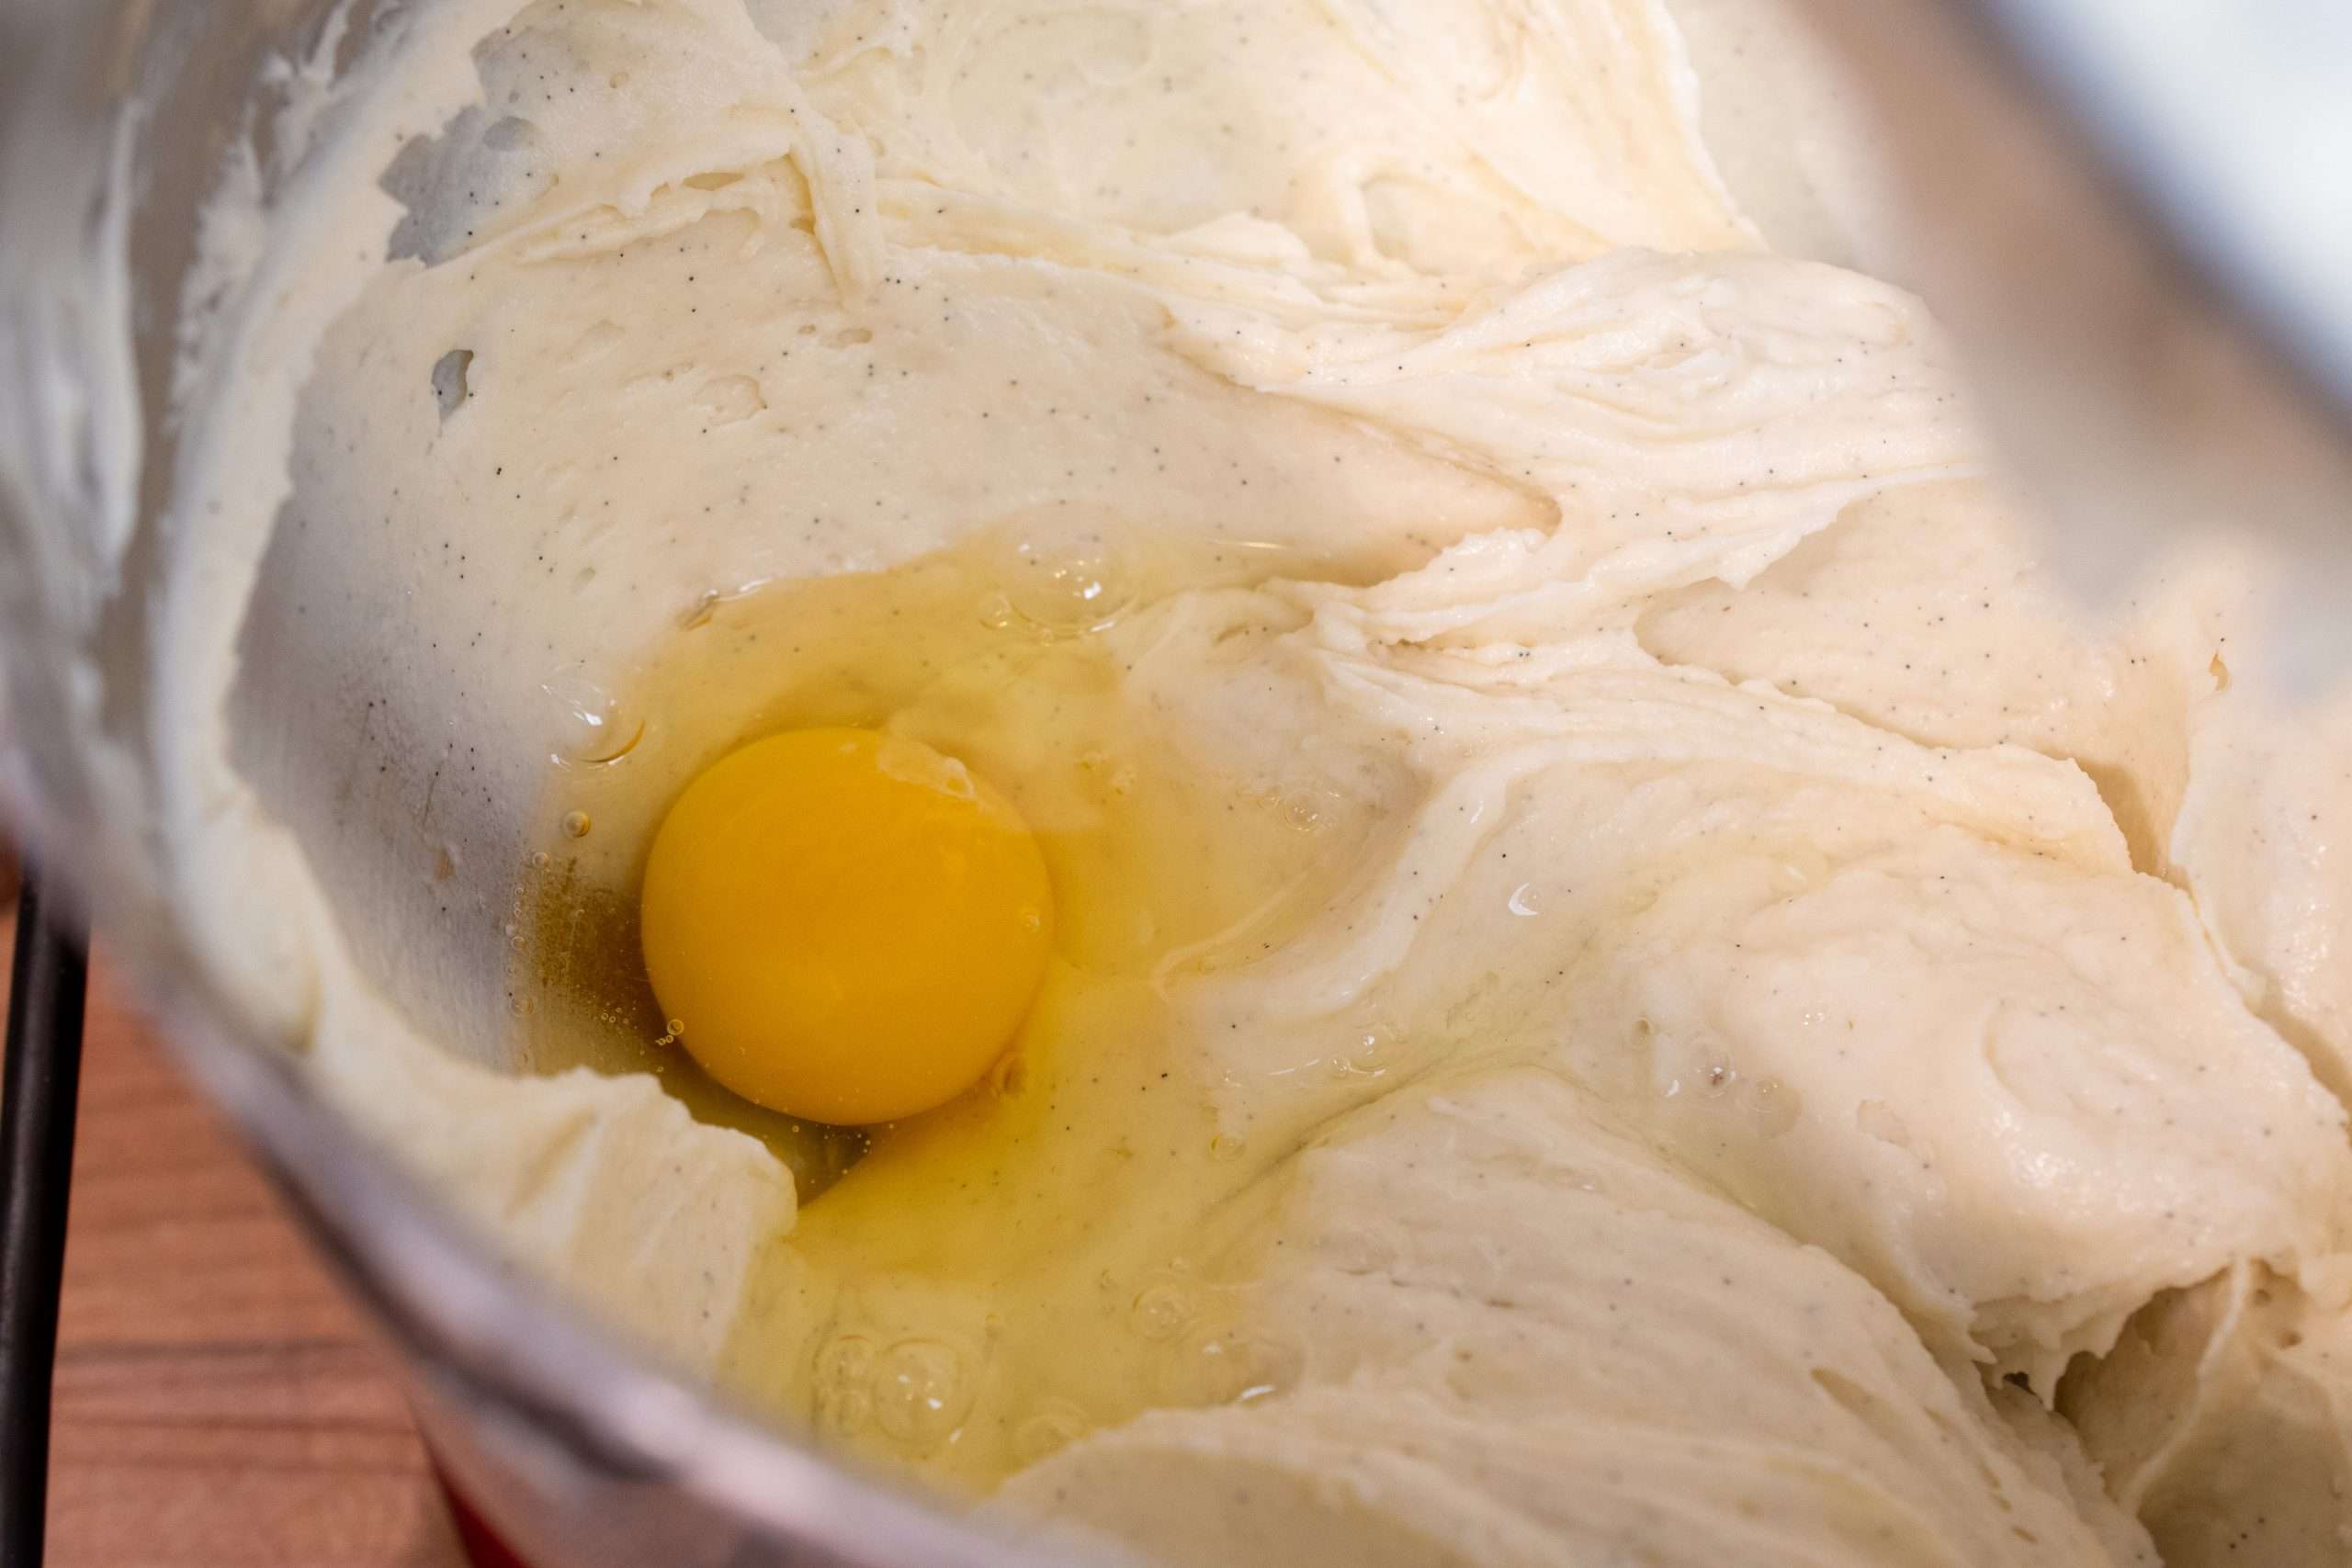
4) Add sugar, vanilla, and eggs
Beat in the sugar, salt, and vanilla bean paste until silky (about 2–3 minutes). Scrape down the bowl so everything mixes evenly. Add the eggs one at a time, mixing on low just until combined. Don’t overmix; too much air is the #1 reason cheesecakes crack.
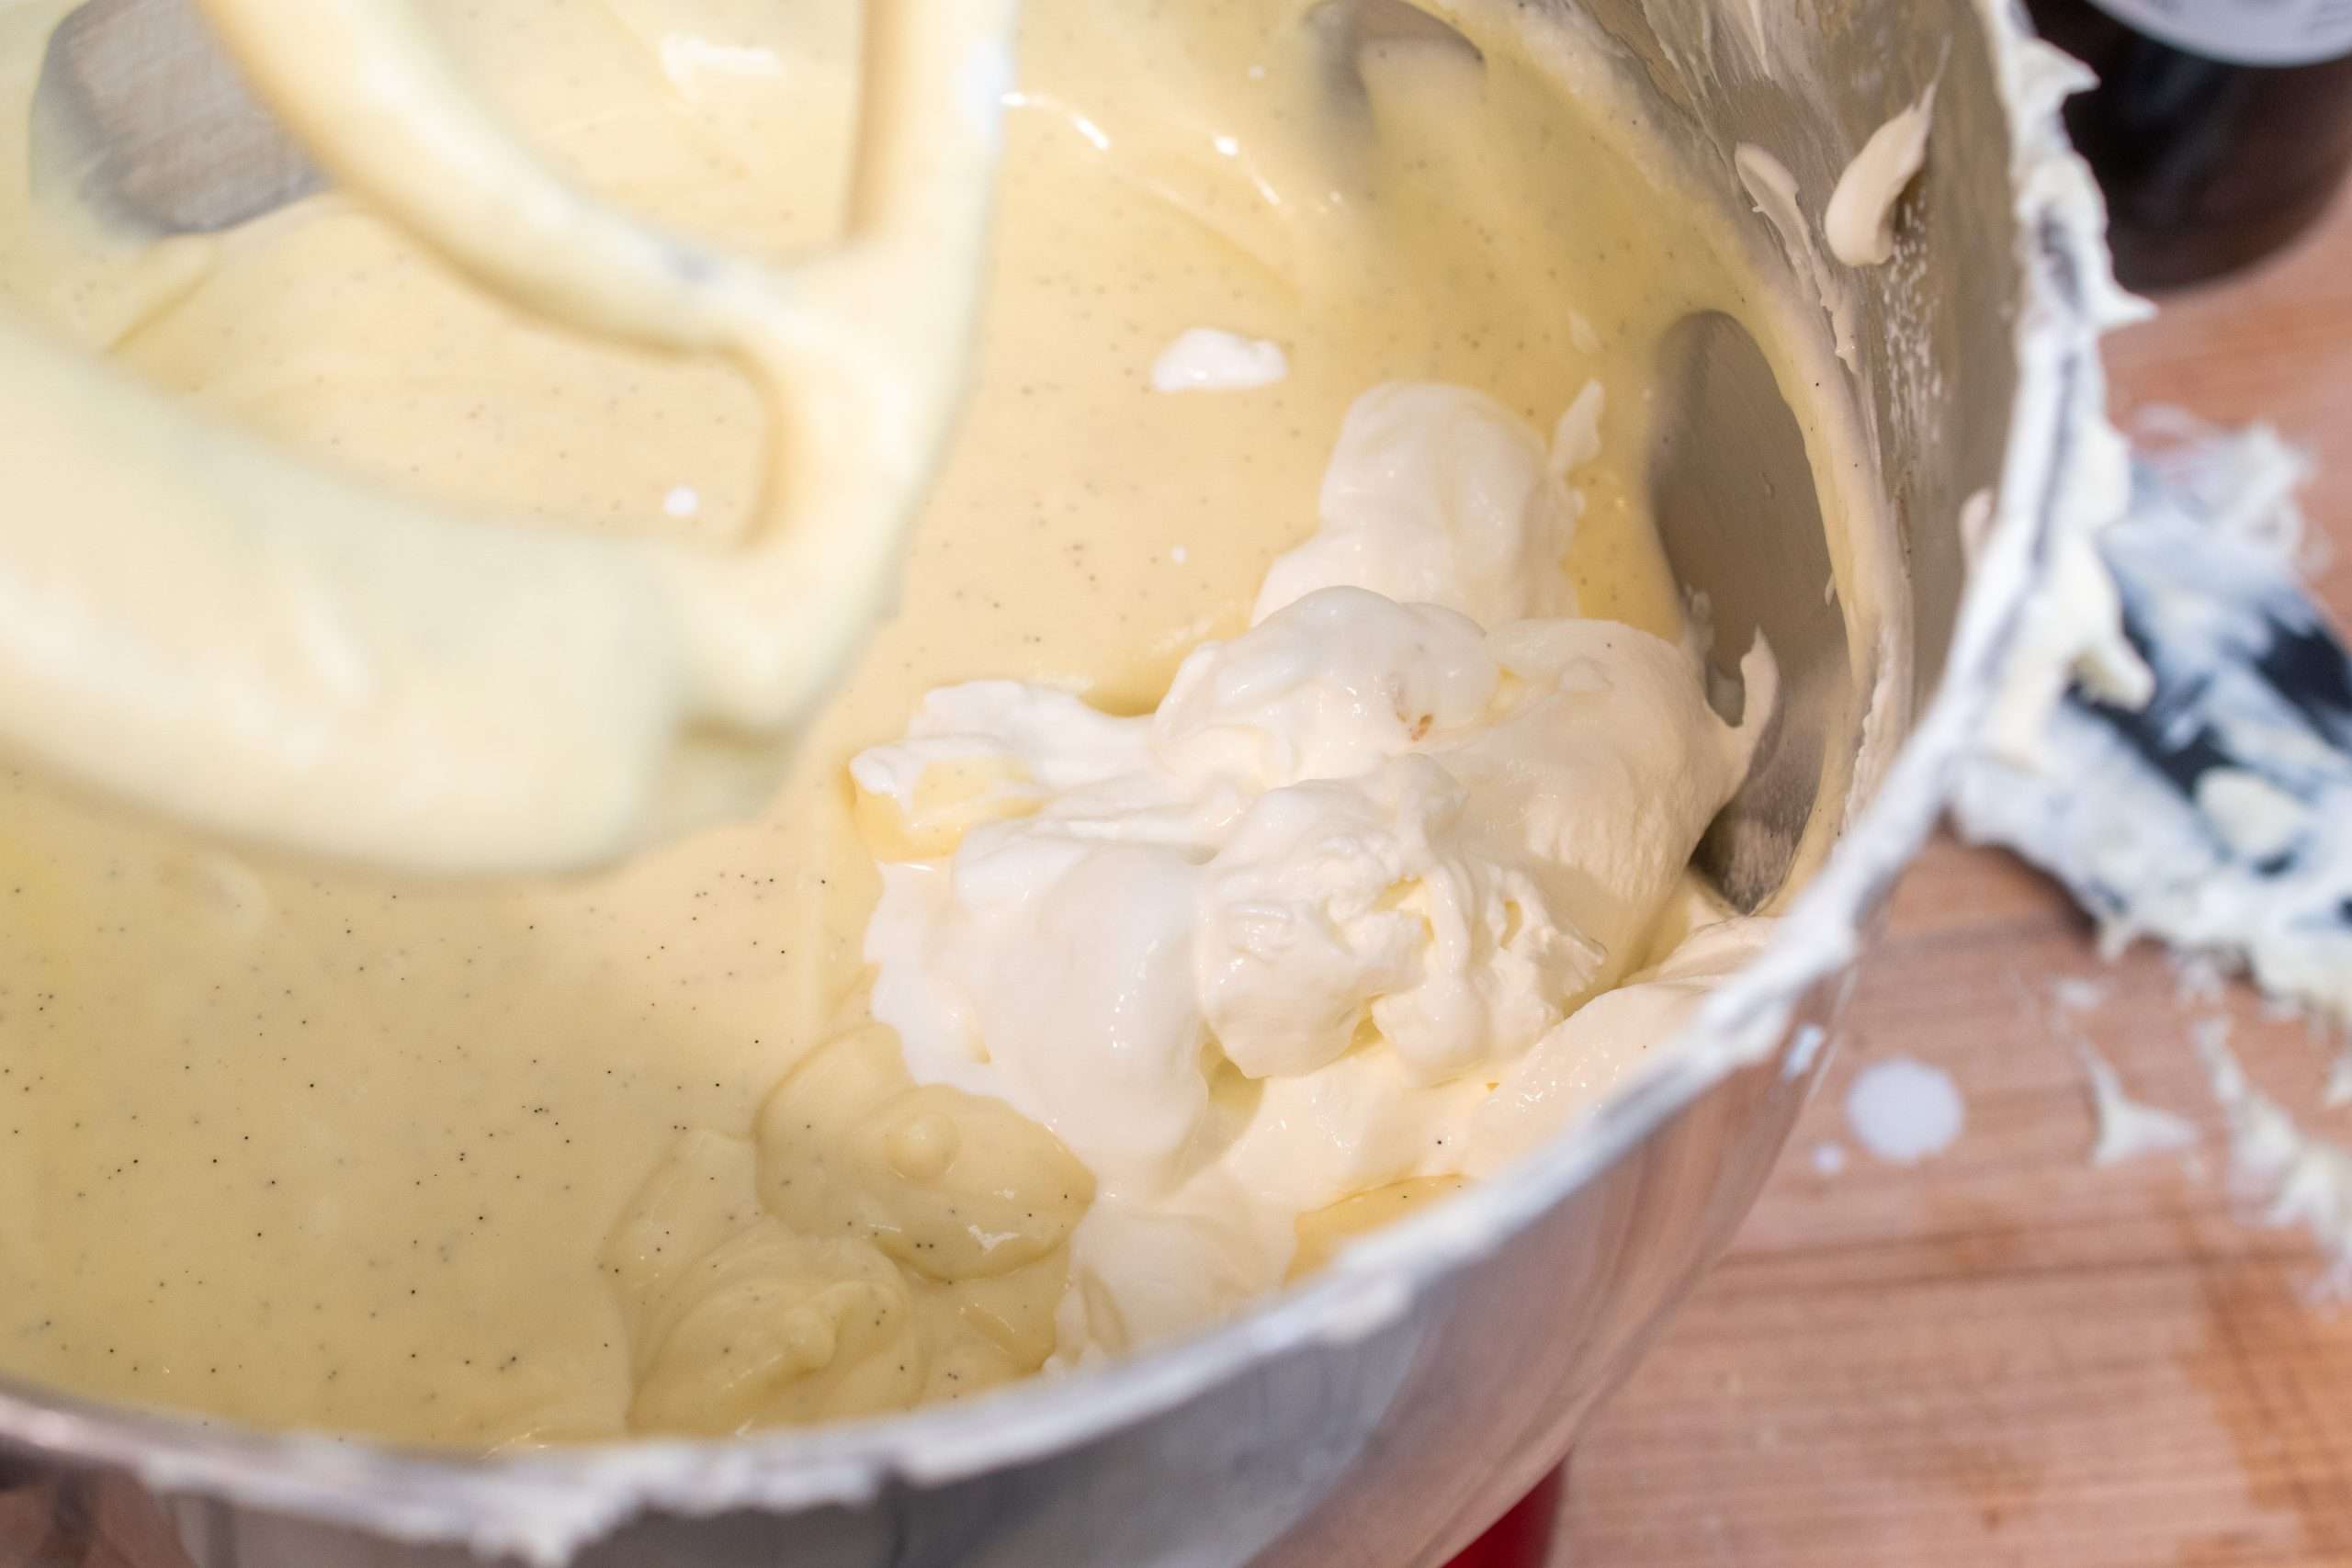
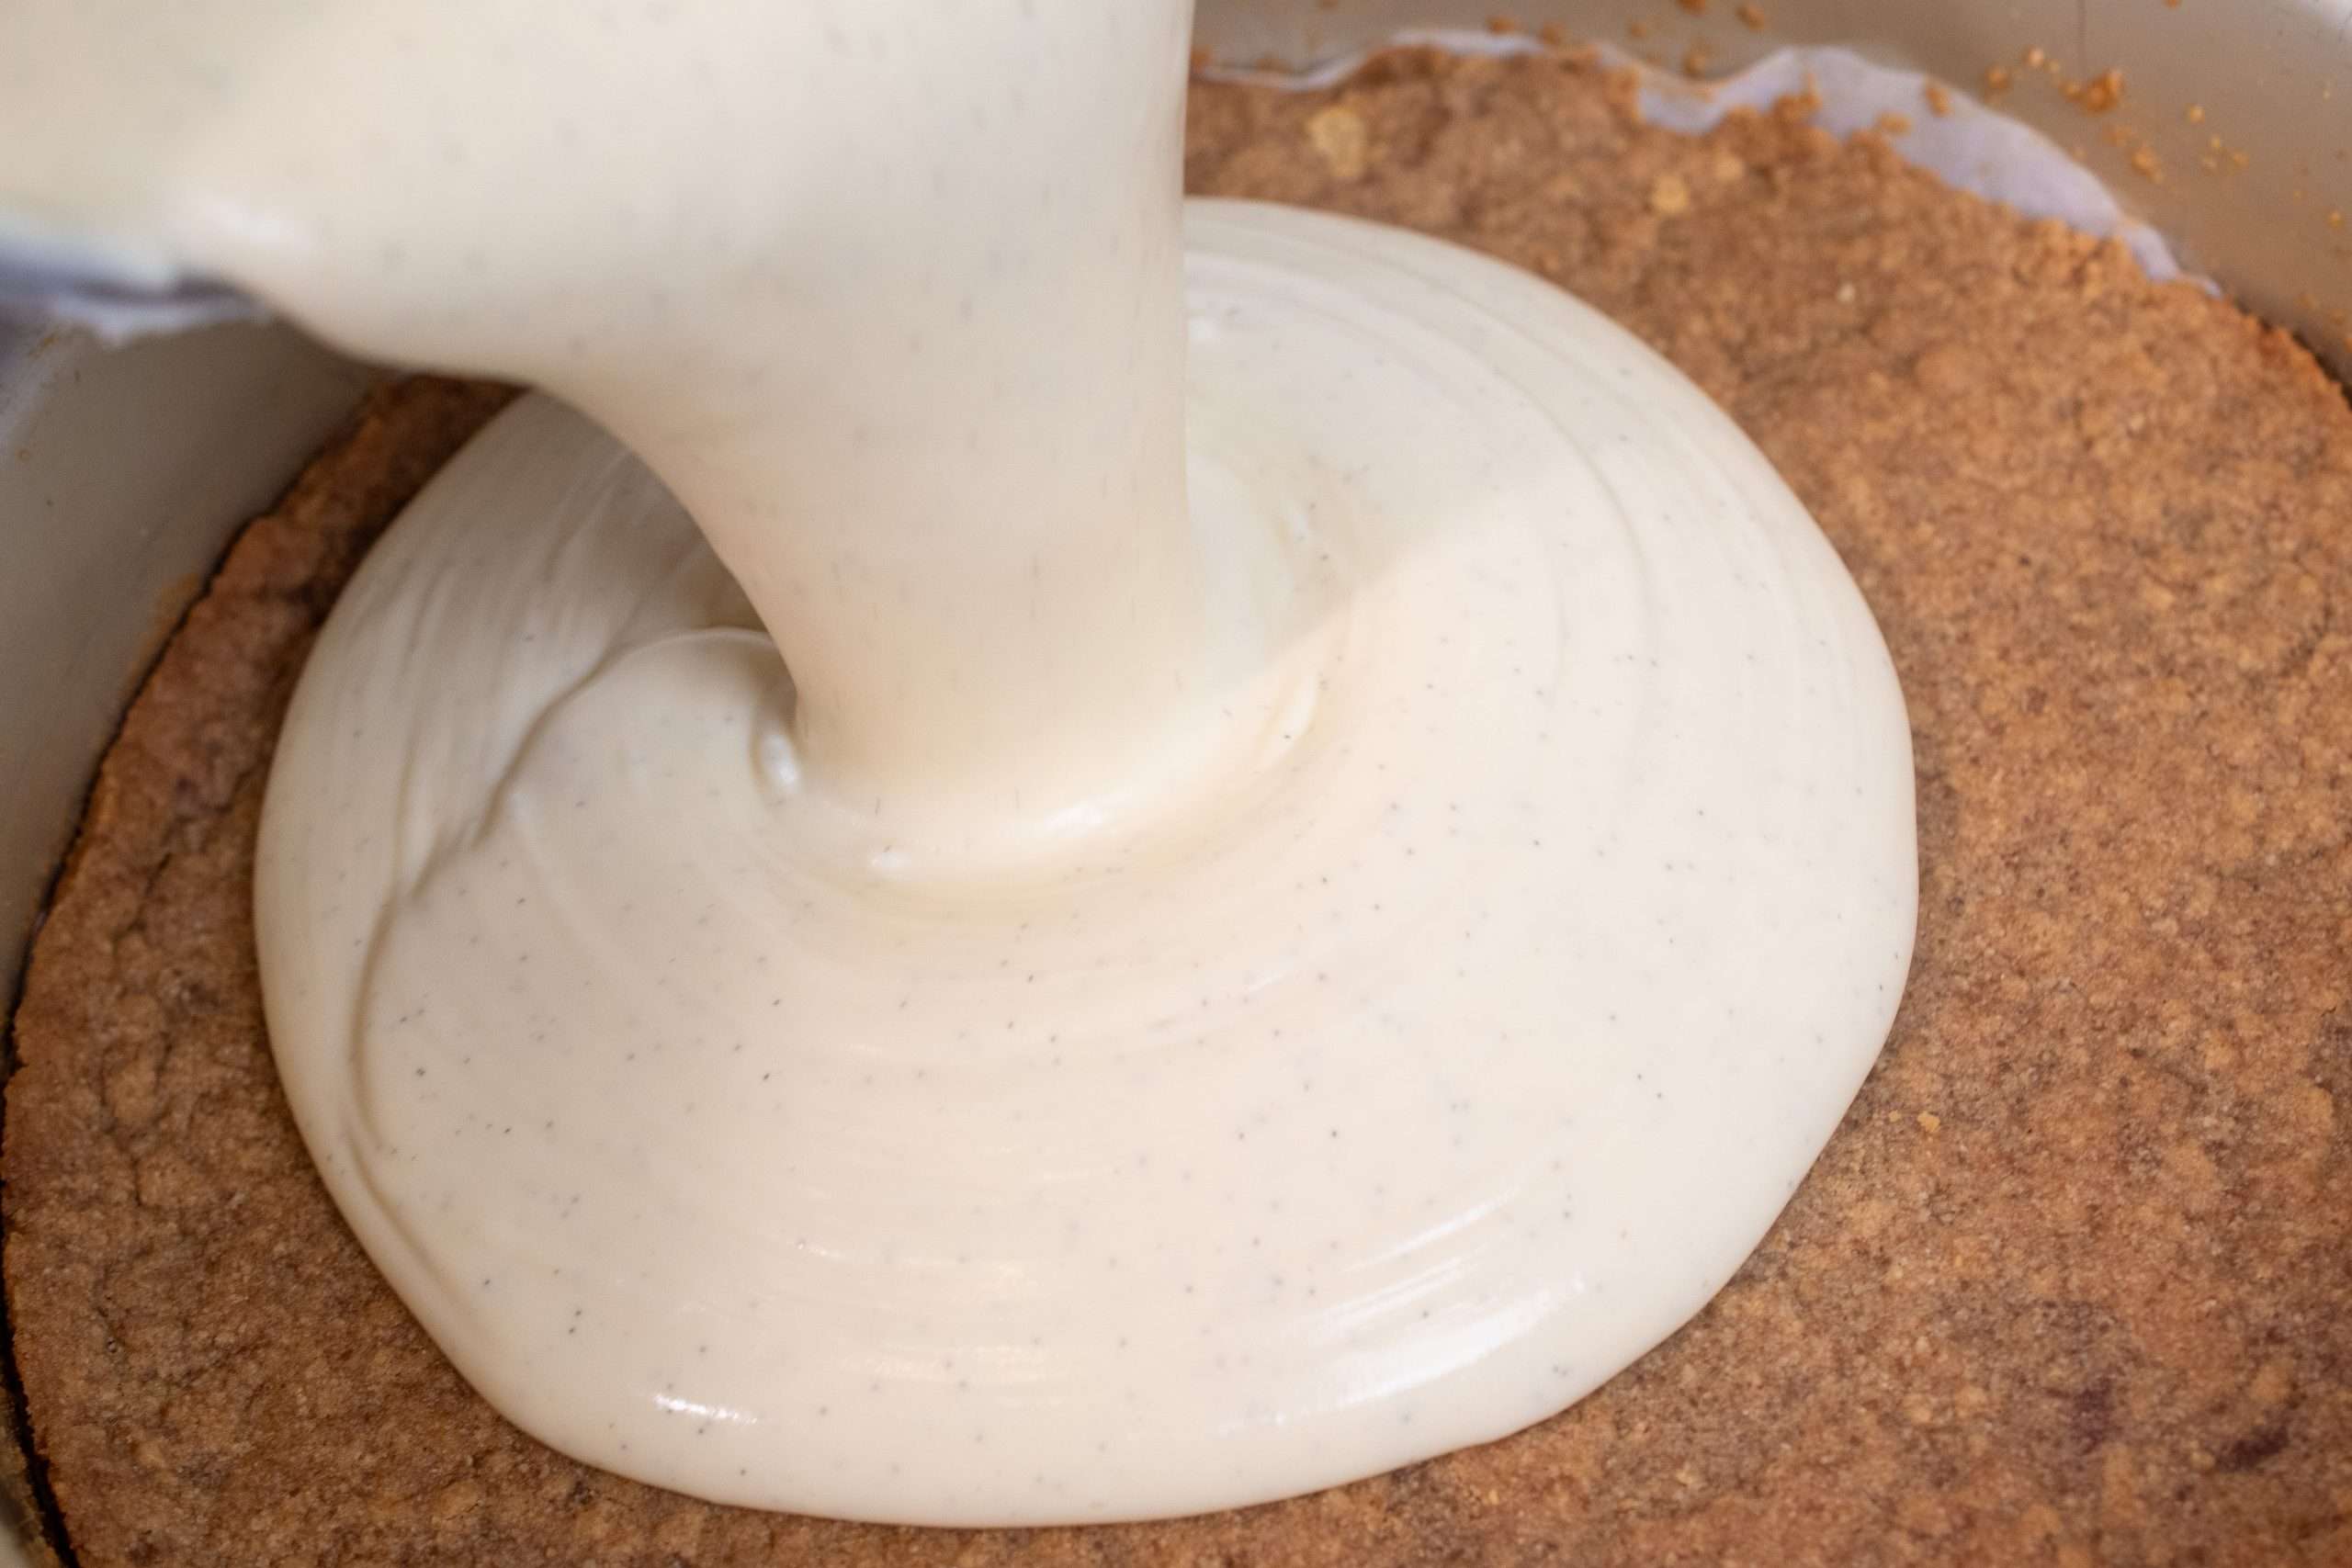
5) Finish the batter with sour cream + heavy cream
Mix in the sour cream until smooth, then add the heavy cream and mix just until the batter is velvety. Scrape the bowl again to make sure there are no pockets of cream cheese hiding at the bottom.
6) Bake and Chill
Place the springform pan in a large roasting pan. Pour boiling water into the cheesecake pan until it reaches 1–2 inches up the sides. Pour the batter into the crust and smooth the top. Bake at 325°F (160°C) for about 1 hour and 30 minutes, until the edges are set and the center jiggles slightly like soft-set Jell-O. Turn off the oven, and let the cheesecake sit inside for 1 hour, then chill overnight in the fridge.
7) Make the cherry compote topping
While the cheesecake chills, cook cherries with sugar, lemon juice, vanilla, and a pinch of salt until juicy and softened. Stir in a quick cornstarch slurry and cook briefly until glossy and thick. Cool completely.
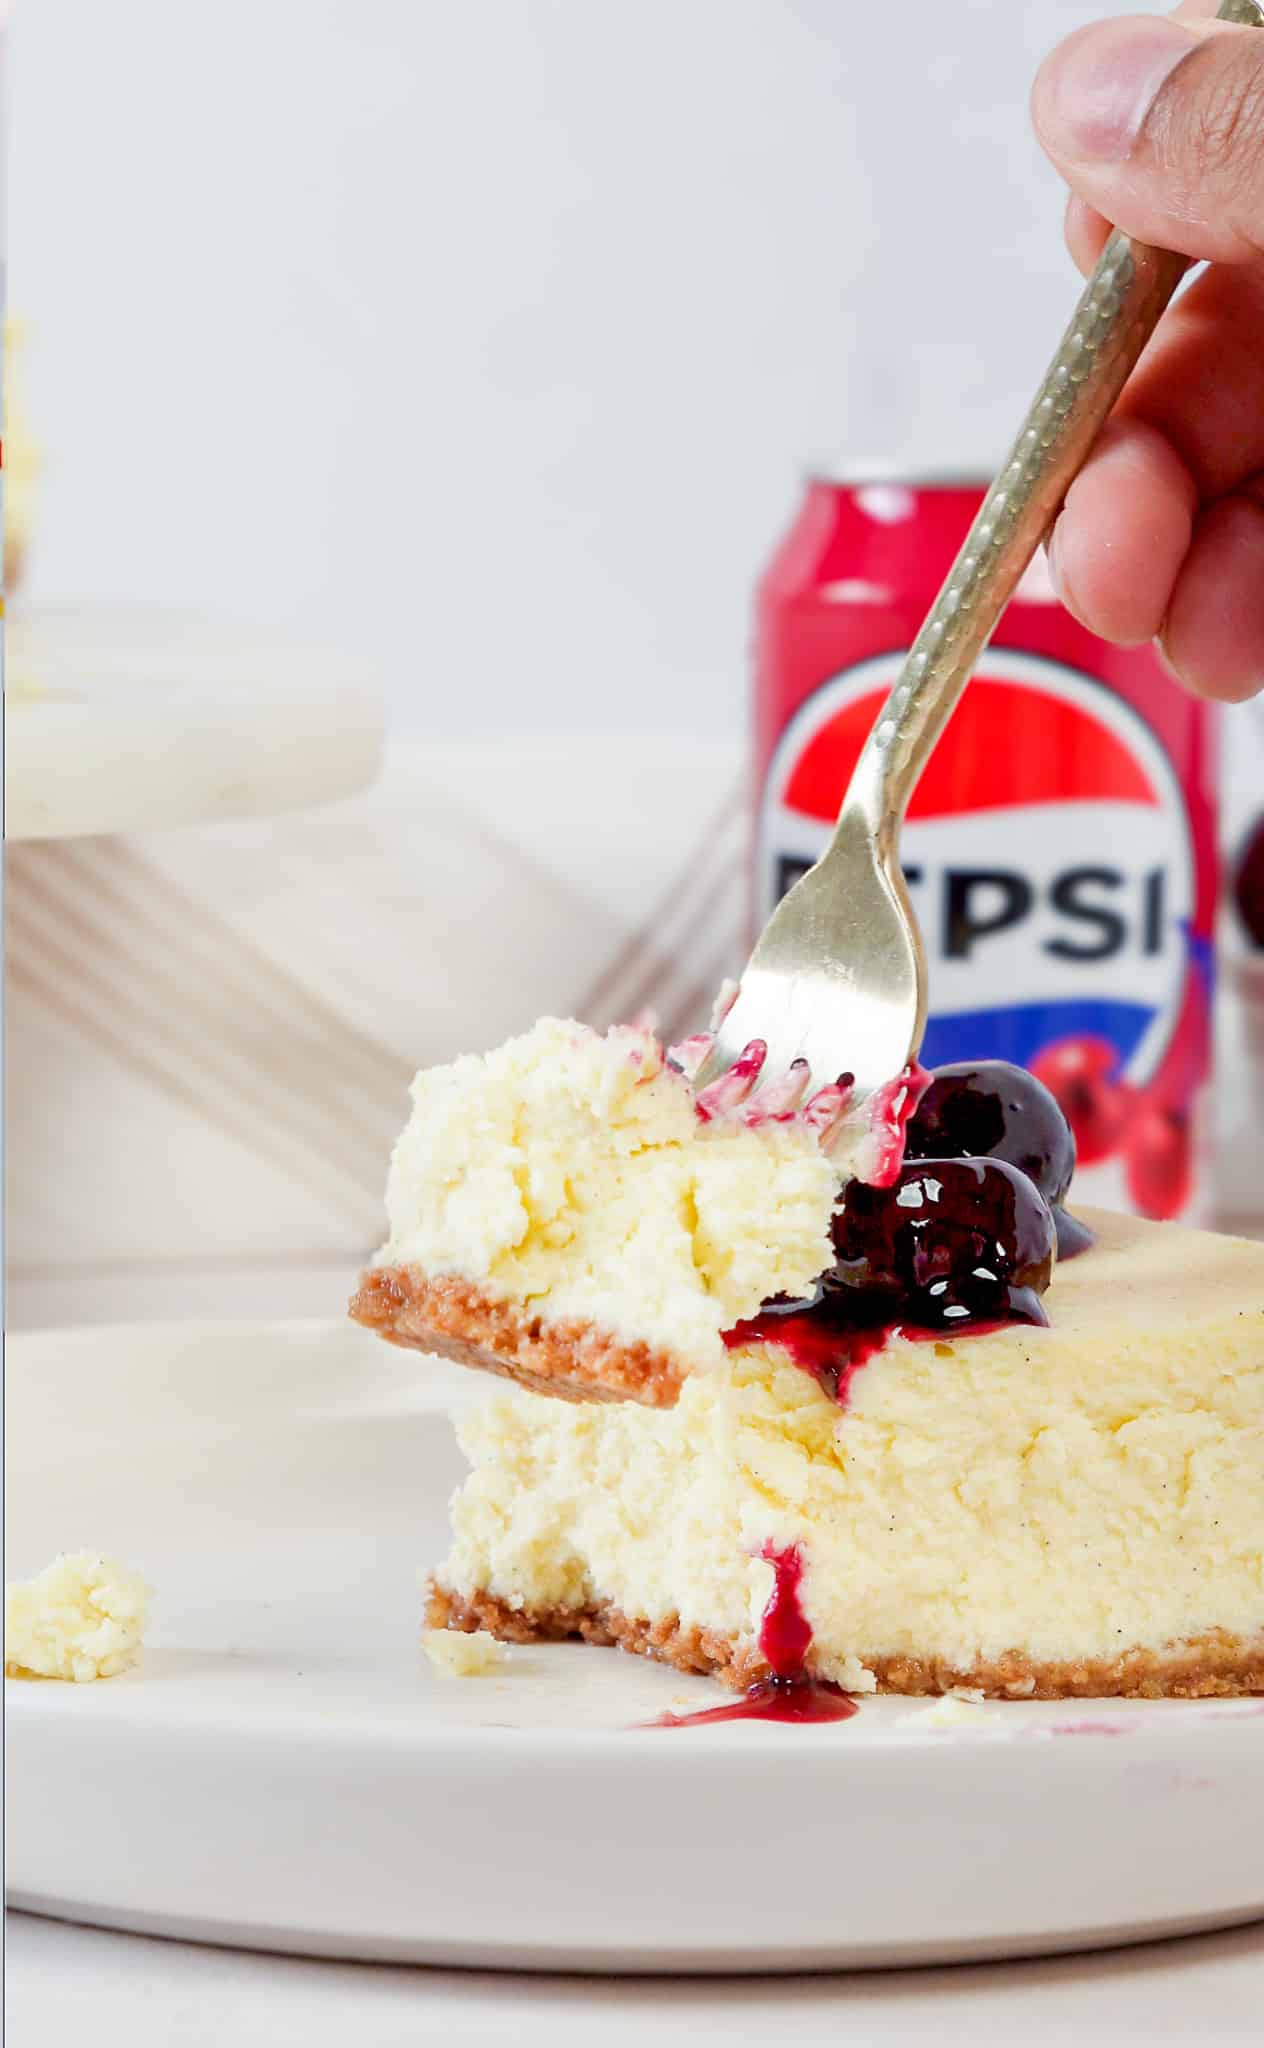
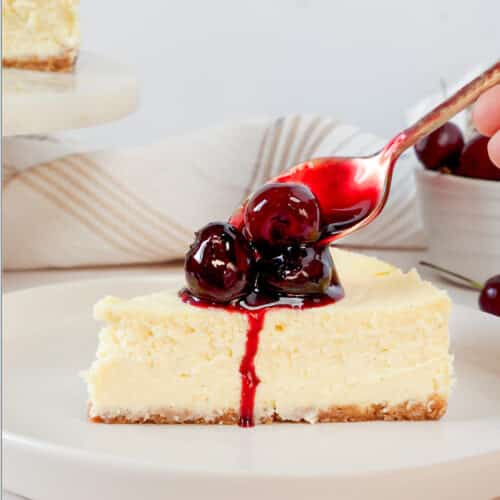
8) Top, slice, and serve
Once the cheesecake is fully chilled, spoon the cooled cherry compote over the top. For clean slices, use a sharp knife dipped in hot water and wipe between cuts. Now enjoy the best cherry cheesecake recipe!
Tips for the Creamiest Baked Cherry Cheesecake
- Use Room-Temperature Ingredients – Cold cream cheese doesn’t blend smoothly. Let all dairy ingredients sit out for about 1 hour before starting to ensure a silky batter.
- Mix Gently Once the Eggs Are Added – Overmixing adds air, which can cause cracks. Mix on low speed just until combined.
- Don’t Skip the Water Bath – A water bath helps the cheesecake bake evenly and prevents the edges from setting too quickly.
- Chill Completely Before Topping – Cheesecake needs time to set. Refrigerating overnight gives you the cleanest slices and best texture.
Why I Use Vanilla Bean Paste
Vanilla plays a big role in this cherry cheesecake’s flavor, and vanilla bean paste makes a noticeable difference. It delivers a deeper, richer vanilla flavor than extract, along with those beautiful vanilla bean specks that signal a truly from-scratch dessert.
Vanilla bean paste also holds up exceptionally well in baked goods like cheesecake, where the flavor needs to shine through rich ingredients like cream cheese and mascarpone. The result is a cheesecake that tastes warm, aromatic, and balanced, not flat or overly sweet.
If you don’t have vanilla bean paste on hand, vanilla extract will still work, but for the best flavor, I highly recommend using vanilla bean paste whenever possible. I break down exactly what vanilla bean paste is, how to use it, and when it’s worth it in my full guide here: Vanilla Bean Paste Recipe & Guide
How to Know When Cherry Cheesecake Is Done
Cheesecake can be tricky because it doesn’t bake like a regular cake. These signs will help you know exactly when it’s ready:
- The edges are set, but the center still jiggles. When you gently shake the pan, the outer 2–3 inches should look firm, while the center should wobble slightly like soft-set Jell-O. If the whole cheesecake ripples, it needs more time.
- The top looks matte, not wet. A fully baked cheesecake will no longer look glossy or liquid in the center. It should appear smooth and softly set.
- The internal temperature is about 150–155°F (65–68°C). If you use an instant-read thermometer, this range means the cheesecake is perfectly cooked and will finish setting as it cools.
- It will continue to firm up as it cools. Cheesecake sets as it cools and chills. Pulling it from the oven while the center still has a slight jiggle ensures a creamy, not overbaked, texture.
Important: Overbaking is the most common cheesecake mistake. A cheesecake that’s completely firm in the oven will likely be dry or cracked once chilled.
How to Store Cherry Cheesecake
Proper storage is key to keeping your cherry cheesecake smooth, creamy, and fresh.
Refrigerator:
Once fully chilled, store the cheesecake covered in the refrigerator for up to 5 days. For best results, keep the cherry compote stored separately and spoon it on just before serving. This prevents excess moisture from softening the cheesecake’s surface and helps maintain clean slices.
Make-Ahead Tips:
This cheesecake is ideal for making ahead. In fact, the texture improves after chilling overnight. You can bake the cheesecake 1–2 days in advance, refrigerate it uncovered for the first few hours, then cover loosely once fully chilled.
Freezing Instructions:
The cheesecake (without the cherry topping) can be frozen for up to 1 month. Wrap it tightly in plastic wrap, followed by foil. Thaw overnight in the refrigerator before topping and serving. The cherry compote should be made fresh or stored separately in the fridge for the best flavor and texture.
Serving After Storage:
For the creamiest texture, let the cheesecake sit at room temperature for 10–15 minutes before slicing or serving.
FAQ’s Cherry Cheesecake Recipe
Yes, both work well. Frozen cherries are especially convenient and release plenty of juice for the compote. There’s no need to thaw them first; just cook them straight from frozen and make sure they’re pitted.
You can, but the flavor and texture will be much sweeter and heavier. This recipe uses a homemade cherry compote to create a fresher, more balanced cherry cheesecake.
Cracks are usually caused by overmixing (especially after adding the eggs), baking without a water bath, or cooling too quickly. Mixing gently, using a water bath, and letting the cheesecake cool slowly in the oven helps prevent cracks.
For best results, yes. A water bath helps the cheesecake bake evenly and prevents the edges from setting too quickly, which leads to cracks and a dry texture.
Absolutely. This cherry cheesecake is best when made at least one day in advance. The texture improves as it chills, making it perfect for holidays and special occasions.
Try these other recipes!
- Strawberry Cheesecake Cinnamon Rolls
- Bluberry Cheesecake Cookies
- Homemade Vanilla Bean Paste
- Banana Pudding
Get to Baking!
This cherry cheesecake recipe is rich, creamy, and made completely from scratch, the kind of dessert that looks impressive but is truly achievable at home. With its smooth vanilla bean filling and glossy cherry compote topping, it’s a classic cheesecake done the right way.
Don’t forget to leave a review and tag me on social media @everythingjustbaked! I love seeing what you create! Happy Baking!
Ingredients
- 1 ¾ cups (210g) graham cracker crumbs (about 15 graham crackers)
- 2 tbsp light brown sugar
- ¼ tsp ground cinnamon
- Pinch of salt
- 6 tbsp (85g) salted butter melted
- 24 oz (3 blocks) full-fat cream cheese room temp
- 8 oz mascarpone cheese room temp
- 1 ⅓ cups (265g) granulated white sugar
- 4 large eggs room temp
- 2/3 cup (160g) full-fat sour cream room temp
- 2/3 cup (160g) heavy cream room temp
- 2 tbsp vanilla bean paste (vanilla extract works too)
- 1/4 tsp salt
- 3 cups about 450 g cherries fresh or frozen, pitted
- ½ cup (100g) granulated white sugar
- 2 tbsp lemon juice fresh
- 1 tsp vanilla extract or vanilla bean paste
- 1 tbsp cornstarch
- 1 tbsp water
- Pinch of salt
Instructions
Make the Crust:
- Preheat your oven to 350°F (175°C). Prepare your 10-inch springform pan by wrapping the outside in heavy-duty foil (I recommend wrapping it three times and crimping the foil around the top edge to prevent water from seeping in).If you're not using a springform pan, no problem, just grab a regular cake pan and line the bottom with parchment paper.
- In a medium bowl, mix the graham cracker crumbs, brown sugar, cinnamon, and salt. Stir in the melted butter until it resembles wet sand.
- Press the mixture firmly into the bottom and slightly up the sides of the pan. Bake for 10 minutes, then remove and let cool while you make the filling.Reduce the oven temperature to 325°F (160°C).
Make the Cheesecake Filling:
- In a large mixing bowl, beat the cream cheese and mascarpone together until smooth and fluffy, about 4 minutes.
- Add the sugar, salt, and vanilla bean paste, then beat again for 2–3 minutes until fully incorporated and silky.
- Add the eggs one at a time, mixing on low speed just until combined. Avoid overmixing at this stage to prevent air bubbles and cracking.
- Mix in the sour cream until smooth, then add the heavy cream and stir until the batter is completely velvety and lump-free. Scrape down the bowl as needed.
Bake the Cheesecake:
- Place your foil-wrapped springform pan in the center of a large roasting pan. Carefully pour boiling water into the roasting pan until it reaches about 1 to 2 inches up the sides of the springform pan. This water bath helps the cheesecake bake evenly and prevents cracks.
- Pour the cheesecake batter into the crust. Smooth the top if needed.
- Bake at 325°F (160°C) for 1 hour and 30 minutes, or until the edges are set and the center jiggles slightly when you gently shake the pan. It should look like soft-set Jell-O—not runny.
- Once done, turn off the oven, crack the oven door open, and let the cheesecake sit inside for 1 hour to cool gradually. This step also helps prevent cracks.
- Once your cheesecake has cooled in the oven, cover the pan with foil or plastic wrap (still in the pan) and place it in the fridge. Let it chill for at least 6–8 hours, but overnight is ideal for the perfect texture.This step is crucial; cheesecake needs time to fully set and develop that ultra-creamy consistency. Trust me, it’s worth the wait!
- When you’re ready to serve, gently release the cheesecake from the springform pan and transfer it to a serving plate. For clean slices, use a sharp knife dipped in hot water and wiped dry between cuts.If you used a regular cake pan instead, carefully run a thin offset spatula or butter knife around the edges to loosen the cheesecake. Then gently lift it out using the parchment paper you placed on the bottom. You can also flip it out onto a flat plate, then flip it again right-side up onto your serving platter (like you would a layered cake). Go slow, it’s delicate but doable! If you have a torch, gently warm the edges of the pan for an easy release.
Cherry Compote
- In a saucepan over medium heat, combine cherries, sugar, lemon juice, vanilla, and salt.
- Cook 8–10 minutes, stirring occasionally, until cherries soften and release juices.
- Stir together cornstarch and water, then add to the cherries. Cook 1–2 minutes until thick and glossy.
- Remove from heat and cool completely. The compote will thicken as it cools.
- Spoon the cherry compote over the cold cheesecake and serve!
Video
Notes
- Room Temperature Ingredients: Make sure your cream cheese, mascarpone, eggs, sour cream, and heavy cream are all at room temp before starting. This ensures a smooth, lump-free batter.
- Don’t Overmix the Eggs: Mix your eggs just until combined to avoid incorporating too much air. This helps prevent cracking.
- Water Bath Tip: Wrapping your springform pan in foil helps prevent water from leaking in, but for extra security, place it in a slightly larger cake pan before setting it in the water bath. Or use a regular cake pan and follow the method below.
- No Springform? Use a regular cake pan lined with parchment. To remove, loosen the edges with a knife, flip it out onto a plate, then flip again right-side up. Gently warming the edges with a kitchen torch makes it easier to release.
- Storage: Store cheesecake in the fridge for up to 5 days. You can also freeze slices (without the cherry compote) individually for up to 1 month, just thaw in the fridge overnight before serving.


Texture was amazing, light and delicate. Wasn’t heavy or thick like most recipes I’ve made. The cherry compote topping wasn’t sweet and was the perfect complement.