The Reverse Creaming Method: The Secret to Moist, Fluffy Cakes
If you’ve been baking cakes for a while or even if you’re just starting, you’ve likely come across the traditional creaming method. This classic technique involves beating butter and sugar until they’re light and fluffy before adding other ingredients. But what if I told you there’s another way—one that many professional bakers swear by—and it could give your cakes an even better texture and taste? Enter the reverse creaming method.

In this blog post, we’ll dive deep into the reverse creaming method, explaining what it is, why it works, and how it can help you create cakes that are tender, moist, and beautifully structured every time. Plus, I’ll link you to my tried-and-true vanilla cake recipe, which uses the reverse creaming method and consistently gets rave reviews. Let’s get started!

What is the Reverse Creaming Method?
The reverse creaming method is a cake-making technique that flips the traditional creaming process on its head. Instead of creaming butter and sugar first, you start by mixing your dry ingredients (flour, sugar, baking powder, etc.) with butter before adding the wet ingredients like eggs, milk, or buttermilk.
I recommend using cake flour for the best results — it’s key to getting that soft, bakery-style finish. Learn more about cake flour vs. all-purpose flour here.
Here’s a quick breakdown of how the reverse creaming method works:
- Dry ingredients + butter: Combine your dry ingredients, including sugar, then add softened butter into the mixture. The butter coats the flour, preventing gluten from developing too much during mixing.
- Adding the wet ingredients: Next, the wet ingredients are added in portions, allowing for better incorporation and a smoother batter.
- Final mixing: Once all the ingredients are combined, the batter is usually mixed on medium speed for a short period, ensuring that everything is fully emulsified.
Sounds simple, right? But don’t be fooled by its ease. This method is incredibly powerful and makes a huge difference in the final texture of your cakes.


Why This Method Works (and Why It’s Better!)
You may be wondering: Why change things up when the traditional creaming method has worked for so long? The answer lies in gluten development and moisture distribution.
1. Less Gluten Development = More Tender Cake
In traditional creaming, the flour is added last after the wet ingredients have already been incorporated. This means the flour absorbs liquid quickly, leading to the formation of gluten. While gluten is great for bread, it’s not ideal for cake, as it can make the texture tough.
In contrast, the reverse creaming method coats the flour in fat before any liquid is added. This slows down the absorption of liquid by the flour, which reduces the formation of gluten. The result? A much more tender, delicate crumb that practically melts in your mouth.
2. Moisture is Distributed Evenly
When you use this method, the butter (or fat) is evenly dispersed throughout the dry ingredients before the wet ingredients are added. This helps to distribute moisture more uniformly throughout the cake batter. As a result, you’re less likely to end up with dry spots in your cake, and every bite will be consistently moist.
3. Better Emulsification
Emulsification is key to creating a light, airy cake. When your ingredients are emulsified properly, it means the fat and liquids are fully combined. This prevents the batter from splitting and ensures a smooth, even texture in the final product. The reverse creaming method promotes better emulsification because the fat is mixed with the dry ingredients first, allowing the wet ingredients to be incorporated more gradually and evenly.
4. Smoother Batter
Another bonus of this method is that it often produces a smoother batter with fewer lumps. Since the flour is coated with butter right away, it becomes harder for clumps to form. This gives you a smoother, more uniform batter, which translates to a beautifully smooth cake once baked.

How to Use the Reverse Creaming Method
Now that you understand why the method is so effective, let’s walk through the process step by step so you can try it at home.
Ingredients You’ll Need
To use the reverse creaming method, you can follow my vanilla cake recipe, but here’s a quick rundown of what you typically need:
- Dry Ingredients: Flour, sugar, baking powder, baking soda and salt
- Fat: Usually butter, but oils can also be used (or a combination of both)
- Wet Ingredients: Eggs, milk or buttermilk, and vanilla extra
Pro Tip: Make sure all your wet ingredients—especially the eggs, milk, and butter—are at room temperature before starting. This helps everything blend more smoothly in the reverse creaming method, giving you a finer crumb and a more even rise. Learn why this makes a huge difference here.
Step-by-Step Process:
- Combine dry ingredients: Start by sifting together your flour, sugar, baking powder, and any other dry ingredients. This will ensure everything is evenly distributed and prevent clumps in your batter.
- Add butter: Once your dry ingredients are mixed, add your softened butter (room temperature is key here!). Mix on low speed until the mixture looks like coarse sand or bread crumbs. The butter should coat the flour particles, creating a barrier that helps limit gluten development.
- Add wet ingredients in portions: Gradually add your wet ingredients, mixing well after each addition. This ensures the batter is smooth and all ingredients are fully incorporated. For best results, add about half of the liquid at first, mix until smooth, and then gradually add the remaining liquid.
- Final mixing: Once everything is incorporated, mix the batter on medium speed for about 1-2 minutes to ensure it’s smooth and emulsified. This step helps build a bit of structure in the cake without overworking the batter.
Having the right equipment makes a difference too! Check out all my favorite baking tools in my new guide, My All-Time Favorite Baking Tools (and Why I Swear By Them).
Benefits of the Reverse Creaming Method
If you’re still not convinced, here are some additional benefits of using the reverse creaming method:
1. Finer, More Even Crumb
Cakes made with the reverse creaming method tend to have a finer, more even crumb than cakes made with the traditional creaming method. This makes for a more polished, professional-looking cake, especially when it comes to layer cakes or special occasions.
2. Consistency
Because the flour is coated in butter early on, the risk of over-mixing is greatly reduced. This means you’re more likely to get consistent results every time you bake, with fewer chances of ending up with a tough or dry cake.
3. Versatility
The reverse creaming method works for many types of cakes, from butter cakes to layer cakes and even some specialty cakes. Whether you’re making a simple birthday cake or an elaborate tiered creation, this method ensures a soft, tender texture that’s perfect for any occasion.
Reverse Creaming vs. Traditional Creaming: Which is Better?
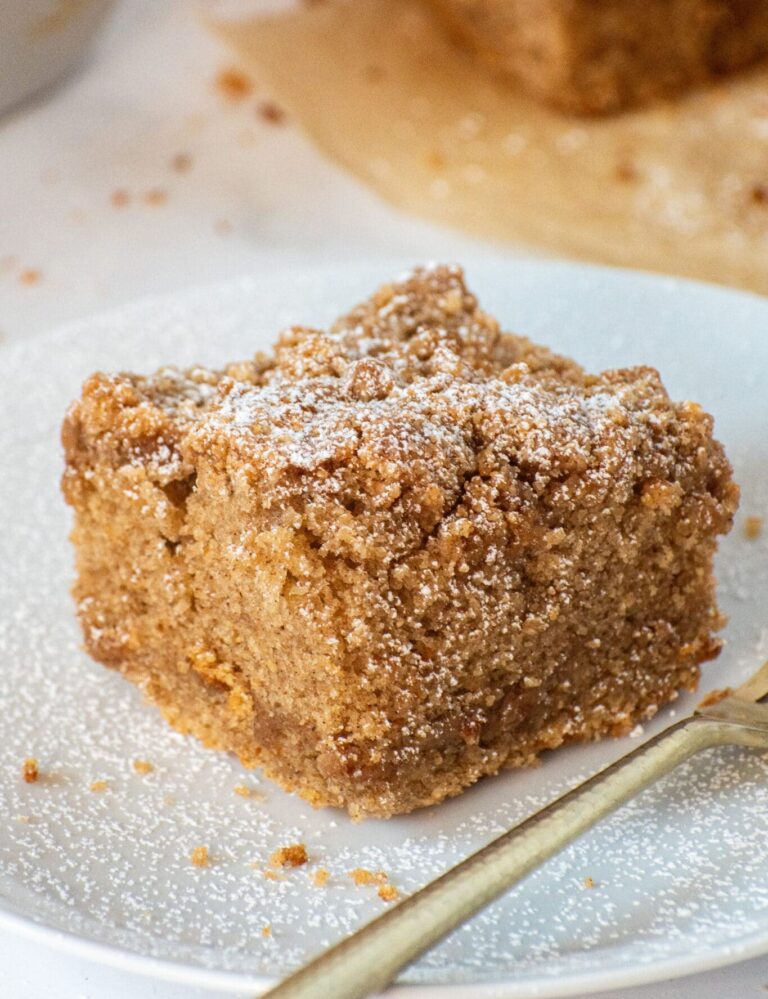
The reverse creaming method definitely has its advantages, but that doesn’t mean the traditional method is obsolete. In fact, the traditional method is still great for certain types of cakes, such as our Funfetti Cake or our Lemon Blueberry Cake, where you need just the right amount of structure to support heavier mix-ins like sprinkles and blueberries. In recipes like these, the traditional method helps create a sturdy yet tender crumb that holds everything in place beautifully.
However, if you want a cake that’s consistently moist, tender, and has a fine crumb, the reverse creaming method is the way to go. It’s especially useful for layer cakes, where a sturdy but soft structure is key for stacking without compromising on flavor or texture.
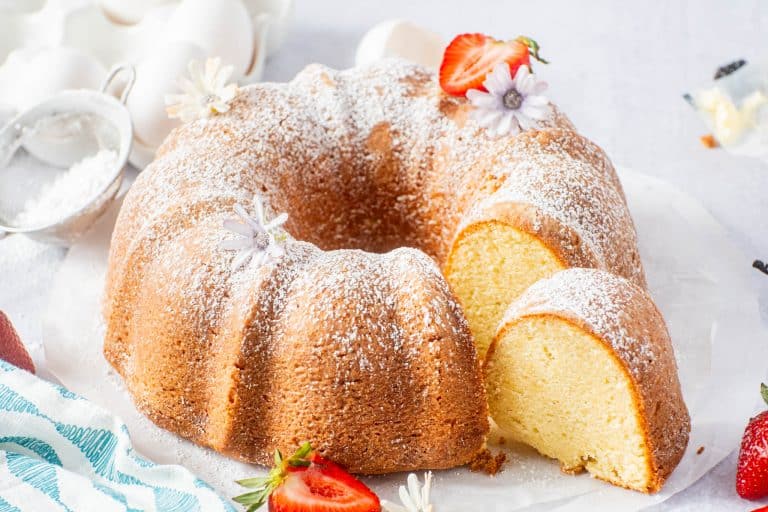
Ready to Try the Reverse Creaming Method? Check Out My Famous Vanilla Cake Recipe!
Now that you’re equipped with the knowledge of how the reverse creaming method works, why not try it yourself? My Famous Vanilla Cake Recipe is the perfect place to start. This recipe uses the reverse creaming method to create a cake that’s moist, fluffy, and full of flavor. Whether you’re baking for a birthday, a special event, or just a weekend treat, this vanilla cake is sure to impress.
Need a vegan version? Check out my Moist and Fluffy Vegan Vanilla Cake that follows the same steps!
The reverse creaming method may seem like a small change in your baking routine, but it can make a world of difference in the texture and taste of your cakes. By coating the flour in fat and incorporating the liquid ingredients slowly, you create a batter that’s smoother, less prone to gluten formation and results in a cake that’s tender and moist every time.
Give the reverse creaming method a try with my vanilla cake recipe, and let me know how it turns out. Happy baking!
And if you want to learn how to make any cake moist and fluffy, check out my guide.


Hi Justin,
If a recipe calls for AP flour, can I use cake flour instead? Also, can I use the reverse mixing method on any cake?
Thank you
I would follow the recipe as stated unless you made it before and want to experiment. Avoid using cake flour in chocolate cakes. The reverse creaming method can be used on any cake but again results may vary if the recipe is designed for a different method. Experiment and have fun!
Hi Justin
Let me start off by saying I love watching your videos. I am a professional up and coming baker and I had been looking for a moist vanilla cake from scratch for about 2 years and after watching you I finally found it. Thanks to your recipe! Also it was my first time using the reverse creaming method which I really enjoyed. When you stated that the vanilla bean paste is best I agree, at the time of making the cake I only had extract but believe I order me a bottle asap. Thanks so much for this awesome recipe.