How to Frost a Cake Like a Pro: Step-by-Step Guide for Beginners
If you’ve ever baked a cake and felt stumped on how to make it look insta-worthy, you’re in the right place. Frosting a cake may seem like an art reserved for professionals, but with the right techniques, tools, and a little bit of patience, you can frost a cake at home that looks and tastes incredible. This guide will walk you through every step, from preparing your cake layers to achieving that perfectly smooth, professional finish. By the end, you’ll know how to frost a cake like a pro—even if it’s your first time.

I Struggled in the Beginning Too on How to Frost a Cake
When I first started frosting cakes, it was a mess—uneven layers, crumbs everywhere, and frustration at every turn! I’d spend hours trying to get it right, but I didn’t know the basics, like using a crumb coat or chilling the cake for easier frosting. I thought the frosting was just “slap it on and go,” but I quickly learned there’s an art to it. With practice, patience, and a few tricks like using a turntable and bench scraper, it got easier. So, if you’re struggling, remember—it’s normal, and each cake gets better with practice!

After Practice and More Practice!
The Frosting Matters when Frosting a Cake
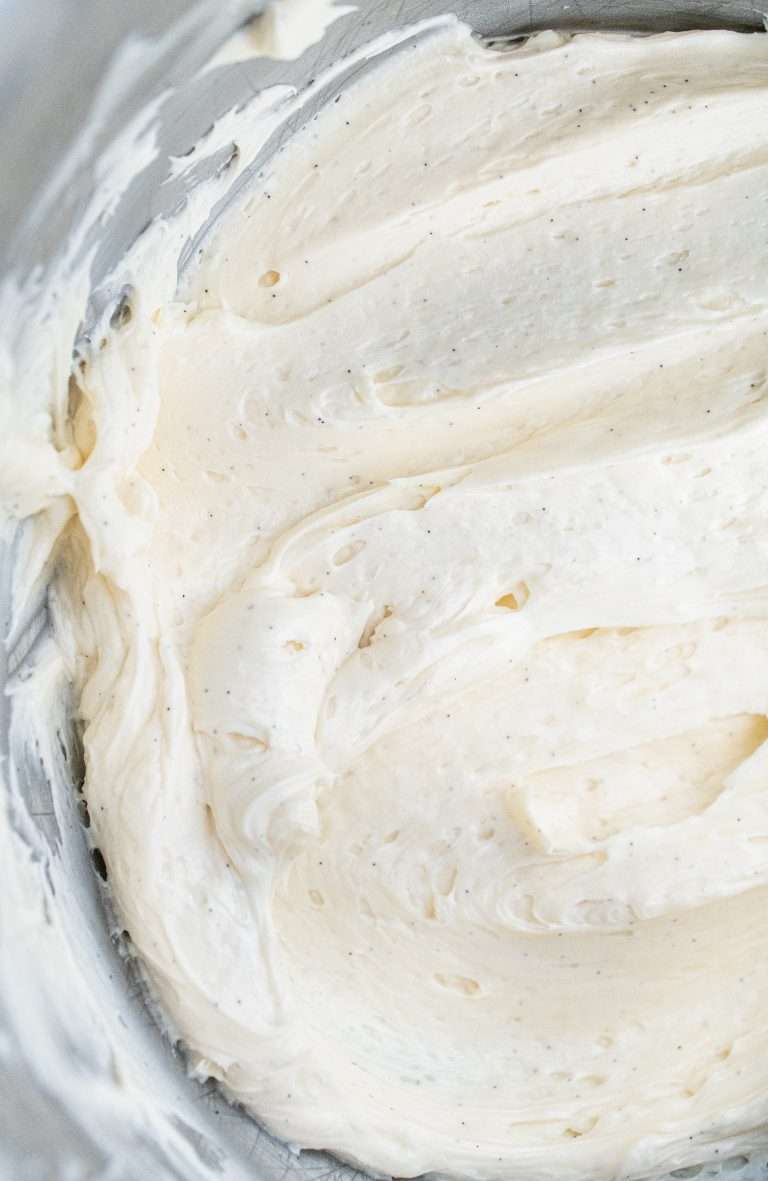
Believe it or not, the frosting you choose can make or break your cake! It’s more than just decoration; frosting seals in moisture, adds flavor, and gives you a beautiful base for creative designs. The right frosting complements your cake’s flavor and enhances its overall look and feel. For a smooth, creamy finish that’s easy to work with, I highly recommend starting with a versatile buttercream. My go-to recipe is simple, stable, and delivers that perfect, professional look every time.
Check out my buttercream recipe here to get started with a foolproof frosting that tastes as good as it looks!
And if you’re vegan, no worries, check out my easy vegan buttercream recipe.

Tools You’ll Need to Frost a Cake
Before you begin, gather the following essential tools:
- Offset spatula for spreading frosting evenly.
- Bench scraper for smoothing sides.
- Cake turntable to make rotating your cake easy as you frost.
- Serrated knife for leveling layers.
- Piping bags and tips (optional) for additional decorative touches.
For a full list of all my favorite baking and cake decorating tools, check out my new post, My All-Time Favorite Baking Tools (and Why I Swear By Them)
Prepping Your Cake for Frosting
Cool Completely: Always start by letting your cake layers cool fully on wire racks. Attempting to frost a warm cake will cause the frosting to melt and slide, making it difficult to get a smooth finish.
Freeze for Best Results: I prefer working with frozen cakes—they’re easier to handle and less likely to crumble while frosting. Cakes freeze beautifully, so don’t hesitate to wrap your layers well and store them in the freezer for longer if needed. When it’s time to decorate, there’s no need to defrost; simply take the layers out of the freezer and start frosting. The cake will gradually thaw as it sits in the fridge, staying moist and stable as you work on achieving that professional look.
Try our Cake Recipes:

Step 1: Level and Fill Your Cake Layers
Achieving a smooth, professional look starts with leveling and filling your cake layers. Here’s how to get that flawless foundation:
Trim the Dome: Using a serrated knife, gently slice off the domed top of each layer to create a flat surface. This ensures your layers stack evenly and gives your cake a polished, balanced look.
Brush Off Crumbs: Lightly brush the tops and sides of each layer to remove loose crumbs that might mix into your frosting.
Fill Between Layers: Add a thick layer of frosting between each layer to create a stable, delicious stack. For beginners, it’s best to avoid soft fillings like pudding, as they can make the cake unstable and challenging to frost. However, if you’re set on using softer fillings, check out our Buttercream Dam section below for tips on creating a secure barrier.
Aim for Three Layers per Tier: For the most professional look, use three layers per tier to add height and structure to your cake.
Pro Tip: Spread frosting on the first layer, then gently press the next layer on top. This technique helps keep the layers even and prevents any sliding or tilting, giving you a solid base for frosting.


Buttercream Dams for Soft Fillings
Adding soft fillings like pudding, fruit preserves, or whipped cream can bring extra flavor and texture to your cake, but they require a bit of extra care. These fillings can make the cake layers slide or collapse if not stabilized properly. That’s where a buttercream dam comes in! A buttercream dam is a thick border of buttercream piped around the edge of each layer to keep softer fillings securely in place and prevent them from oozing out.
How to Create a Buttercream Dam:
- Pipe the Dam: Fit a piping bag with a round or star tip and fill it with buttercream. Pipe a thick, even ring of buttercream around the edge of the cake layer. This ring acts as a “wall” to hold the soft filling inside.
- Add the Filling: Once the dam is in place, spoon your soft filling into the center of the cake layer, staying within the buttercream border. Spread it evenly, making sure it doesn’t go higher than the dam. Less is more here.
- Add the Next Layer: Place the next cake layer on top and gently press it down. The buttercream dam will help keep the layers stable, even with a softer filling inside.
- Chill the Cake: If you’re using a very soft filling, consider chilling the cake for 15-20 minutes after adding each layer. This will help the dam set and keep the filling stable as you add more layers or apply the final frosting.
Using a buttercream dam makes it possible to enjoy all kinds of fillings without sacrificing stability. With a secure dam, your cake will look beautifully layered and hold its shape, even with the softest of fillings!
For our foolproof buttercream recipe, check here.
Step 2: Apply the Crumb Coat
A crumb coat is a thin layer of frosting applied to trap crumbs and create a base for your final frosting layer. This step is key to achieving a smooth finish.
- Apply a Thin Layer: Use your offset spatula to spread a thin layer of frosting over the top and sides of the cake. This layer doesn’t need to be perfect—it’s just for crumbs.
- Smooth the Crumb Coat: Run a bench scraper along the sides to smooth the crumb coat as much as possible.
- Refrigerate the Cake: Place the cake in the fridge for about 30 minutes. The crumb coat will harden, creating a solid base for your final layer. Avoid using the freezer as this can cause cracking and sweating.

Step 3: Chill Your Cake
Chilling is essential for a smooth, professional finish, especially if you’re using a buttercream or ganache that can soften at room temperature.
- Refrigerate for Stability: Place your crumb-coated cake in the fridge for about 30 minutes to an hour.
- Check the Firmness: The cake should feel firm to the touch before you start applying your final layer of frosting.
Pro Tip: Avoid freezing at this stage; the frosting can harden too much, making it difficult to spread the final layer evenly.
Step 4: Apply the Final Layer of Frosting
With your crumb coat in place and your cake chilled, it’s time for the final frosting layer.
- Start with the Top: Place a generous dollop of frosting on top of your cake and spread it evenly from the center outwards.
- Work on the Sides: Apply more frosting to the sides, working with small amounts to keep it smooth.
- Smooth the Frosting: Use a bench scraper and the turntable to create a smooth, even finish. Hold the scraper at a slight angle and rotate the turntable while maintaining light, steady pressure.
Step 5: Smooth and Decorate
Now for the fun part! Here’s how to add a polished, finishing touch to your cake:
- Smooth with Hot Water (Optional): For an ultra-smooth finish, dip your bench scraper or offset spatula in hot water, wipe it dry, and run it over the frosting.
- Add Texture: Use the back of a spoon or a cake comb to add some texture or pattern to the frosting.
- Decorate with Piping: Fill a piping bag with frosting and use different tips for decorative edges, swirls, or rosettes around the cake.
Tip: Keep decorations simple if you’re a beginner. A few flowers or piped rosettes around the top edge can make your cake look elegant without overwhelming it.

Tips and Tricks for Perfect Frosting Every Time
- Keep Your Tools Clean: Frequently wipe off your spatula and scraper for a cleaner finish.
- Work in a Cool Room: Warm temperatures can make frosting melt and difficult to spread.
- Don’t Rush the Process: Take your time and follow each step carefully. Frosting is a skill that gets better with practice.
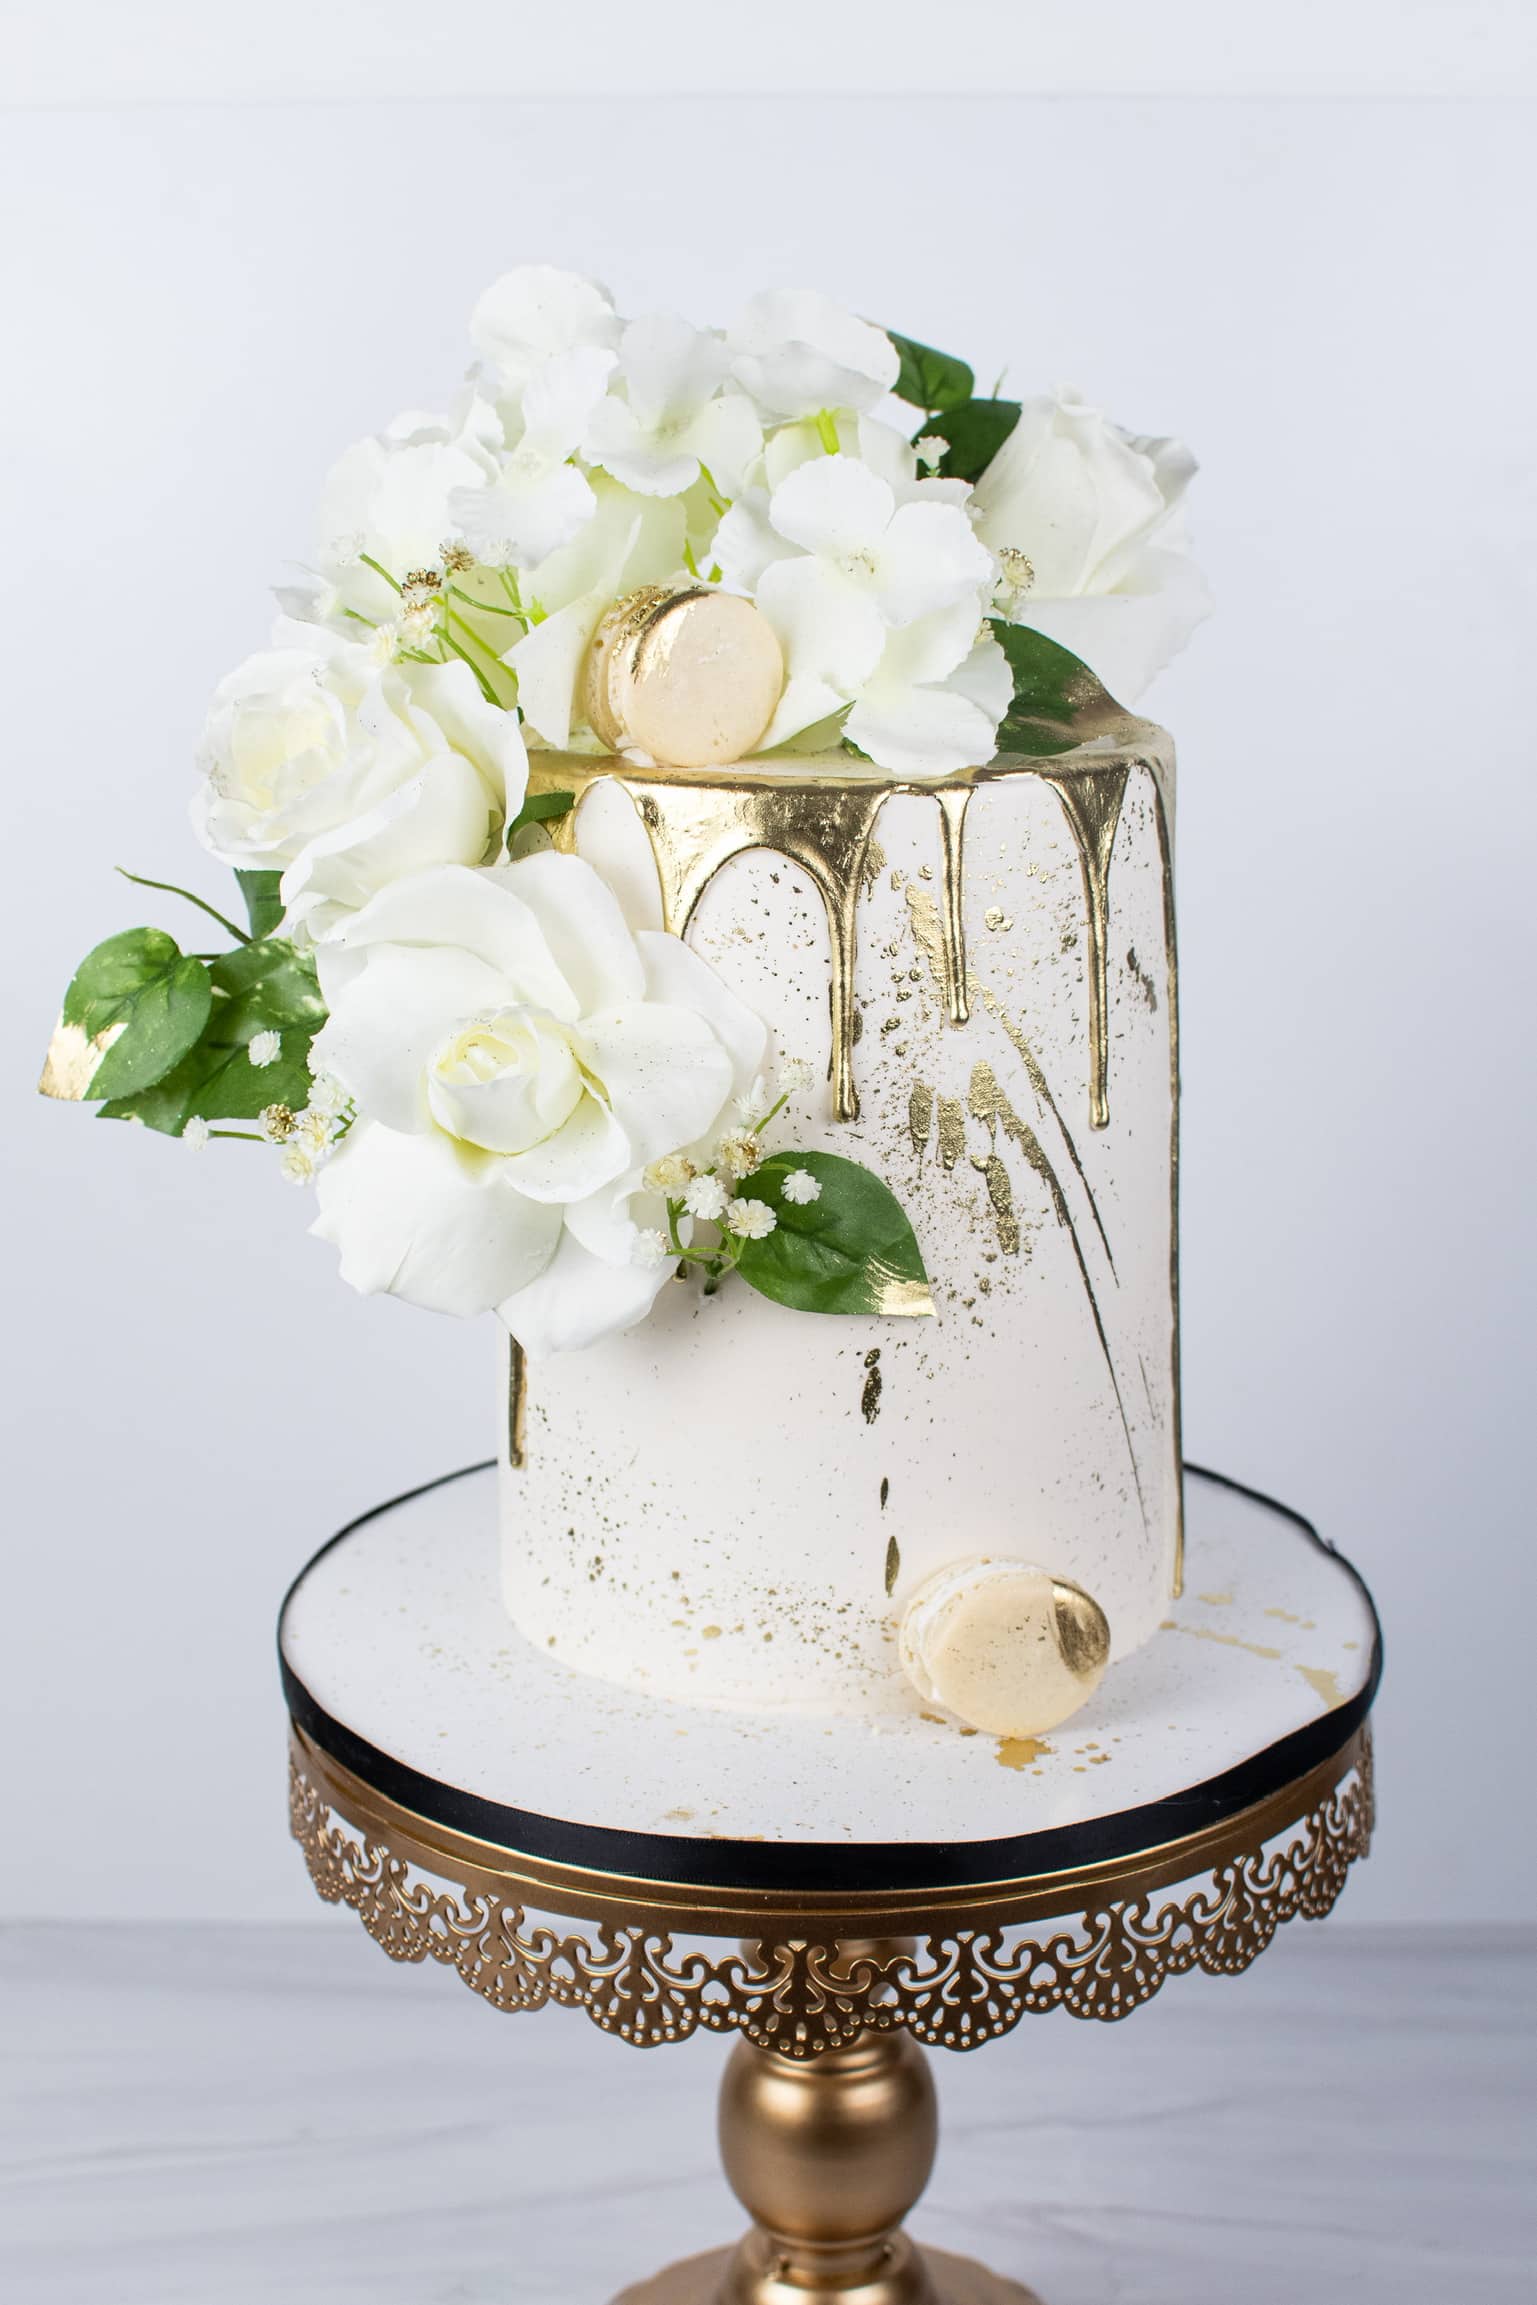
Add a Stunning Finish with a Drip Cake
If you’re looking to take your frosted cake to the next level, adding a drip is a fantastic way to create a show-stopping look! Drip cakes are trendy, eye-catching, and surprisingly easy to achieve once you know the technique. Whether you want a smooth ganache drip or a colorful glaze, mastering the drip effect can elevate any cake from simple to spectacular.
To learn exactly how to make the perfect drip, including tips on consistency, pouring, and creating that perfect drip length, check out our Drip Cake Tutorial. This tutorial will walk you through every step to ensure your drip looks just right, with a finish that’s sure to impress!
Want to Take Your Cake to the Next Level? Try a Trendy Heart Cake!
If you’re looking to go over the top, why not try making one of the viral heart cakes? These trendy cakes follow the same frosting techniques but add a fun, eye-catching twist. And the best part? They’re super easy to make!
🎂 Learn how to create the perfect heart-shaped cake with my full step-by-step tutorial here! 👉 Create an Easy, Trendy Heart-Shaped Cake

Keep Practicing!
Mastering how to frost a cake takes practice, but these steps will set you up for success. From a smooth crumb coat to a polished finish, each technique in this guide will help you create a cake that looks as good as it tastes. Remember, the key is patience and enjoying the process. With these techniques, you’ll be ready to wow your friends and family with cakes that look straight from a bakery.
By following this guide, you’ll be well on your way to achieving a beautifully frosted cake every time. Now, gather your ingredients and tools, and get ready to turn your next cake into a work of art! Don’t forget to check out our other cake-decorating tips like How to Cover a Cake in Fondant or our Homemade Marshmallow Fondant Recipe, to level up your skills further.


I’m making my granddaughter a funfetti cake for her birthday! Thank you for the recipe for the cake and frosting! Fingers crossed it will be fabulous, like you!
Hi Justin! New favorite and inspirational baker 🙂 I’m looking for the Chocolate Fudge Frosting recipe and must be overlooking it. I see the Chocolate Buttercream recipe though. Can you help me find it?
Thank you,
Annie
P.S. Sisters are adorable
Hello!!!! Take it from this recipe 🙂 https://everythingjustbaked.com/moist-chocolate-cake-recipe/