
Marshmallow Fondant Recipe (Easy, Soft, & Stretchy)
If you’ve ever tried store-bought fondant, you probably know it’s… not the best. It can taste plasticky, dry out quickly, and crack just when you need it to look flawless. That’s exactly why I created this marshmallow fondant recipe—a homemade version that’s soft, stretchy, and actually tastes good. With just a handful of ingredients, you can make a fondant that rolls out like silk, covers cakes without tearing, and adds a sweet marshmallow flavor that guests will actually enjoy eating.
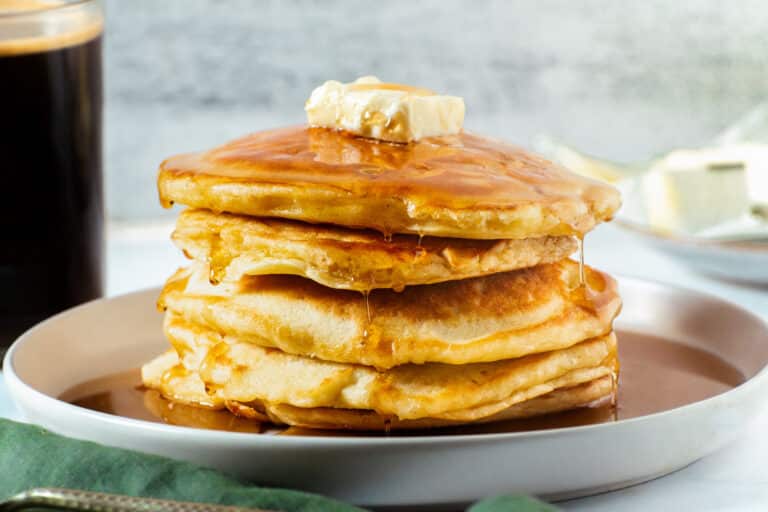
Need moist cake recipes? Try our reader favorite Vanilla Cake, Chocolate Cake or Funfetti Cake recipes!
In this post, I’ll show you exactly how to make it, share pro tips I use when decorating my own cakes, and answer the most common fondant questions. Whether you’re a beginner cake decorator or a seasoned baker, this recipe is going to be your go-to.
Watch How to Make Homemade Marshmallow Fondant Recipe
What Is Fondant?
Fondant is a type of edible icing used to cover cakes and create decorations with a smooth, polished finish. Unlike buttercream or whipped frosting, fondant is more like a pliable dough. It can be rolled out and draped over cakes for that flawless, professional bakery look, or molded into shapes like flowers, ribbons, or figurines. Think edible play dough.
There are two main types of fondant:
- Rolled fondant: A soft, dough-like icing that you roll flat and use to cover cakes or cut into shapes.
- Poured fondant: A thinner version often used for petit fours or candies, creating a shiny glaze.
While fondant makes cakes look stunning, the biggest complaint about traditional store-bought versions is the taste—many find it overly sweet or artificial. That’s where homemade versions, especially marshmallow fondant, come in and change the game.
So what Is Marshmallow Fondant?
Traditional fondant is made with gelatin, water, sugar, and glucose syrup. It works well but can be fussy to make and doesn’t always taste great.
Marshmallow fondant, on the other hand, uses melted marshmallows as the base. The marshmallows already contain gelatin and sugar, which makes the process faster and easier. When you mix them with powdered sugar, shortening, and a little glycerin or corn syrup, you end up with a smooth, elastic dough that’s perfect for cake decorating.
Why You’ll Love This Marshmallow Fondant Recipe
- Beginner-friendly: Only 4 main ingredients (plus flavoring) and no fancy equipment.
- Soft & stretchy: Rolls out thin without tearing.
- Great flavor: No plasticky taste—this fondant is actually delicious and taste like sweet marshmallows!
- Budget-friendly: Costs a fraction of premade fondant.
- Versatile: Perfect for covering cakes, cookies, or making decorations.
Need help learning how to cover a cake in fondant? Check out our Fondant Guide in Covering Cakes Like a Pro.

Ingredients You’ll Need
Here’s everything that goes into this recipe and why it matters:
- Mini marshmallows (16 oz / 1 bag): The base of the fondant. We suggest mini marshmallows since they melt more evenly than large ones.
- Water (2 tbsp): Helps melt the marshmallows smoothly.
- Vegetable shortening (2 tbsp): Keeps the fondant soft and prevents it from drying out. You’ll also use it on your hands while kneading to prevent sticking.
- Glycerin or Cornsyrup (1 tbsp): The secret ingredient that makes fondant stretchy and pliable. If you don’t have it, you can substitute corn syrup.
- Vanilla extract (1 tsp): Adds flavor. Use clear vanilla for a pure white fondant.
- Salt (¼ tsp): Balances out sweetness.
- Powdered sugar (~6 cups / 750 g): The bulk structure of the fondant. This is what is going to create a “dough.”
- Cornstarch or extra sugar: For rolling out onto your cakes without sticking.
Step-By-Step: How to Make Marshmallow Fondant Recipe
Making fondant at home might sound intimidating, but once you’ve tried it, you’ll realize how simple it actually is. Here’s the process:
1. Melt the Marshmallows
Combine the marshmallows and water in a large microwave-safe bowl. Microwave in 30-second bursts, stirring after each, until completely melted and smooth (about 1½–2 minutes total).

2. Add the Stretch Boosters
Stir in the shortening, glycerin (or cornsyrup), vanilla, and salt while the mixture is still warm. It will look shiny and a little greasy—this is exactly what makes it pliable later.

3. Mix in the Powdered Sugar
Add the powdered sugar and stir with a sturdy spatula until a sticky dough forms.

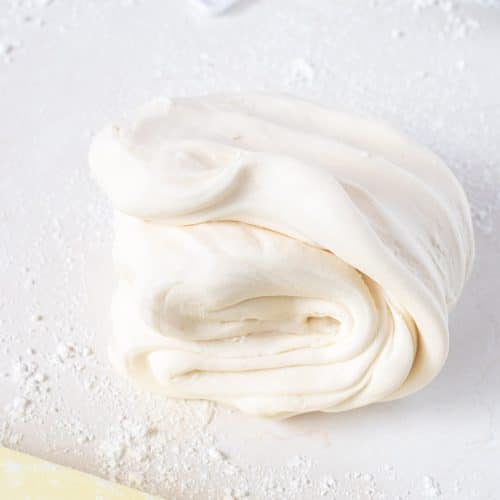
4. Knead the Dough
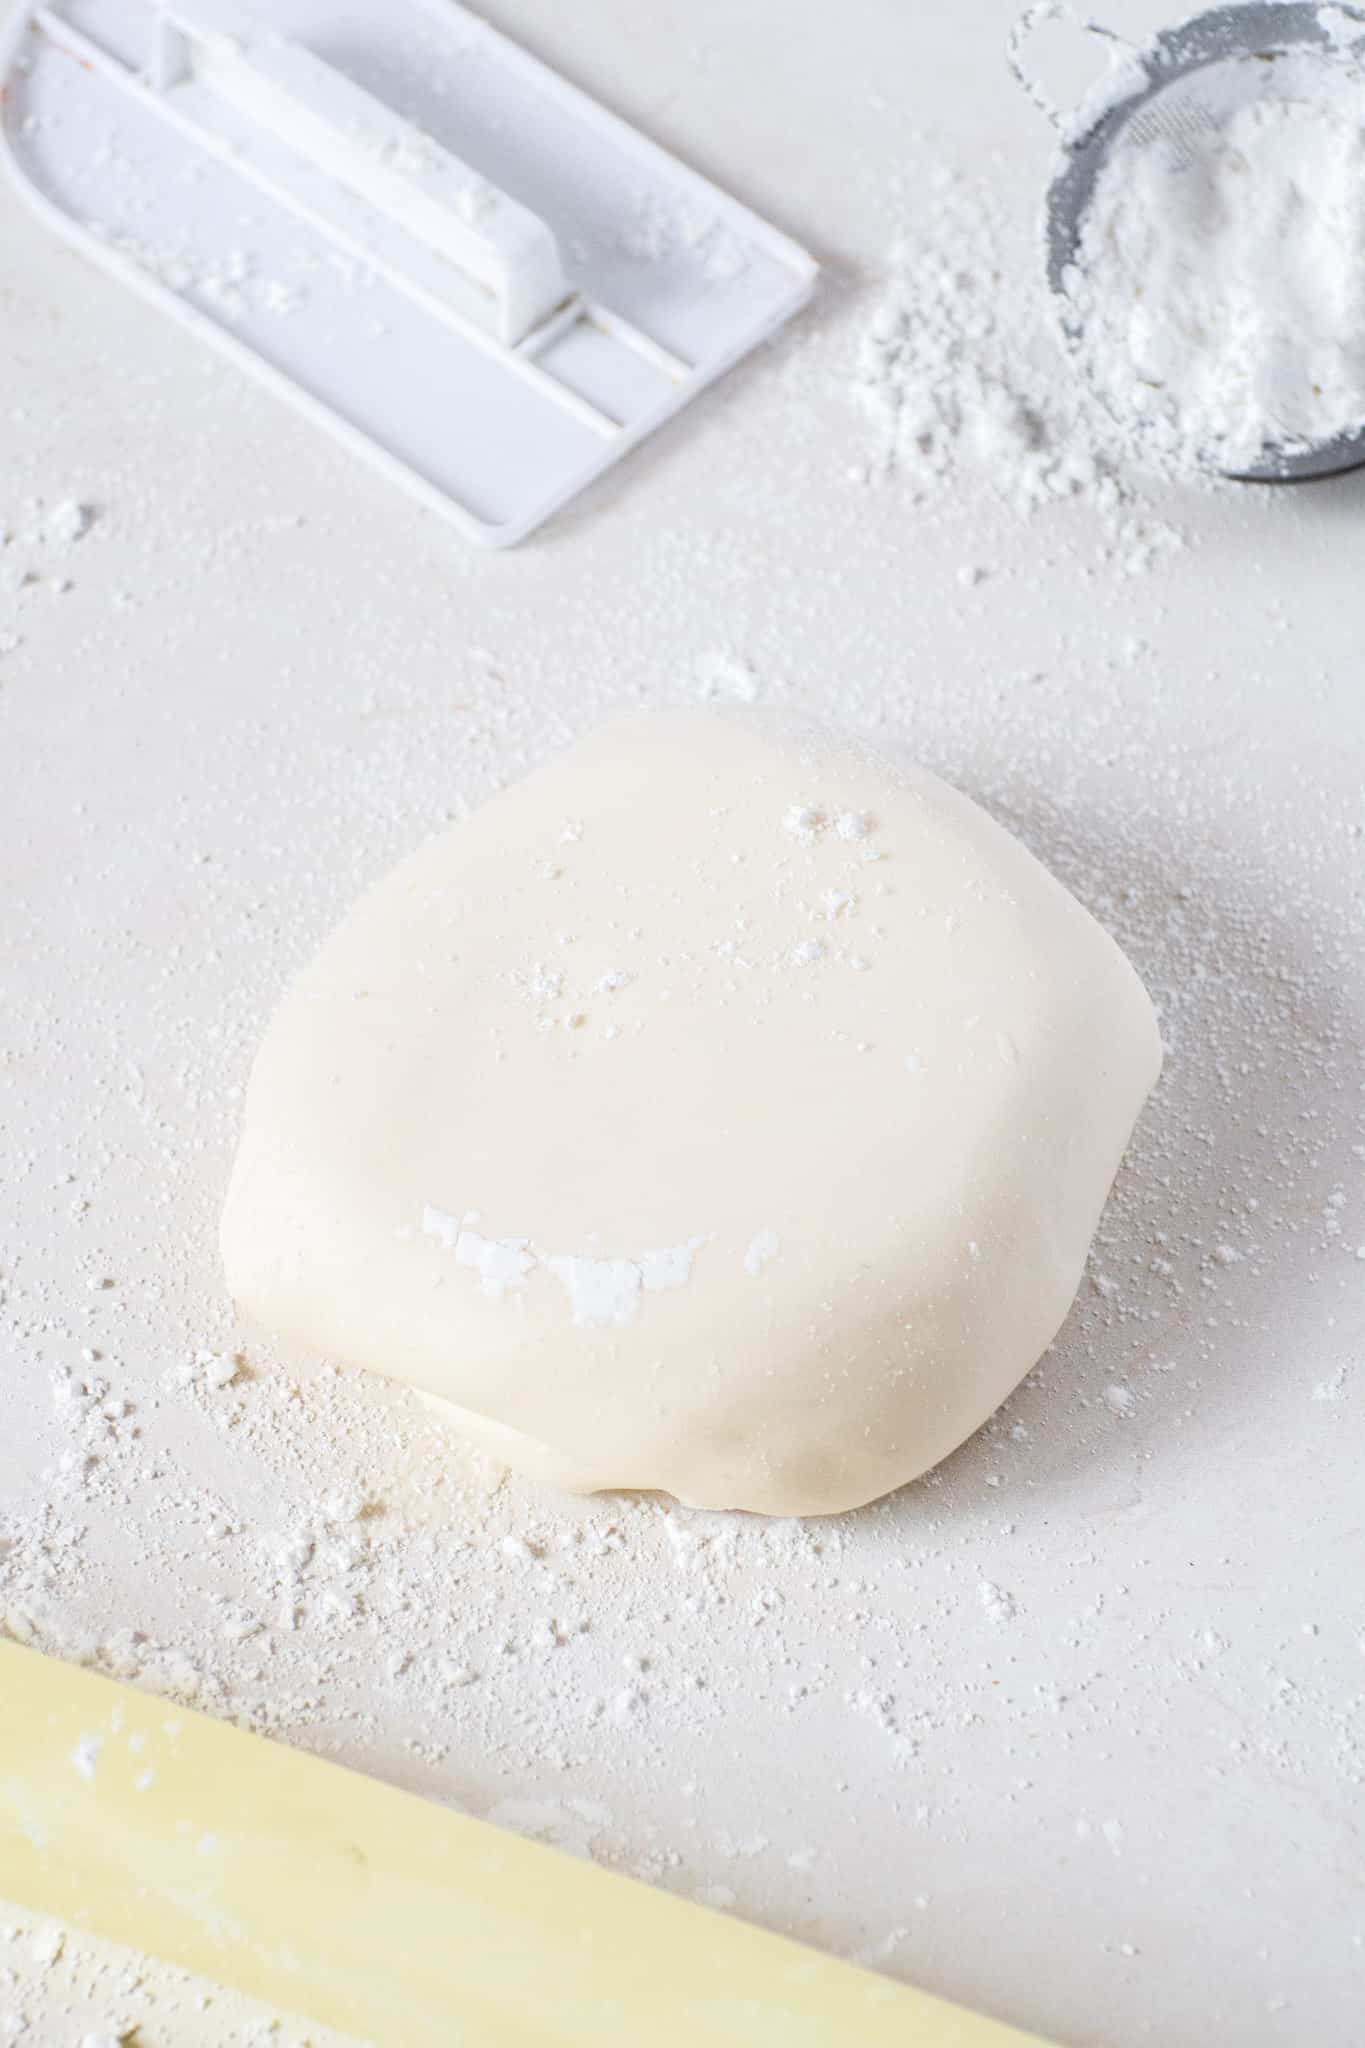
Grease your hands with shortening and transfer the dough to a powdered-sugar-dusted surface. Knead the fondant until it is smooth, soft, and pliable. Think “Play-Doh,” not “bread dough.”

5. Wrap and Rest
Coat the fondant with a thin layer of shortening, wrap it tightly in plastic wrap, and seal in a zip-top bag. Let it rest at room temperature for at least 8 hours (overnight is best) before using. This step allows the sugar to fully absorb the moisture, making the fondant silky and easy to roll out. However if you dont have time you can use right away.
Pro Tips for Homemade Fondant
- Don’t skip the rest: Freshly made fondant is sticky and hard to work with. Resting overnight is the key to smooth results.
- Keep hands greased: Fondant loves to stick to hands. A thin layer of shortening makes kneading easier.
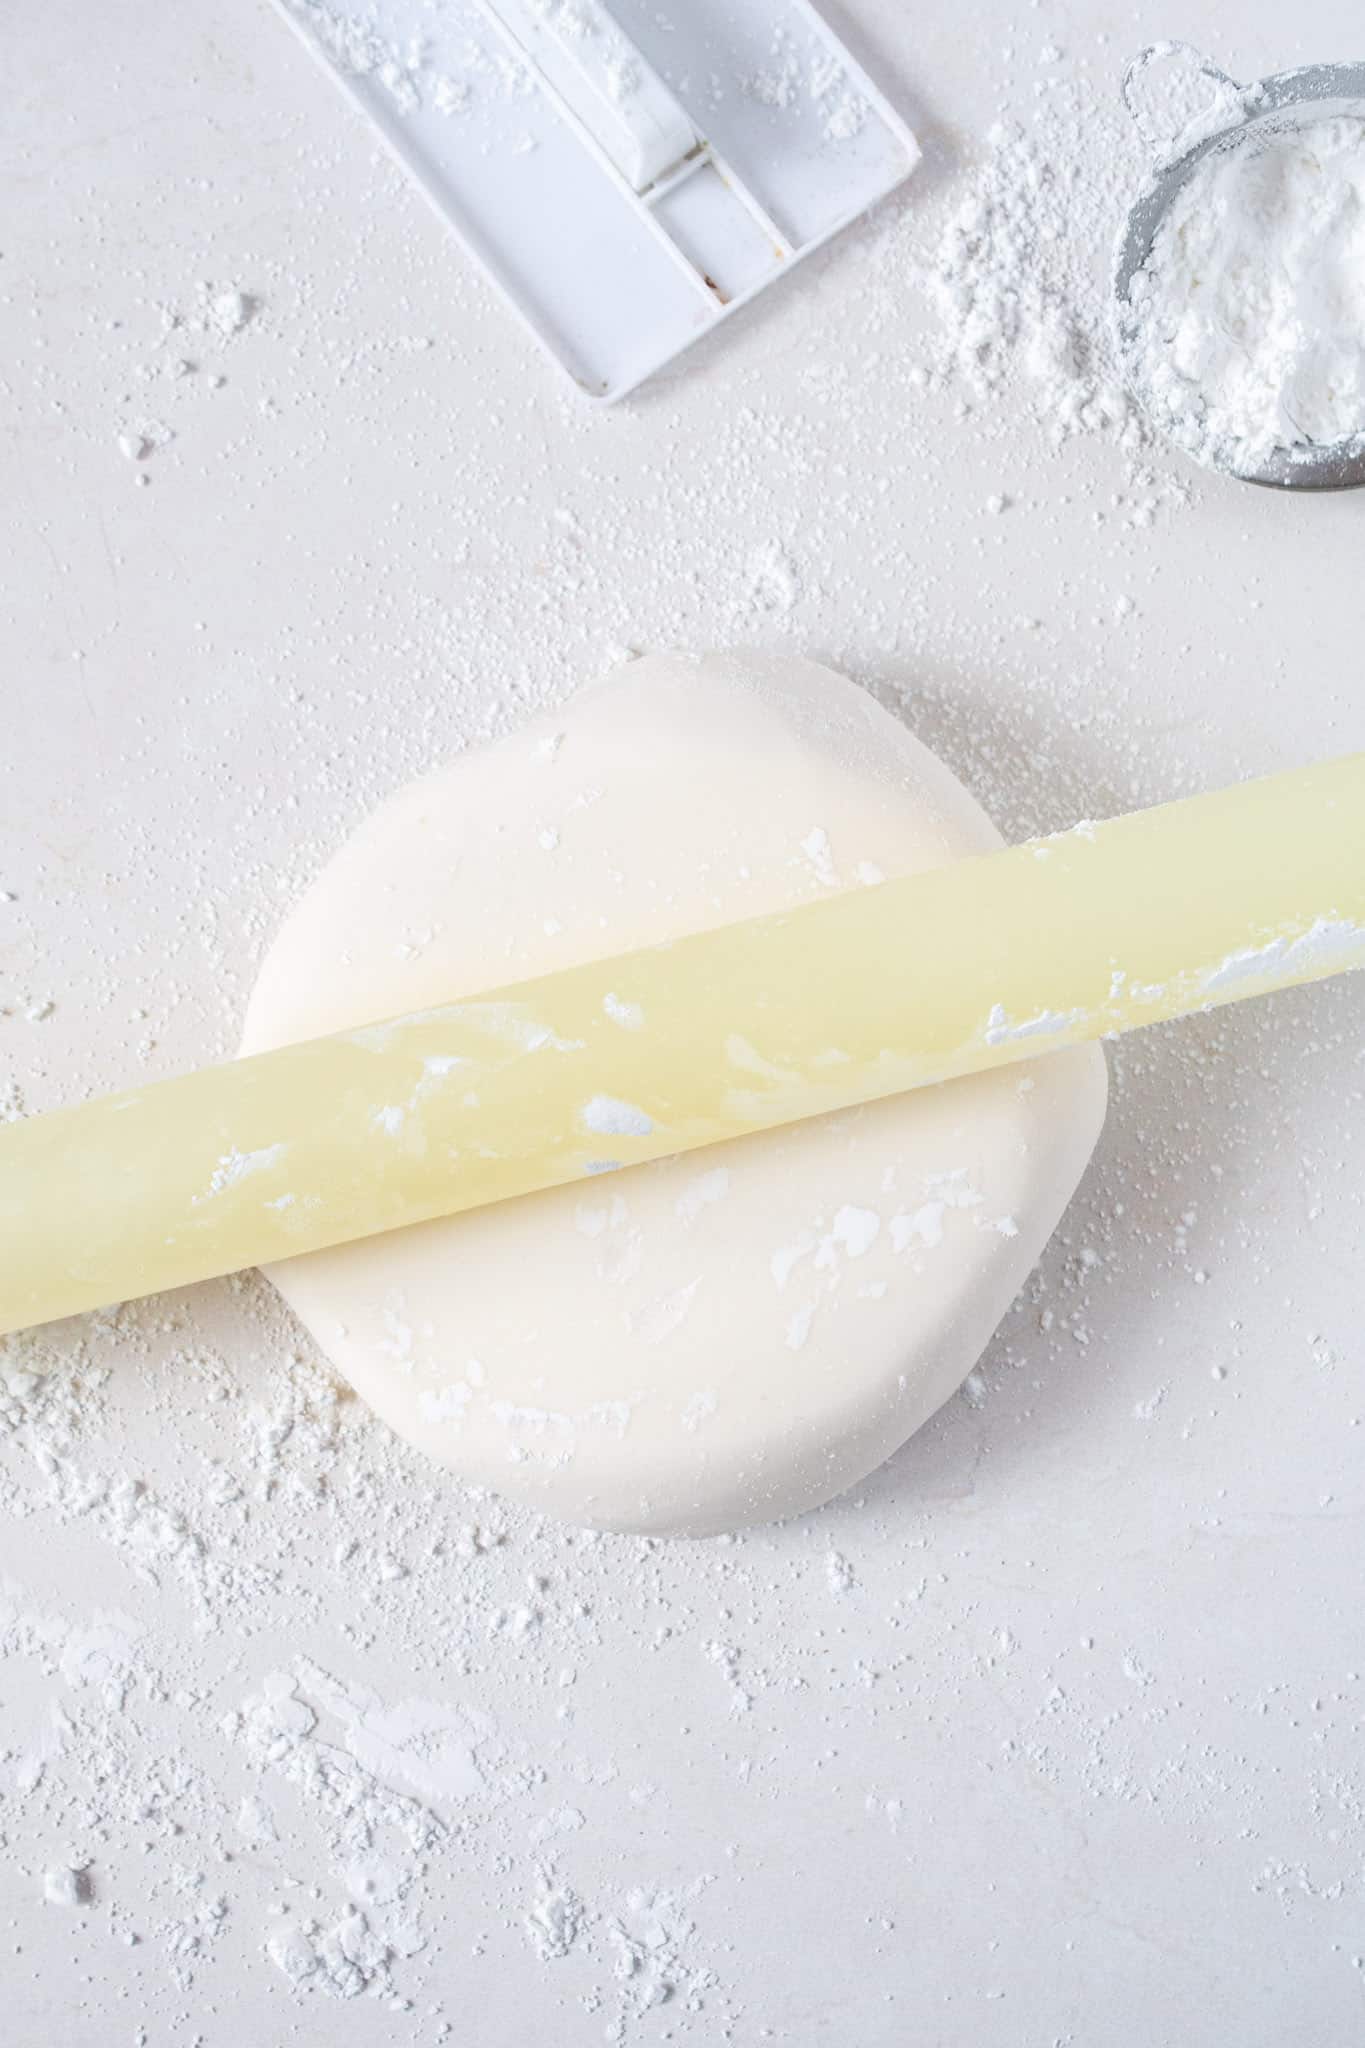
- Roll evenly: Aim for ⅛-inch thickness to avoid tears. Learn how to cover a cake like a pro here.
- Dust wisely: Use cornstarch or powdered sugar sparingly when rolling. Too much dries out the fondant.
- Use gel coloring: Liquid food coloring can make fondant sticky—gel or powder food coloring is always best.

How to Store Homemade Marshmallow Fondant
One of the most common questions I get is: “How do you store fondant so it doesn’t dry out?” The answer is simple, keep it at room temperature.
Unlike buttercream or ganache, fondant should never be stored in the fridge or freezer. Cold temperatures cause condensation to form as it warms back up, making the fondant sticky, shiny, and prone to melting colors or decorations. It can also turn brittle and crack once it dries out, not to mention absorb any odors lingering in your fridge.
Here’s the best way to store fondant:
- Coat it in shortening: Rub a thin layer of vegetable shortening over the surface of the fondant to lock in moisture.
- Wrap it tight: Wrap the fondant in plastic wrap so no air can get in.
- Seal it: Place the wrapped fondant in a zip-lock bag or an airtight container.
- Keep it cool & dry: Store it at room temperature (65–75°F / 18–24°C) away from sunlight and humidity.
Properly stored, this homemade marshmallow fondant recipe will stay soft and workable for up to 2 weeks at room temperature. To use, knead the fondant until pliable. If it feels too firm, microwave it in 5–10 second bursts until it softens, then knead again before rolling out.
Flavor Variations
Want to customize your fondant? Try swapping vanilla for:
- Almond extract: Subtle nutty flavor.
- Lemon extract: Fresh and tangy, great for spring cakes.
- Butter extract: Rich, buttery taste (use clear for white fondant).
Marshmallow Fondant Recipe Yield Guide
This full recipe makes about 2–2½ lbs fondant, which is enough to:
- Cover one 9-inch round cake (4 inches tall)
- Cover one 10-inch cake (3 inches tall)
- Or decorate multiple smaller cakes/cookies
Half recipe (~1–1¼ lbs) covers a 6-inch cake (4 inches tall).
How to Color Fondant
The best way to color fondant is with gel food coloring. Gel (or paste) colors are concentrated, so you only need a small amount for vibrant shades, and they won’t make the fondant sticky like liquid food coloring can. Just add a little at a time and knead until the color is evenly blended.

Troubleshooting: Common Fondant Problems
- Too sticky: Knead in more powdered sugar.
- Too dry/cracking: Knead in a teaspoon of shortening or a few drops of water.
- Elephant skin (wrinkles/dry spots): Usually caused by over-dusting with powdered sugar. Use less and knead with shortening.
- Fondant tearing: Roll slightly thicker or knead in a little glycerin/shortening.
- Fondant too stiff after storage: Coat lightly with shortening, then microwave in 5–10 second bursts until just warm. Knead well before rolling out.
FAQs About Marshmallow Fondant Recipe
Can I make fondant without glycerin?
Yes! Use light corn syrup instead, it helps keep the fondant stretchy and soft.
Does homemade marshmallow fondant taste better than store-bought?
Absolutely. Store-bought fondant often tastes bland or plasticky, while homemade marshmallow fondant is sweet, soft, and actually enjoyable to eat.
Although if you are looking for a storebought fondant, my personal favorite is Satin Ice.
How long does fondant last on a cake?
Fondant-covered cakes are best stored at room temperature in a cool, dry place, where they’ll stay fresh for about 3–4 days. Never store a fondant cake in the freezer—condensation will ruin the finish.
That said, I personally store my fondant cakes in the fridge on a low setting when needed. When bringing it back to room temperature, avoid touching the surface until any condensation evaporates if needed.
Can I cover cupcakes or cookies with fondant?
Yes! Roll it thin and use cutters to decorate cookies or small cupcakes. It sets beautifully.
Can I make marshmallow fondant vegan?
Yes! Use vegan or gelatin-free marshmallows instead of regular ones. The method is the same, though the fondant may be a little softer, so knead in extra powdered sugar if needed.
Is this marshmallow fondant recipe gluten-free?
Yes. As long as your marshmallows and powdered sugar are certified gluten-free, this recipe is naturally gluten-free.
Does fondant taste good?
This homemade marshmallow fondant recipe does! Unlike store-bought, which can taste plasticky, this version is soft, sweet, and marshmallow-flavored—much more enjoyable to eat.
Can I use large marshmallows instead of mini?
Yes, just measure by weight (16 oz total). Large marshmallows take longer to melt, so microwave in shorter bursts and stir well to avoid lumps.
Can you microwave fondant to soften it?
Yes. If fondant feels stiff, coat lightly with shortening and microwave in 5–10 second bursts until soft. Knead well before rolling out.
More Cake Decorating Recipes to Try
If you loved this fondant recipe, you’ll also want to try:
- The ONLY Buttercream Recipe You’ll Ever Need
- My Famous Vanilla Cake Recipe
- How to Cover a Cake In Fondant Tutorial
- How to Frost a Cake In Buttercream Tutorial
Get to Baking!
Making fondant at home might seem intimidating, but once you try it, you’ll never want to buy the packaged stuff again. This marshmallow fondant recipe is affordable, beginner-friendly, and produces professional-looking results every single time.
So grab a bag of marshmallows, dust your counter with sugar, and get rolling—your cakes are about to look (and taste) amazing. And don’t forget to leave a review and tag me on social media @everythingjustbaked! I love seeing what you create!
Need help covering cakes in fondant? Check out our How to Cover a Cake In Fondant Like a Pro Guide.
Ingredients
- 16 oz (1 bag) mini marshmallows
- 2 tbsp water
- 2 tbsp vegetable shortening plus more for kneading
- 1 tbsp glycerin or corn syrup
- 1 tsp vanilla extract use clear vanilla for pure white fondant
- ¼ tsp salt
- 6 cups powdered sugar sifted
- Cornstarch or extra powdered sugar for rolling
Instructions
- Place marshmallows and water in a large microwave-safe bowl. Heat in 30-second intervals, stirring each time, until completely melted and smooth (about 1½–2 minutes total).
- Stir in the shortening, glycerin (or corn syrup), vanilla, and salt while the marshmallow mixture is still warm. It will look glossy and slightly greasy — that’s what you want for elasticity.
- Mix in the powdered sugar with a sturdy spatula until a dough forms.
- Dust your work surface with powdered sugar. Grease your hands with shortening and knead until the fondant is smooth, soft, and pliable.
- You may not need all of the sugar or may need more, stop when the fondant feels like soft Play-Doh and isn’t sticking to your hands.
- Coat the fondant in a thin layer of shortening, wrap tightly in plastic wrap, and seal in a zip-lock bag. For best results, let it rest at room temperature for at least 8 hours (overnight is ideal) before rolling and using. Enjoy!
Video
Notes
- Storage: Wrap fondant tightly in plastic wrap and place in a zip-top bag. Store at room temperature for up to 2 weeks.
- Coloring: Add gel food coloring during kneading for vibrant shades. Avoid liquid food coloring, as it can make fondant sticky.
- Texture fixes:Too sticky? Knead in more powdered sugar. Too dry/cracking? Knead in shortening or a few drops of water. Too stiff after storage? Microwave for 5–10 seconds to soften.
- Covering cakes: Lightly dust your work surface and rolling pin with cornstarch or powdered sugar. Roll fondant to ⅛ inch thick for best results.
- Yield guide: This recipe makes about 2–2½ lbs fondant, enough to cover a 9-inch cake (4 inches tall). Half batch covers a 6-inch cake (4 inches tall).


Help! No matter what I do, I cannot get the fondant stretchy. I followed the directions to a tee, kneaded it, used a dough hook, added more shortening, water, microwaved it, more kneading. Not stretchy at all. What should I do?
Perhaps your marshmallows are dry/stale. Try a different brand of marshmallows!
I’m making some Petit fours for an event for my mom, is it possible to turn this into a poured fondant by chance to use for them?
I want to say yes but I haven’t tested and not too familiar with petit fours. Sorry about that.
Can this be used in silicone molds to make decorations for cakes?
Absolutely!
I made my fondant batch tooooooo pink for my purposes. It is in the resting phase right now. Any suggestions for lightening it up?
i see there no rating so imma help u out