How to Cover a Fondant Cake Using the Panel Method
Covering a cake in fondant can feel super scary and intimidating—like one wrong move and the whole cake is ruined. But here’s the truth: with the right method, it doesn’t have to be stressful at all. That’s where the panel method comes in. Instead of the traditional method of draping one big sheet of fondant over your cake (which often leads to tearing, bulging, or messy edges), the panel method breaks it down into simple steps using separate fondant panels for the top and sides. The result? Smooth sides, sharp edges, and a professional finish that’s way easier than you think.
Whether you’re a beginner or a seasoned baker looking to refine your skills, this guide will walk you through the steps to master the panel method.
Before diving in, it’s crucial to have a solid base to work with. That means knowing how to properly buttercream a cake. Check out my tutorial on How to Buttercream a Cake Like a Pro and my Buttercream Recipe for a smooth and stable frosting that will make applying fondant a breeze.
What is Fondant?
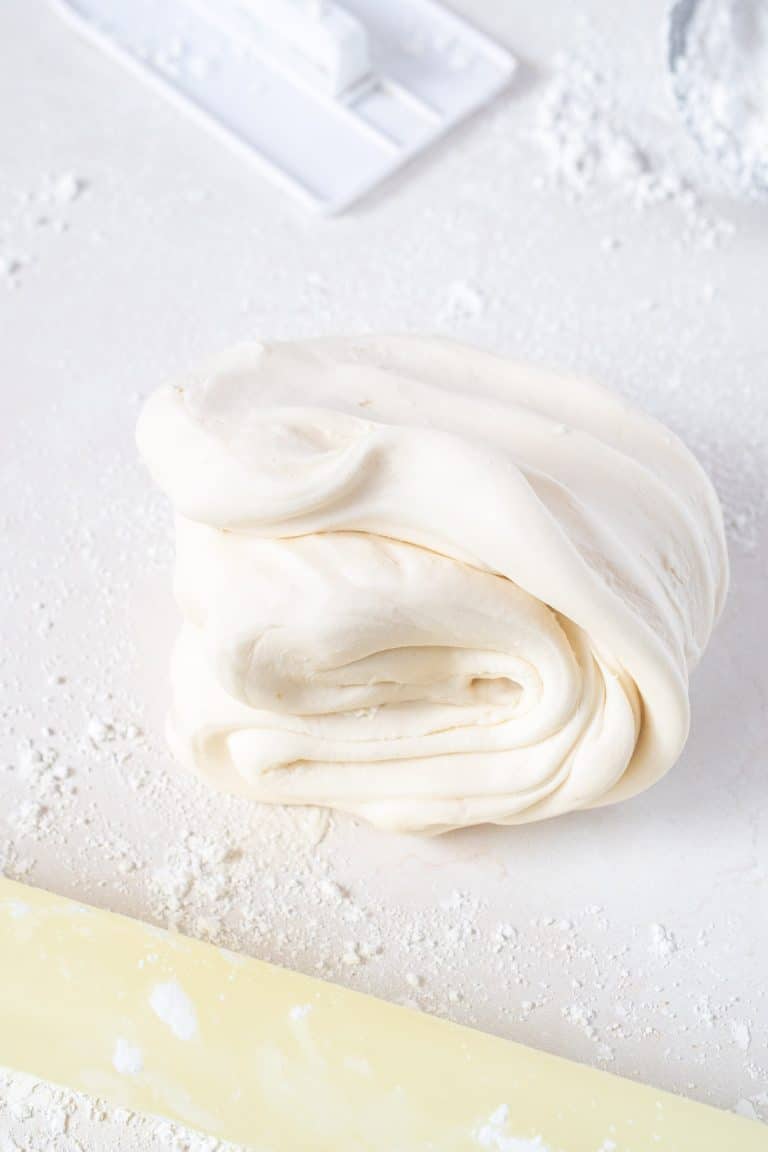
Fondant is a pliable sugar dough used to cover cakes and create decorations. Its smooth, matte finish makes it a popular choice for wedding cakes, birthday cakes, and other special occasions where a polished look is desired. Fondant can be flavored, colored, and shaped into intricate designs, offering endless creative possibilities for cake decorators.
For best results, I recommend using high-quality fondant, such as Satin Ice or Renshaw. These brands are known for their pliability, ease of use, and superior taste compared to lower-quality alternatives. If you prefer a homemade option, marshmallow fondant is a great choice for its flavor and affordability.
Try our Homemade Marshmallow Fondant Recipe; it’s super easy, stretchy, and delicious.
Remember, We All Started Somewhere
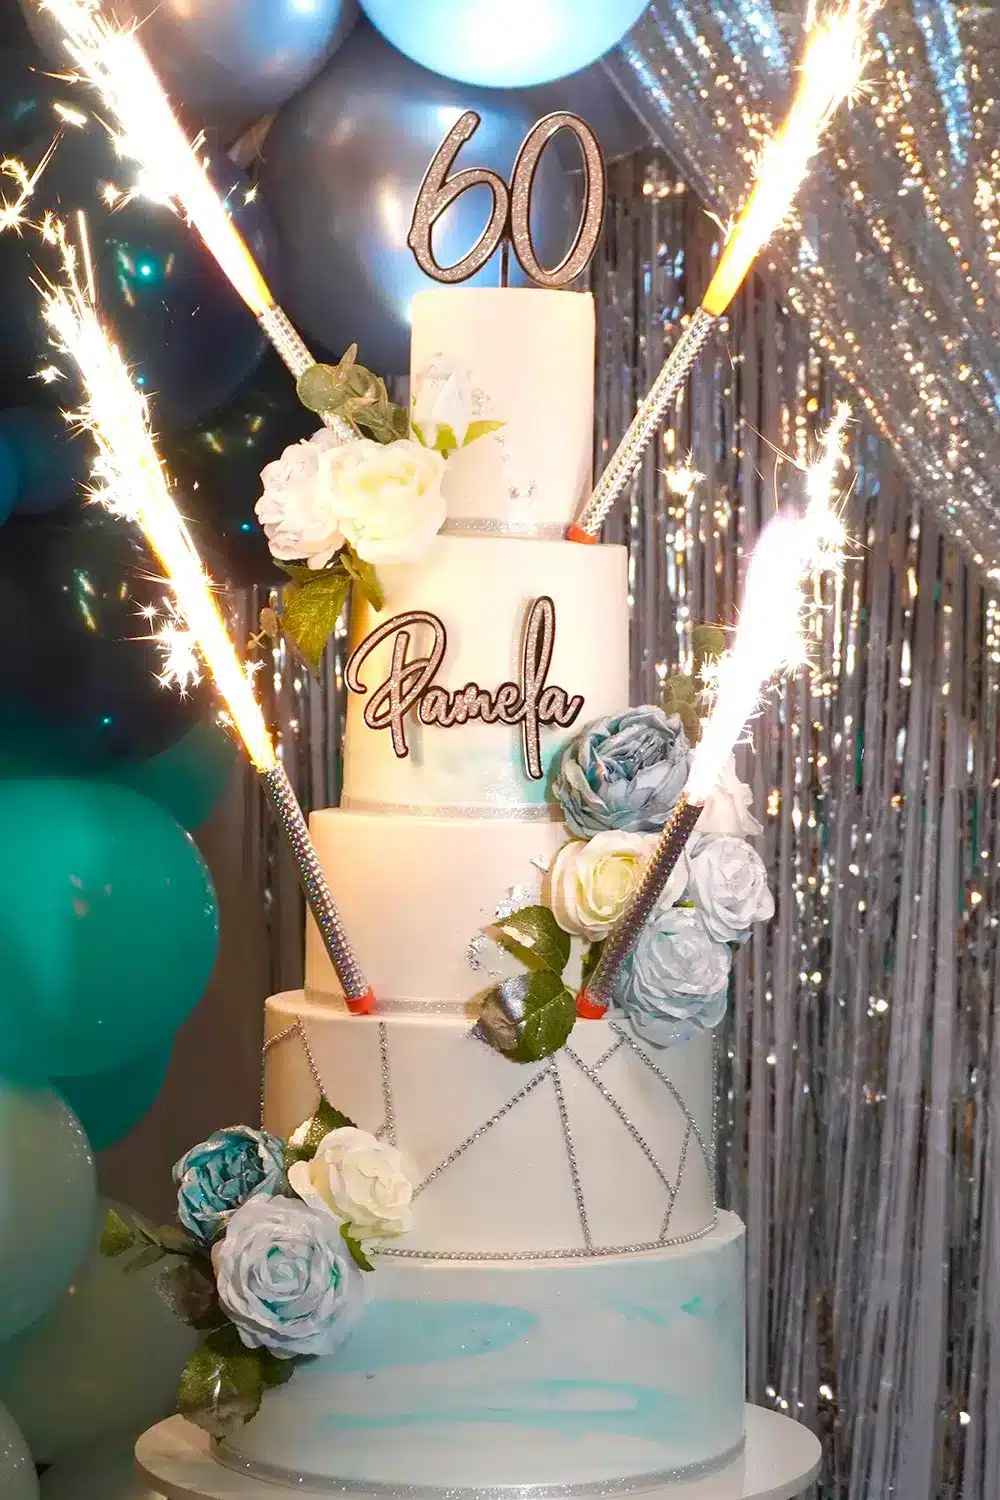
Learning to work with fondant takes time and practice, and it’s important to be patient with yourself during the process. My first fondant cakes were far from perfect (see below). In fact, they had cracks, uneven edges, and even a few air bubbles that seemed impossible to smooth out. But each mistake taught me something new and helped me improve.
If you’re just starting, remember that even the most skilled cake decorators were beginners once. Don’t be discouraged if your first attempts don’t look exactly like the polished cakes you see online. Instead, embrace the learning curve and use it as an opportunity to grow. Keep practicing, and you’ll soon notice significant improvements.
I love looking back at photos of my early fondant cakes because they remind me of how far I’ve come. Showing these progress pictures to others is not only inspiring but also a testament to what patience and persistence can achieve. So don’t be afraid to take pictures of your first cakes—you’ll be amazed at your progress in just a few months or years.


Why Use the Panel Method for Fondant Cakes?
The panel method involves covering your cake with fondant in two pieces: one for the sides and one for the top. Unlike the traditional drape method, which can sometimes result in folds or tears, the panel method allows you to achieve:
- Crisp edges: Perfect for a clean, modern look.
- No tearing: Ideal for beginners or intricate designs.
- Better control: Especially for tall or square cakes.

Panel Method vs. Drape Method
Choosing the right method for covering your cake depends on your design goals and comfort level with fondant. Personally, I prefer the panel method because it significantly reduces the chances of elephant skin or cracking, which can be common with the drape method. The panel method also allows you to achieve super sharp edges quickly, giving your cakes a professional and polished look.
The drape method, on the other hand, involves rolling out a single large piece of fondant to cover the entire cake at once. While it’s faster and easier for beginners, it can often result in folds or tears, especially on taller cakes. The softer, rounded edges it produces are perfect for rustic or casual cake designs but may lack the precision of the panel method.
Ultimately, both techniques have their strengths. For modern designs or when you need crisp details, the panel method is my go-to choice. The drape method works well for simpler cakes or when you’re pressed for time.
Tools You’ll Need for Fondant Cakes
- Fondant (your choice of color)
- Fondant smoother
- Rolling pin
- Sharp Blade (I like disposable ones to ensure maximum sharpness)
- Cake turntable
- Cornstarch or powdered sugar (for dusting)
- Ruler or measuring tape
Step 1: Prepare Your Cake
- Buttercream Your Cake: Start by crumb-coating your cake and then applying a smooth final layer of buttercream. For best results, chill the cake in the refrigerator until the buttercream is firm to the touch. This ensures the fondant adheres properly and holds its shape. Here’s a guide in frosting your cakes.
- Measure Your Cake: Use a ruler or measuring tape to measure the height and circumference of your cake. These measurements will guide you when rolling out your fondant.

Step 2: Roll Out the Fondant
- For the Top: Roll out a circle of fondant large enough to cover the top of your cake with a little excess.
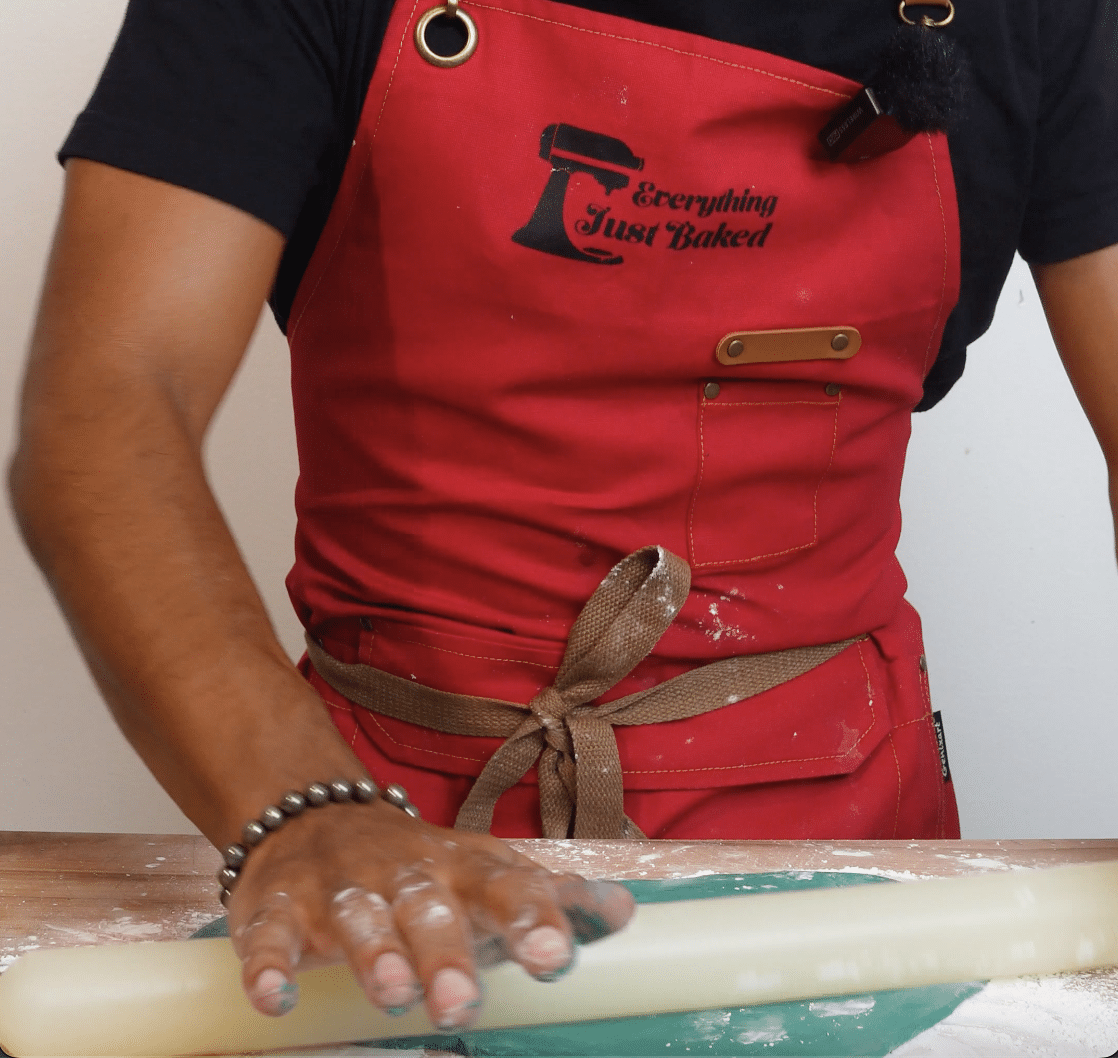
- For the Sides: Roll out your fondant into a long rectangle. The width should match the height of your cake, and the length should be slightly longer than the circumference. Use cornstarch or powdered sugar to prevent sticking. (I like to do this step after covering the top fondant panel to prevent the fondant from drying out.)

Step 3: Apply the Top Panel
- Place the Fondant: Ensure the buttercream cake is solid and cold to touch. Drape the fondant circle over the top of your cake. Gently press it down, starting from the center and working outward to avoid trapping air.
- Trim the Edges: Use a sharp knife to trim the excess fondant flush with the buttercream edge of the cake.
- Seal the Seam: Use your fingers or a fondant smoother to gently smooth the edge for a clean look.
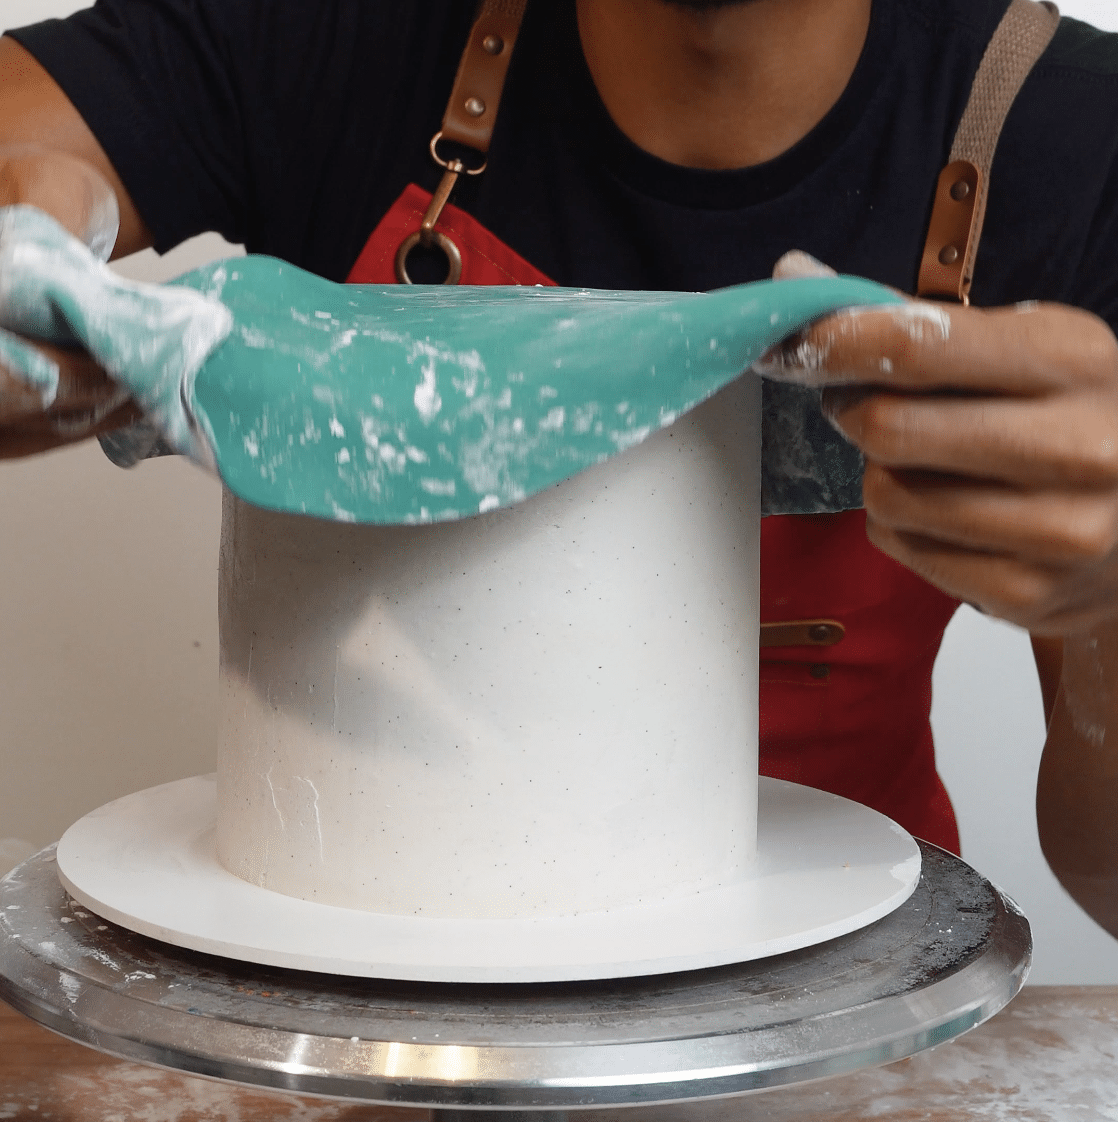


Step 4: Apply the Side Panel
- Smooth the Fondant: Lightly dust your work surface and rolling pin with cornstarch. Roll up the fondant rectangle onto your rolling pin for easy handling.
- Wrap the Cake: Carefully unroll the fondant around the sides of your cake. Start at one end and gently press it against the buttercream, working your way around.
- Trim the Excess: Use a pizza cutter or sharp knife to trim the excess fondant at the bottom edge, top edge, and the overlap in the back.
- Smooth the Sides: Use a fondant smoother to ensure the fondant is tightly adhered and free of air bubbles. A bench scraper can help refine the edges.


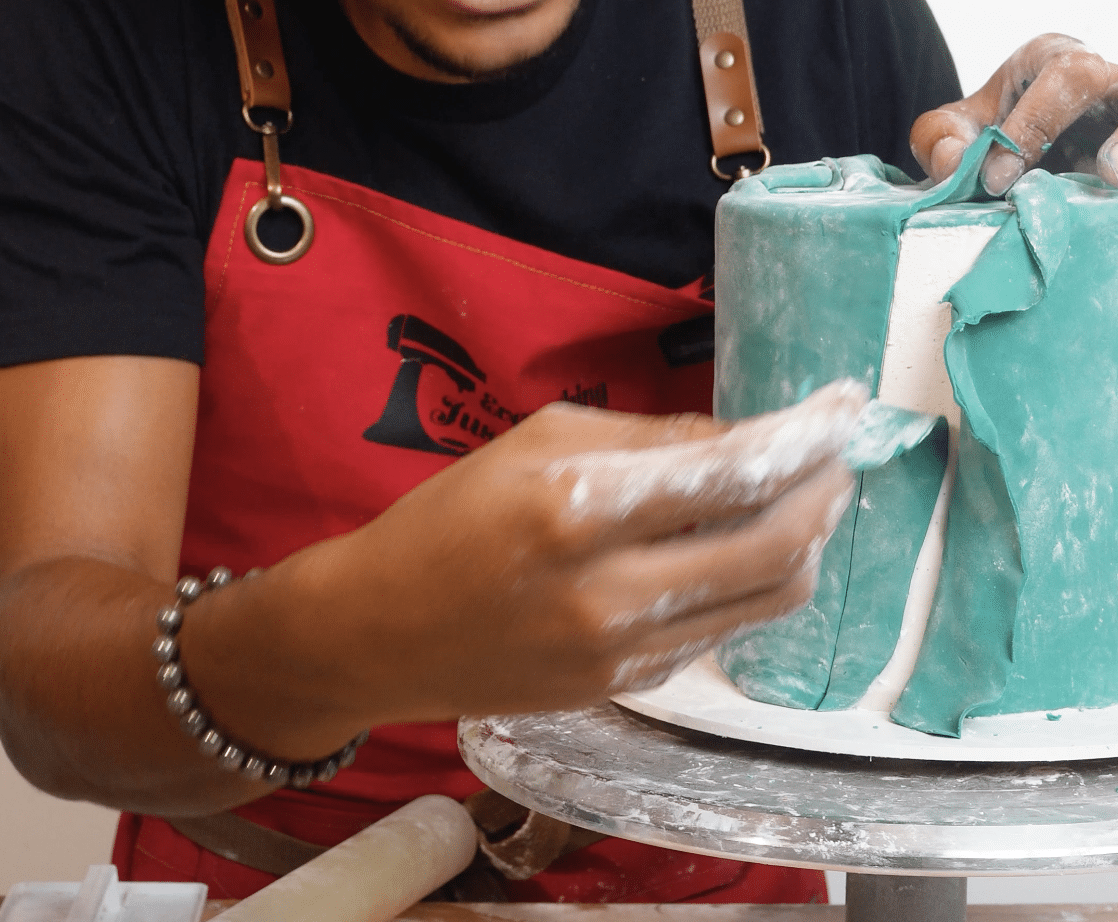
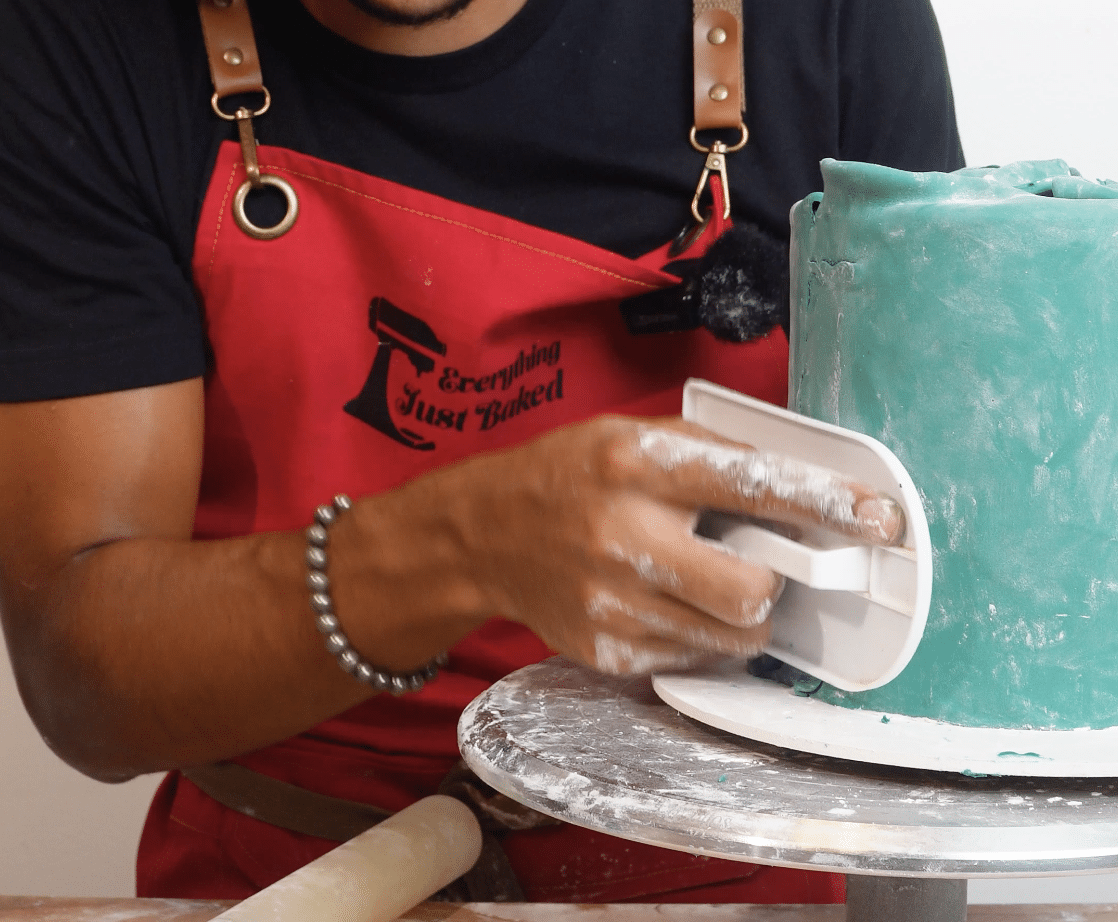

Step 5: Final Touches
- Smooth the Edges: Run a fondant smoother over the entire cake to refine the finish.
- Decorate: Add your desired decorations—whether it’s intricate piping, edible flowers, or shimmering luster dust, the possibilities are endless!

Troubleshooting Tips on Fondant Cakes
- Air Bubbles: If you notice air bubbles, gently prick them with a clean pin and smooth them out.
- Cracks or Tears: Use a bit of shortening or water to repair small imperfections.
- Sticky Fondant: Dust lightly with cornstarch or powdered sugar, but avoid overusing as it can dry out the fondant.

Happy Decorating with Fondant Cakes!
The panel method may take a bit more time and patience than the drape method, but the results are worth it. With a smooth buttercream base and careful fondant application, your cakes will look polished and professional. Don’t forget to refer back to my Buttercream Tutorial and Buttercream Recipe for the foundation of your masterpiece.
Happy baking, and may your fondant always be flawless!